Browsed by
Category: family

grandma’s muffins

grandma’s muffins

Grandma's Bran Muffins | The Path Less Traveled Oh, the smells and flavors of family recipes! This month my grandma would have been 91 years old, and I’ve been thinking of her {and her recipes} a lot. These muffins came to mind, and I dug around a bit in my box of her recipes {sometimes I can hardly believe I have it! Such a treasure.} and found it – the recipe for grandma’s muffins.Grandma's Bran Muffins | The Path Less Traveled Grandma's Bran Muffins | The Path Less TraveledGrandma was an RN, and she was a firm believer in keeping everything “moving” ….and these muffins are some that I remember being a staple. {these, and her getting after grandpa for drinking too much coffee or using too much salt – “Jerr-ry!” :D}
Grandma's Bran Muffins | The Path Less Traveled 
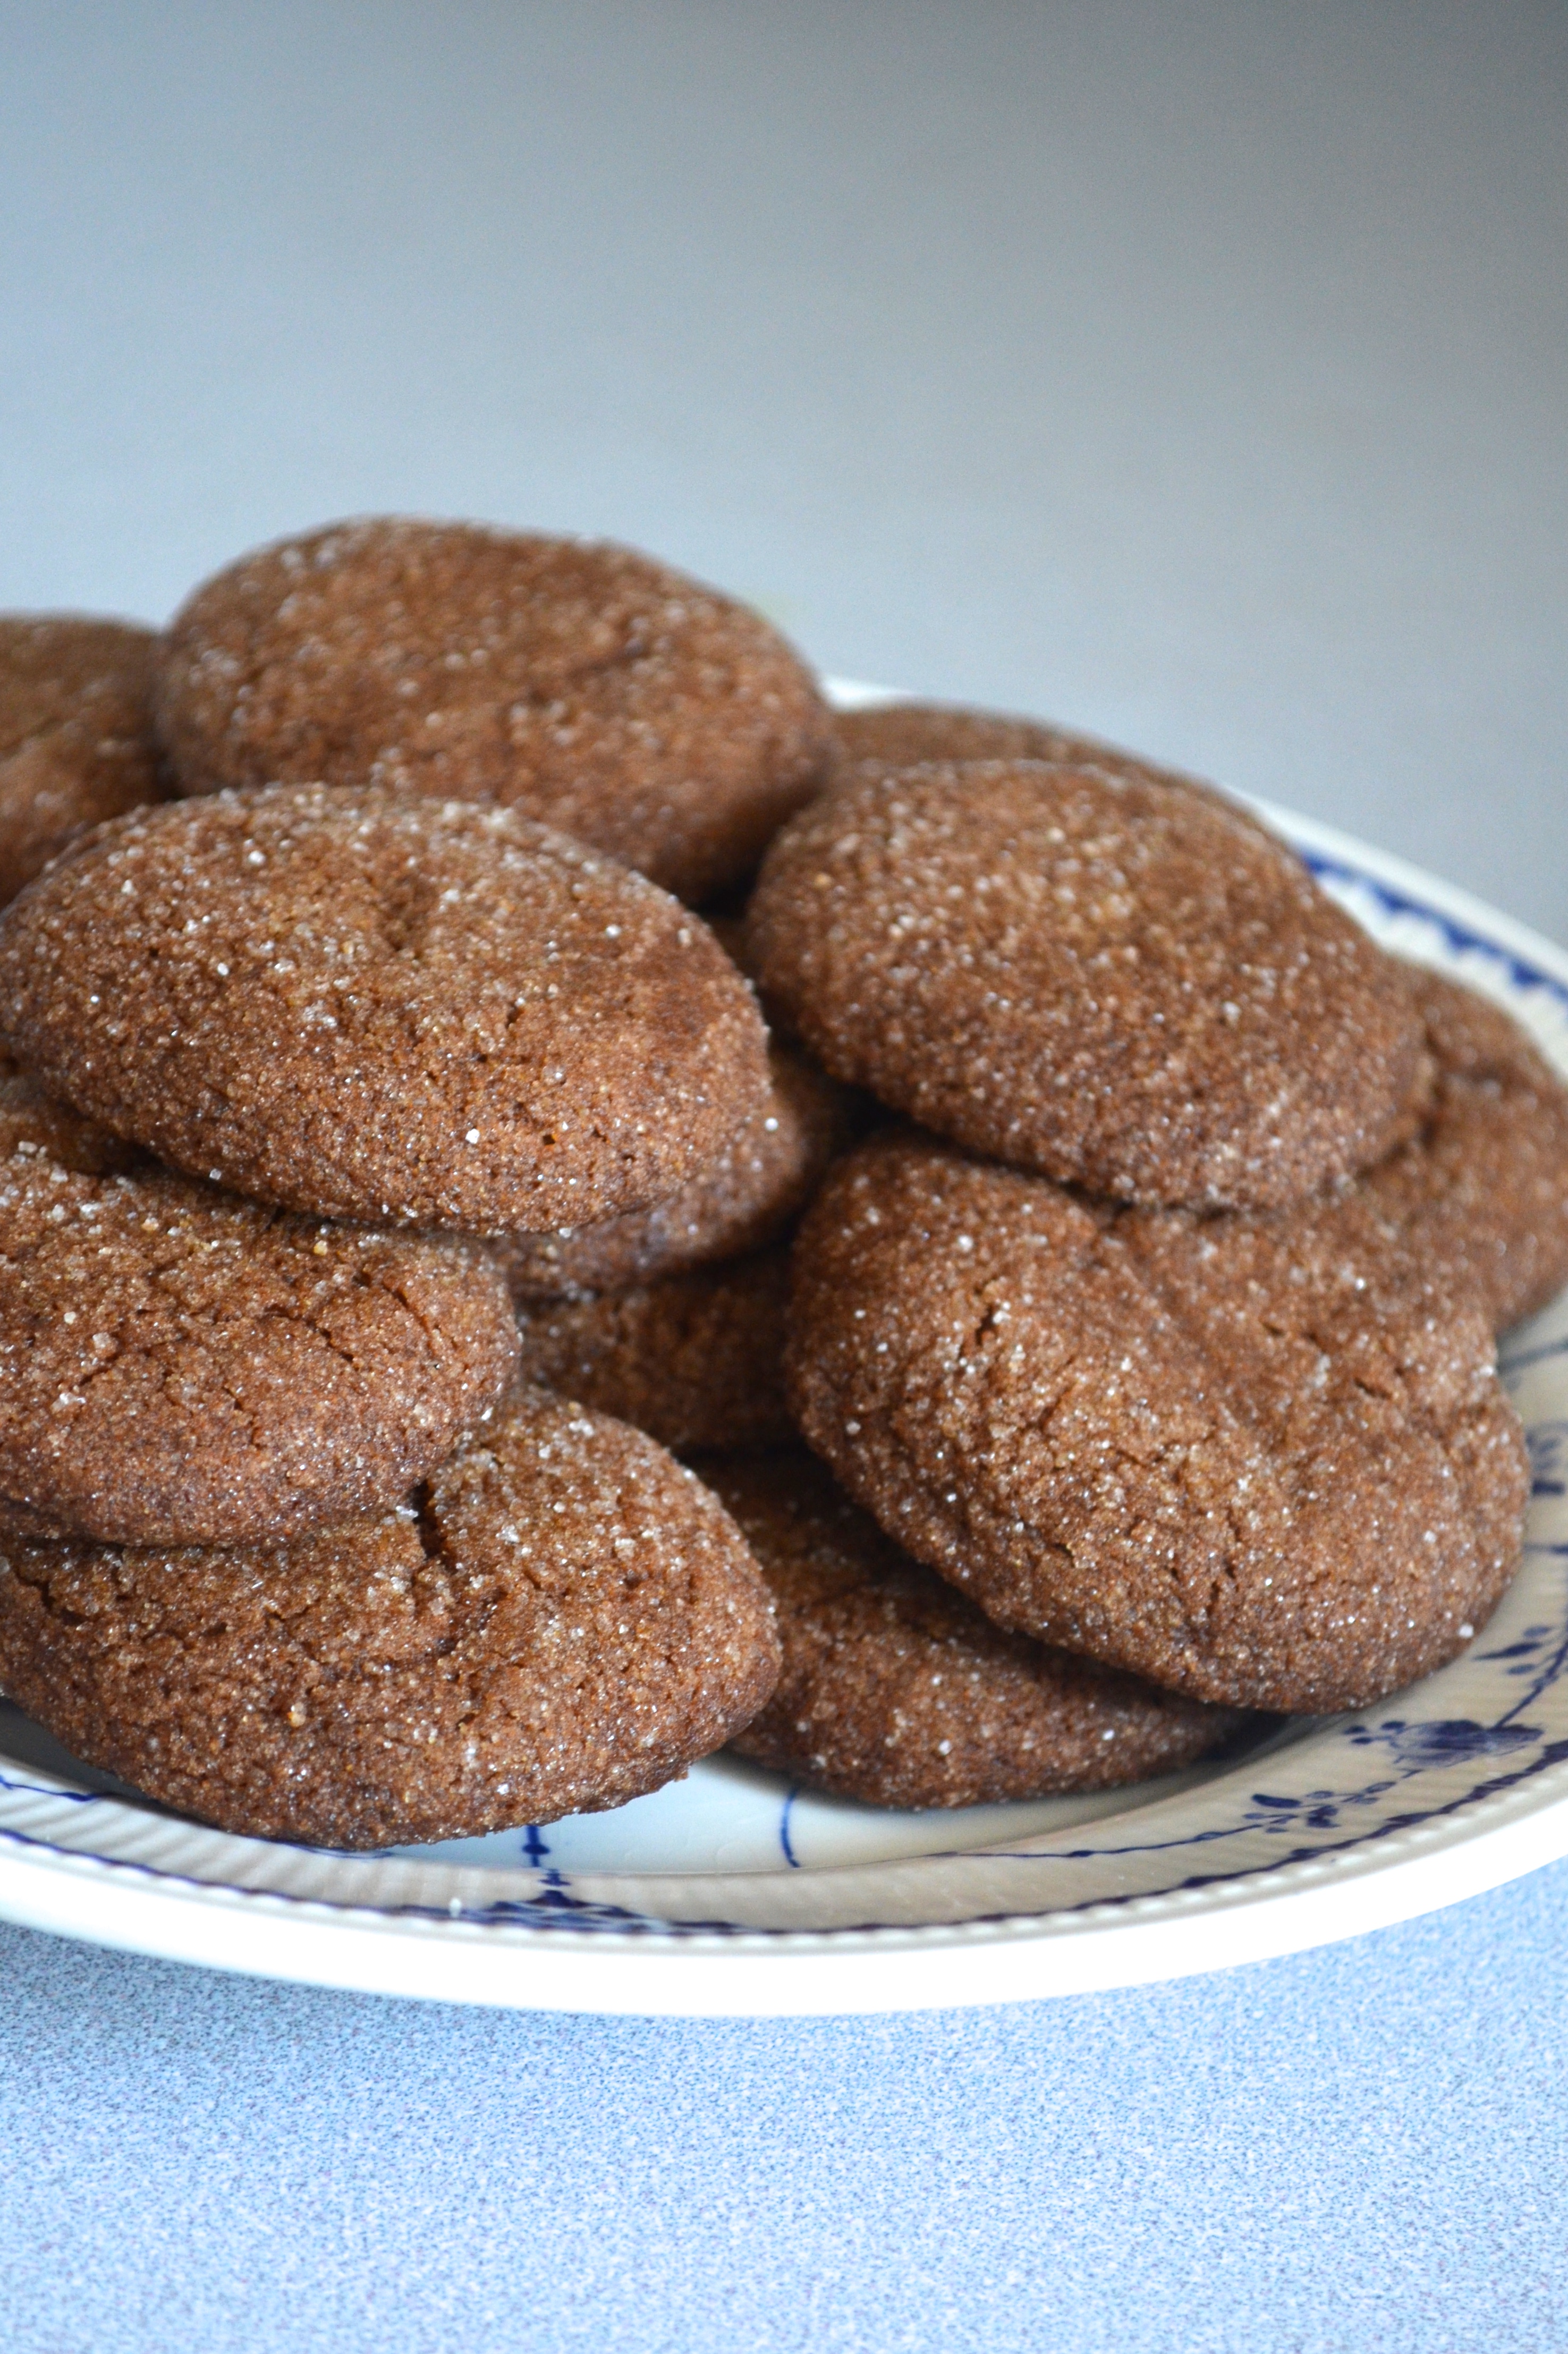
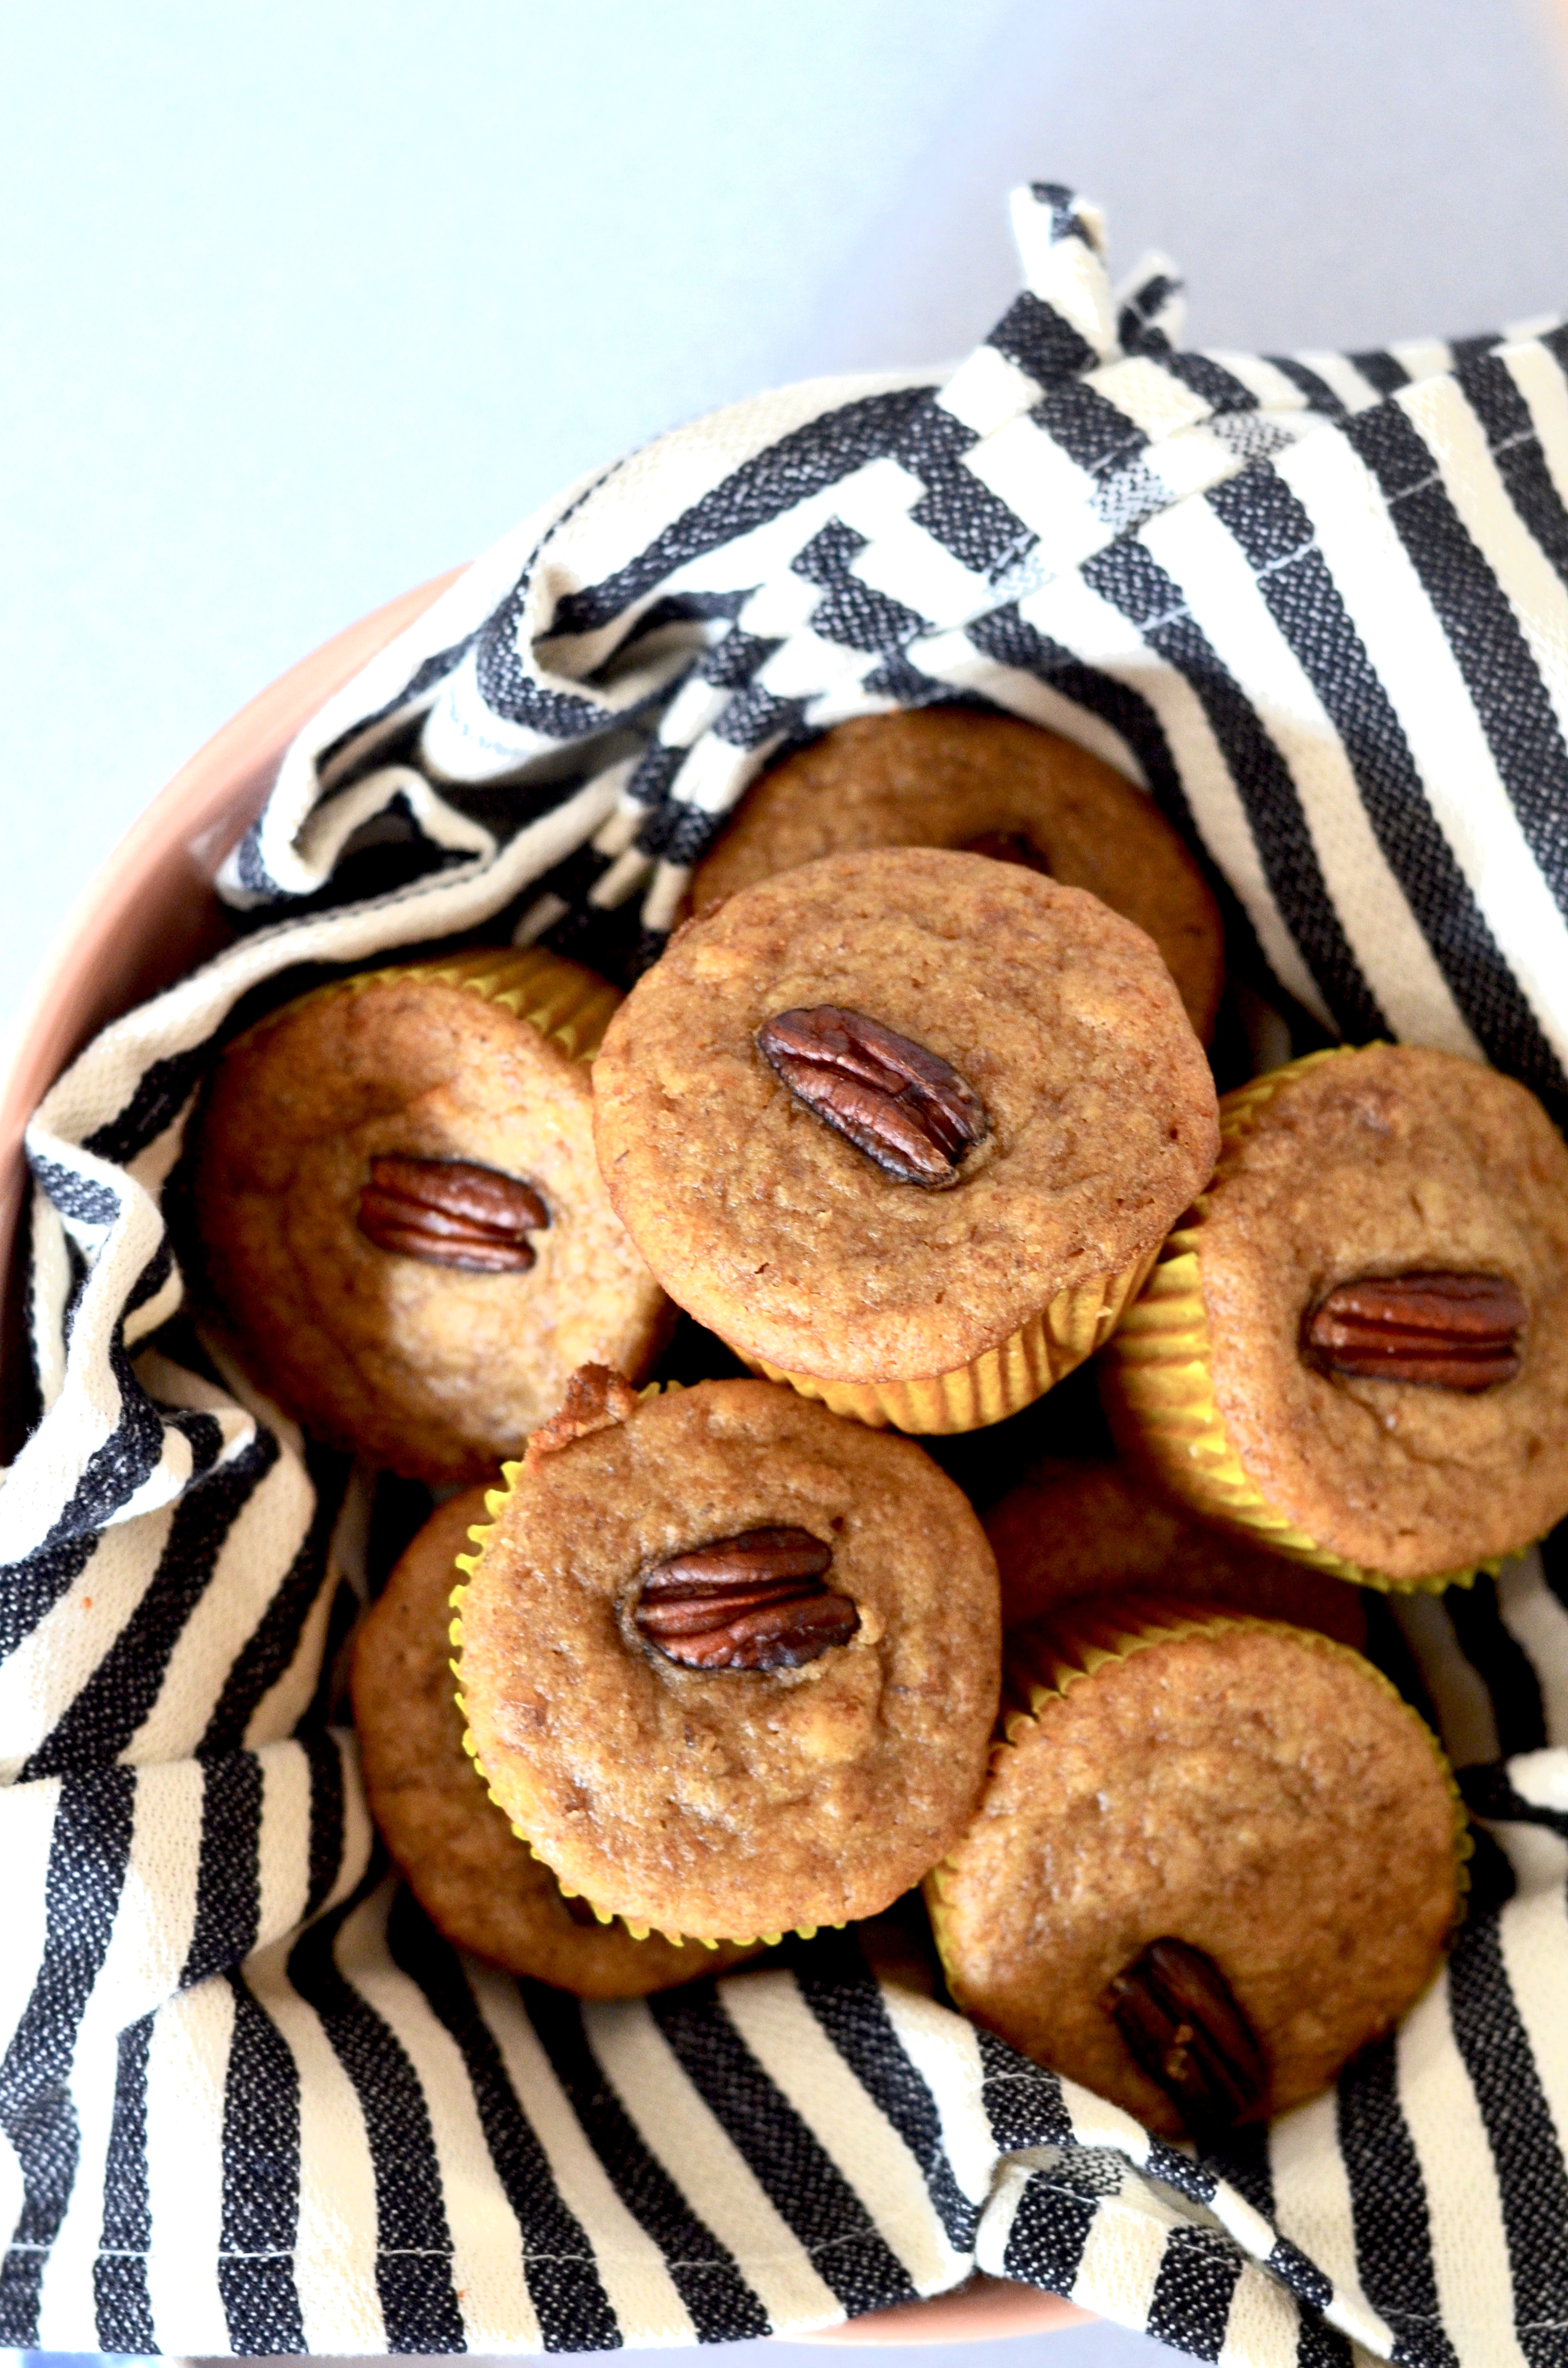
They are just a simple bran muffin, and best served warm with a thick swipe of butter.Grandma's Bran Muffins | The Path Less TraveledGrandma would top each one with a half of a pecan – a lovely touch. I remember Grandma loving the lovely touches, especially in the food she made.
Grandma's Bran Muffins | The Path Less Traveled Grandma's Bran Muffins | The Path Less Traveled Grandma's Bran Muffins | The Path Less Traveled When I found the recipe, I was a bit surprised to see that it was one that she had gotten from a friend – but only a little. :) Sometimes the best recipes are from friends, aren’t they? Also, I’m not sure why they are called “6-week Bran Muffins”. Grandma's Bran Muffins | The Path Less Traveled Grandma's Bran Muffins | The Path Less Traveled Grandma's Bran Muffins | The Path Less Traveled Grandma's Bran Muffins | The Path Less Traveled

These are quite simple to whip up, and freeze well.

6-week Bran Muffins

  • 3 cups bran cereal {grandma used All Bran}
  • 1 cup boiling water
  • 1/2 cup shortening {I used oil, grandma noted that she used margarine}

Mix above and let cool.

  • 2 eggs
  • 1/2 quart buttermilk
  • 2 1/2 cups flour {I used whole wheat}
  • 2 1/2 tsp baking soda
  • 1 tsp salt
  • pecan halves for topping, optional

Mix everything together, and bake the muffins at 350 degrees for 25 minutes. Makes 30 muffins.

Remember, they are best warm! With butter! But don’t eat too many at once ;D


a storybook themed baby shower, part 1

a storybook themed baby shower, part 1

A while back we had the privilege of welcoming a new nephew into the family, and we celebrated with a storybook themed baby shower! His mama loves reading, so we thought a party filled with children’s books would be a perfect way to welcome the little man to the world.
Babies and books – love them both! Since this was a storybook themed baby shower was for a baby boy, I used lots of neutrals (“vintagey” colors), whites and blues, and scattered stars and vintage books about liberally – and I think it all came together beautifully.DSC_0002We split up the hostessing duties a bit – I got to hostess at our home and provide the decor and drinks, my mother-in-law and sisters-in-law took care of the food.
A shower for a baby boy - with a storybook theme! Most of the decor were things that I either already had, we had in the shop and tweaked a little, free printable from Pinterest or that I made just for the occasion {children’s book page pinwheels and pennant “BABY” banner! And an adorable table runner from vintage children’s book pages, too – so cute.}A shower for a baby boy - with a storybook theme!We went with a simple color scheme – white, light {and a little dark} blue, kraft brown and vintage papers. The colors were a perfect backdrop for the children’s books, and played well together. :) I used a mix of vintage and new(er) linens, a variety of mixed metals and some wild grasses instead of of flowers. Stacks of vintage books (of course!) in brown and blues came into play, too.
A shower for a baby boy - with a storybook theme! I was delighted with how my table runner turned out! My mom has a knack for finding gorgeous old children’s books, some of which are sadly too worn to be enjoyed by our children. I used the pages with colored illustrations, arranged the pages a few times until I was happy with how the colors looked together, and secured them in placed with some double-sided tape. Super cute! (it was inspired by this table runner)A shower for a baby boy - with a storybook theme! | the Path Les TraveledFramed quotes from children's books were a perfect touch at this storybook themed baby shower. | the Path Less TraveledOne of the details I loved adding to this party were the framed storybook quotes and artwork. I found several through Pinterest, and a few through a basic web search – all were free, and when placed in frames I already had, made a fun addition to the shower. And the new mama enjoyed keeping a few for the little guy, too!Framed book quotes for a shower for a baby boy - with a storybook theme! | the Path Less Traveled


Stay tuned for more party photos, including more decor, the super darling and delicious food (all storybook themed!) and the guest of honor!

shop items featured:

Introducing …

Introducing …

DSC_0047Introducing…our newest member of the team, Ruth Ann Smillie!

Smillie siblingsOur new baby girl joined us just before noon on August 6 (which is the excuse I’m using for the lack of blog content recently :D). The birth went perfectly, different and yet the same as the three before her. She has been welcomed by enthusiastically loving arms of her siblings (they’re just about loving her to pieces!) and has been such a joy.

We are so incredibly thankful for this new little bundle. And, now that she’s here (and we are sleeping again! YAY!) you’ll see some more fun things around here. So much to share! So many new things in the shop! And perhaps even a giveaway in the near future. :)


I’m so happy to be back blogging again, sharing thoughts, ideas and updates with you lovelies,


<3

Grandma’s Molasses Cookies

Grandma’s Molasses Cookies

I’ve told you about the fruit salad {Ambrosia} that my mom’s mom used to make, and about her Lemon Curd, too. But I don’t think I’ve told you about some of the things my Dad’s mom used to make – and that is a definite shortcoming, since she was an amazing cook! Grandma was know for many dishes, but one of the ones she made every few weeks {and that I remember best} was her Molasses Cookies. Grandma's Molasses Cookies | the Path Less Traveled They were soft, yet firm, just the right texture to accompany a glass of milk {or cup of coffee, if you were old enough}. She used Blackstrap molasses when she made them, which resulted in a rich flavor that balanced the spices perfectly.Grandma's Chewy Molasses Cookies | the Path Less TraveledGrandma's Chewy Molasses Cookies | the Path Less Traveled

Molasses Crinkles

  • 1 cup packed brown sugar
  • 3/4 cup shortening
  • 1/4 cup molasses
  • 1 egg
  • 2 1/4 cups all purpose flour
  • 2 teaspoons baking soda
  • 1 teaspoon cinnamon
  • 1 teaspoon ground ginger
  • 1/2 teaspoon cloves
  • 1/4 teaspoon salt
  • granulated sugar

Mix brown sugar, shortening, molasses and egg. Mix in flour, baking soda, cinnamon, ginger, cloves and salt. Cover and refrigerate at least 1 hour.

Heat oven to 375. Shape dough by rounded teaspoonfuls into balls. Dip tops in granulated sugar. Place balls, sugared side up, about 2-3 inches apart on lightly greased cookie sheet. Bake just until set, 10 to 12 minutes. Immediately remove from cookie sheet. Makes about 4 dozen cookies.

Grandma's Spicy and Chewy Molasses Cookies | the Path Less Traveled Grandma's Chewy Molasses Cookies | the Path Less Traveled Grandma's Chewy Molasses Cookies | the Path Less Traveled


These come together quickly – the longest, most patience requiring part is waiting for the dough to firm up in the fridge! As they bake their aroma fills the whole house, making it smell amazing. And yes, they are pretty wonderful warm from the oven, too. :)

an engagement party for a bride-to-be

an engagement party for a bride-to-be

{I originally posted this this a few weeks ago, but it got lost in the Great Blog Erase of 2015 – thankfully, most of the blog content was recovered after about a week, but a few of the most recent posts were gone for good. So here it is again!}

One of my husband’s brothers is getting married this fall {yay!}, and several weeks ago his mom, sister and sister’s-in-law and I had the privilege of throwing the bride-to-be a “welcome to the family” brunch. It was so fun! We had lots of ideas of ways to make the engagement party special without breaking the bank, and we kept track of them on a group Pinterest board {have you ever tried using a group board for something like this? It’s so handy!}.

an engagement party for a bride-to-be | the Path Less TraveledWe used our home as the location on a Saturday morning, and for decorations were able to stick almost entirely to things I already had in my stash, and I made a few banners and personalized cake toppers for a special touch.
a tea party brunch for a bride-to-be | the Path Less Traveled an engagement party brunch for a bride-to-be - layers of lace and lots of pink and gold make it a romance filled event! | the Path Less Traveled Over the table, I had John {he so graciously offered to help with the decorating as I was pulling together the last minute details!} hang up a few of these pink lanterns, mixed with white lace lanterns and some white honeycomb balls, all of which were in my party decoration box. I’ve had all of them for a while now, and they’ve been used over and over and held up so well!

party planning tip: Having re-usable party decoration items in your hostess arsenal is a great way to keep costs down, allowing you to focus your party budget on other areas!DSC_0004 Each place setting had one of these gilded frames on it as a favor for the girls to take home – I found the frames in the dollar bin at Michaels, and then personalized them with little prints {that I made on our computer, and then “dry stamped” a large heart over the text} and some lace trim in a bow.A "Bride-To-Be" banner sets the bride's seat at the party apart | the Path Less TraveledOne of the things I made up just for the party was this pair of Bride To Be banners – we have a version in our shop, but I wanted them to be even a little bit more special, and in two layers since I had this vision in my head of decorating her chair with them. I used doilies that I dyed a light pink to back the white letters, and the resulting effect was quite romantic!
a vintage-style tea party brunch for a bride-to-be | the Path Less Traveled  #BecomingASmillie banner to celebrate a bride-to-be | the Path Less Traveled I made a #BecomingASmillie {her new last name} banner for over the window in the same style, and everyone loved it! It was quite cute, and the hashtag may even get used as the one for her wedding prep. :)dress up the chairs with vintage pillow cases and some satin ribbon - so romantic! | the Path Less TraveledFor the chair decor, we took my stash of vintage embroidered pillowcases and slipped on over the back of each chair, and then tied each with a pink satin bow.
Decorate the chairs with vintage embroidered pillow cases and satin ribbon | the Path Less Traveled It was John’s idea {don’t tell him I told you!}, and was gorgeous!!!a feminine tea party style brunch for a bride-to-be | the Path Less Traveled The table came together beautifully. I used a white, every day table cloth layered with a vintage pink damask table cloth and vintage damask napkins. For the table settings, I layered our white every day plates {these} with some vintage salad plates, and used the vintage silver plated table ware I inherited from a family member. The goblets were find at Marshall’s a while ago, and the tea set was from my grandma. It all came together so beautifully!DSC_0014 a feminine tea party style brunch for a bride-to-be | the Path Less TraveledTo accent the rest of the room, I had John hang up a Lace Doily Garland {looping back and forth across the room}, a Glitter Gold Confetti Garland {in the area over the table} and a Large Paper Hearts Garland in pink around the doorway. The garlands added an additional air of romance and festivity, taking the room from feeling like I had just set the table for the party to feeling like this party was an event. Such a difference!
a feminine tea party style brunch for a bride-to-be | the Path Less Traveled I loved having a reason to get out my special tea set! My sister-in-law made the Strawberry Iced Tea, and – wow. It was good!DSC_0017 My mother-in-law, sister-in-law and I each made a few dishes share, and the resulting buffet was delicious!personalize a tray of desserts with the initials of the couple-to-be! Engagement party on the Path Less Traveled The future Mr. and Mrs.’s initials are E and T, so a pair of glittery gold monogram dessert toppers {with a darling ampersand in a vintage style print!} seemed the perfect choice to top off the platter of Mango Scones. To the left there was a platter of {delicious!} Asian Salad Wonton Cups, and to the right a dish of Grapefruit Curd to accompany the scones.Donut holes on heart tipped bamboo skewers | the Path Less TraveledAs we were planning I came across this picture of donut holes on heart-tipped skewers, and quickly added it to the must try list!
mini BLT sandwiches, topped with heart and flag shaped cupcake picks | the Path Less Traveled The tea sandwich size BLTs were cute and scrumptious.mini BLT sandwiches, topped with heart and flag shaped cupcake picks | the Path Less Traveled DSC_0025 The little girl cousins had their own table :)DSC_0026 DSC_0028


It was a special time to welcome Tessa to the family. We all had full, hectic weeks leading up to the day, but taking the time to prepare for a special, out of the ordinary occasion and to visit with each other for a few hours was a blessing to each of the girls. Times like a wedding only come along a few times in a family’s history, and making them with a little fanfare is worth it!

Have you had a chance to celebrate your family recently? I’d love to hear about it!

<3

Items featured:

Bride To Be Banner

Paper Lace Doily Banner

Glitter Gold Confetti Garland

Large Paper Hearts Garland {in pink}

Monogram Cake Toppers

Gold Heart Cupcake Toppers

Vintage Floral Cupcake Flags


{ you can see more photos of the party here}

winter

winter

You know how Boston has gotten a hundred feet of snow this year {or at least, it seems like it}? Central Indiana has only gotten about a inch at a time {which is not enough to play in if you’re a preschooler who has their heart set on making snow angels and snowmen}, and even that was pretty icy and not very fun to play in.snow time!

But last weekend we got SNOW. I know many of you are already going without jackets and sweaters {it is March 5th, after all}, but last night we got another round of ice and snow, and I’ve decided to try to really enjoy these last few weeks of winter { and yes, I know spring is almost here – our tulips keep trying to poke through the snow and St. Patrick’s Day is just around the corner :)}.DSC_0149 DSC_0150 DSC_0152 DSC_0153 DSC_0154 DSC_0155 DSC_0156


<3

I’m baaaaack!

I’m baaaaack!

DSC_0109

Olivia is always a joy …

DSC_0113

…and LOVES to “help” with all things related to the shop ….

DSC_0115

…especially when it means she can ham it up for the camera. :)DSC_0121

DSC_0122

Our new Autumn Leaves Garland (inspired by a special request from one of you lovelies!)DSC_0075 DSC_0062

 Autumn Leaves Chair Banner

 How do you jump back into a game when you’ve been absent for so long? The good news is, this corner of the web has been quiet because life has been very, very good. So good, so full, that all my “little grey cells” are getting used up every day, all my energy poured out, and there really hasn’t been anything left to share with you here (because, really, you lovelies deserve so much more than the dregs of me!).

Anyhow, life keeps moving (meaning, there is much to catch you up on!) and changing, and it’s beginning to look like one of those changes might be me returning to this little space a little more often! I’ve missed you all so.


<3

just enjoying

just enjoying

just enjoying summerjust enjoying summerjust enjoying summerjust enjoying summerjust enjoying summerjust enjoying summerjust enjoying summer


The last month and half have been busy. Wonderfully busy. And I’m sure you’ve noticed a few “time gaps” here on the blog, and you know what? It’s okay. {at least, that’s what I keep telling myself!}

God has been blessing us with the increase in business we’ve been praying for, and we are sooooo extremely grateful! Of course, that busyness often translates into me needing to make some choices – choices between blogging and other things {you know, folding the laundry, “outside time” with the kids, gardening, knitting, actually completing my Bible study … stuff like that}. And lately I’ve been making choices toward my family, and away from blogging. And I know you understand.

Because this little bit of Indian Summer won’t ever come back, Olivia will never have another summer where she’s learning to crawl through the grass, Ian will only think the wading pool is his ocean for so long, and Emma Grace is growing like a weed. Because we need to enjoy it.  And enjoying it I am.

It won’t always be like this, only for a short season. Seasons like this are a good thing! The frenetic busyness is great! But just as great is the slow, purposeful enjoying of the moments that only come around once in a lifetime. Anyway, I’ll still be blogging. {actually, I have several terrific posts lined up that I know you’ll love!} But also, I’m working on taking time to slow down, making room in my days for the cherishing of little hands showing me “pretty rocks”, tiny blue eyes shining with joy and little sweaty curls of baby hair.

<3


p.s. thank you all so much for your support and encouragement after my last post! I really appreciated your kindness and all of you who emailed requesting her to remove my post. Thankfully, the blogger has since removed my content from her site.

p.p.s. we have some new changes coming to the site! Hopefully in the next few days we’ll be able to completely overhaul the checkout procedure, streamlining it and enabling you to use any form of payment you’d like {not just PayPal} and I’ll let you know as soon as it’s ready :)

our little buddy is three

our little buddy is three

oh my, our little buddy is three! I know it’s a bit cliche, but when I look at him I wonder, “how is it even possible?! Where did these few years fly to?” He’s such a sweet – and yet rambunctious – darling!DSC_0140 gah! his eyes slay me – full of the joy, enthusiasm and tenderness that are his trademarks, they, combined with his long lashes, will make your heart melt <3

DSC_0143Ian requested a car themed party, and I did my best to pull it off. Only a few of my ideas actually happened, but, as you can tell from his expression, he was thrilled!!!  I’ll be posting more about the party in the next few days :)


Happy Monday, Lovelies!

<3

How Tuesday: DIY Love Note Tree

How Tuesday: DIY Love Note Tree

So, perhaps you noticed that this How-Tuesday is on a Wednesday? Yes, it’s taken me a few days to get back up to speed after coming back from the wedding. But, even though it’s Wednesday and not Tuesday, I still wanted to post this for you {Valentine’s Day is coming! And you’ll want to start this as far ahead of the special day as possible, I imagine, so I didn’t want to wait until next week :)}.

DIY Love Tree Tags from the Path Less Traveled

Kind of inspired by Emily in this post, this is a “Love Note Tree” that, as each day goes by, will get another heart added with a little note telling your love what it is about them that you adore.

DIY Love Tree Tags from the Path Less Traveledmaterials needed: 14 paper hearts, hole punch, twine {or ribbon} and scissors, and a pen

DIY Love Tree Tags from the Path Less Traveledstep one: punch holes in your hearts

DIY Love Tree Tags from the Path Less Traveledstep two: write “I love:” on your hearts, filling in the things/reasons as you hang them on your “tree” {in my case, a branch}

DIY Love Tree Tags from the Path Less Traveledstep three: cut the twine in 4-6″ lengths, thread them through the hearts and tie DIY Love Tree Tags from the Path Less Traveledstep four: hang them on your “tree”

 So there you have it! By the time Valentine’s Day is here, this little branch will be full of hearts. <3 And each one will have another thing about John that I love, written on it for him to read.

Do you have any little projects that you’re doing for your love? Or, if you have kiddos, that you’re helping them to do? I’d love to hear about them!

<3