Browsed by
Category: recipes

grandma’s muffins

grandma’s muffins

Grandma's Bran Muffins | The Path Less Traveled Oh, the smells and flavors of family recipes! This month my grandma would have been 91 years old, and I’ve been thinking of her {and her recipes} a lot. These muffins came to mind, and I dug around a bit in my box of her recipes {sometimes I can hardly believe I have it! Such a treasure.} and found it – the recipe for grandma’s muffins.Grandma's Bran Muffins | The Path Less Traveled Grandma's Bran Muffins | The Path Less TraveledGrandma was an RN, and she was a firm believer in keeping everything “moving” ….and these muffins are some that I remember being a staple. {these, and her getting after grandpa for drinking too much coffee or using too much salt – “Jerr-ry!” :D}
Grandma's Bran Muffins | The Path Less Traveled 
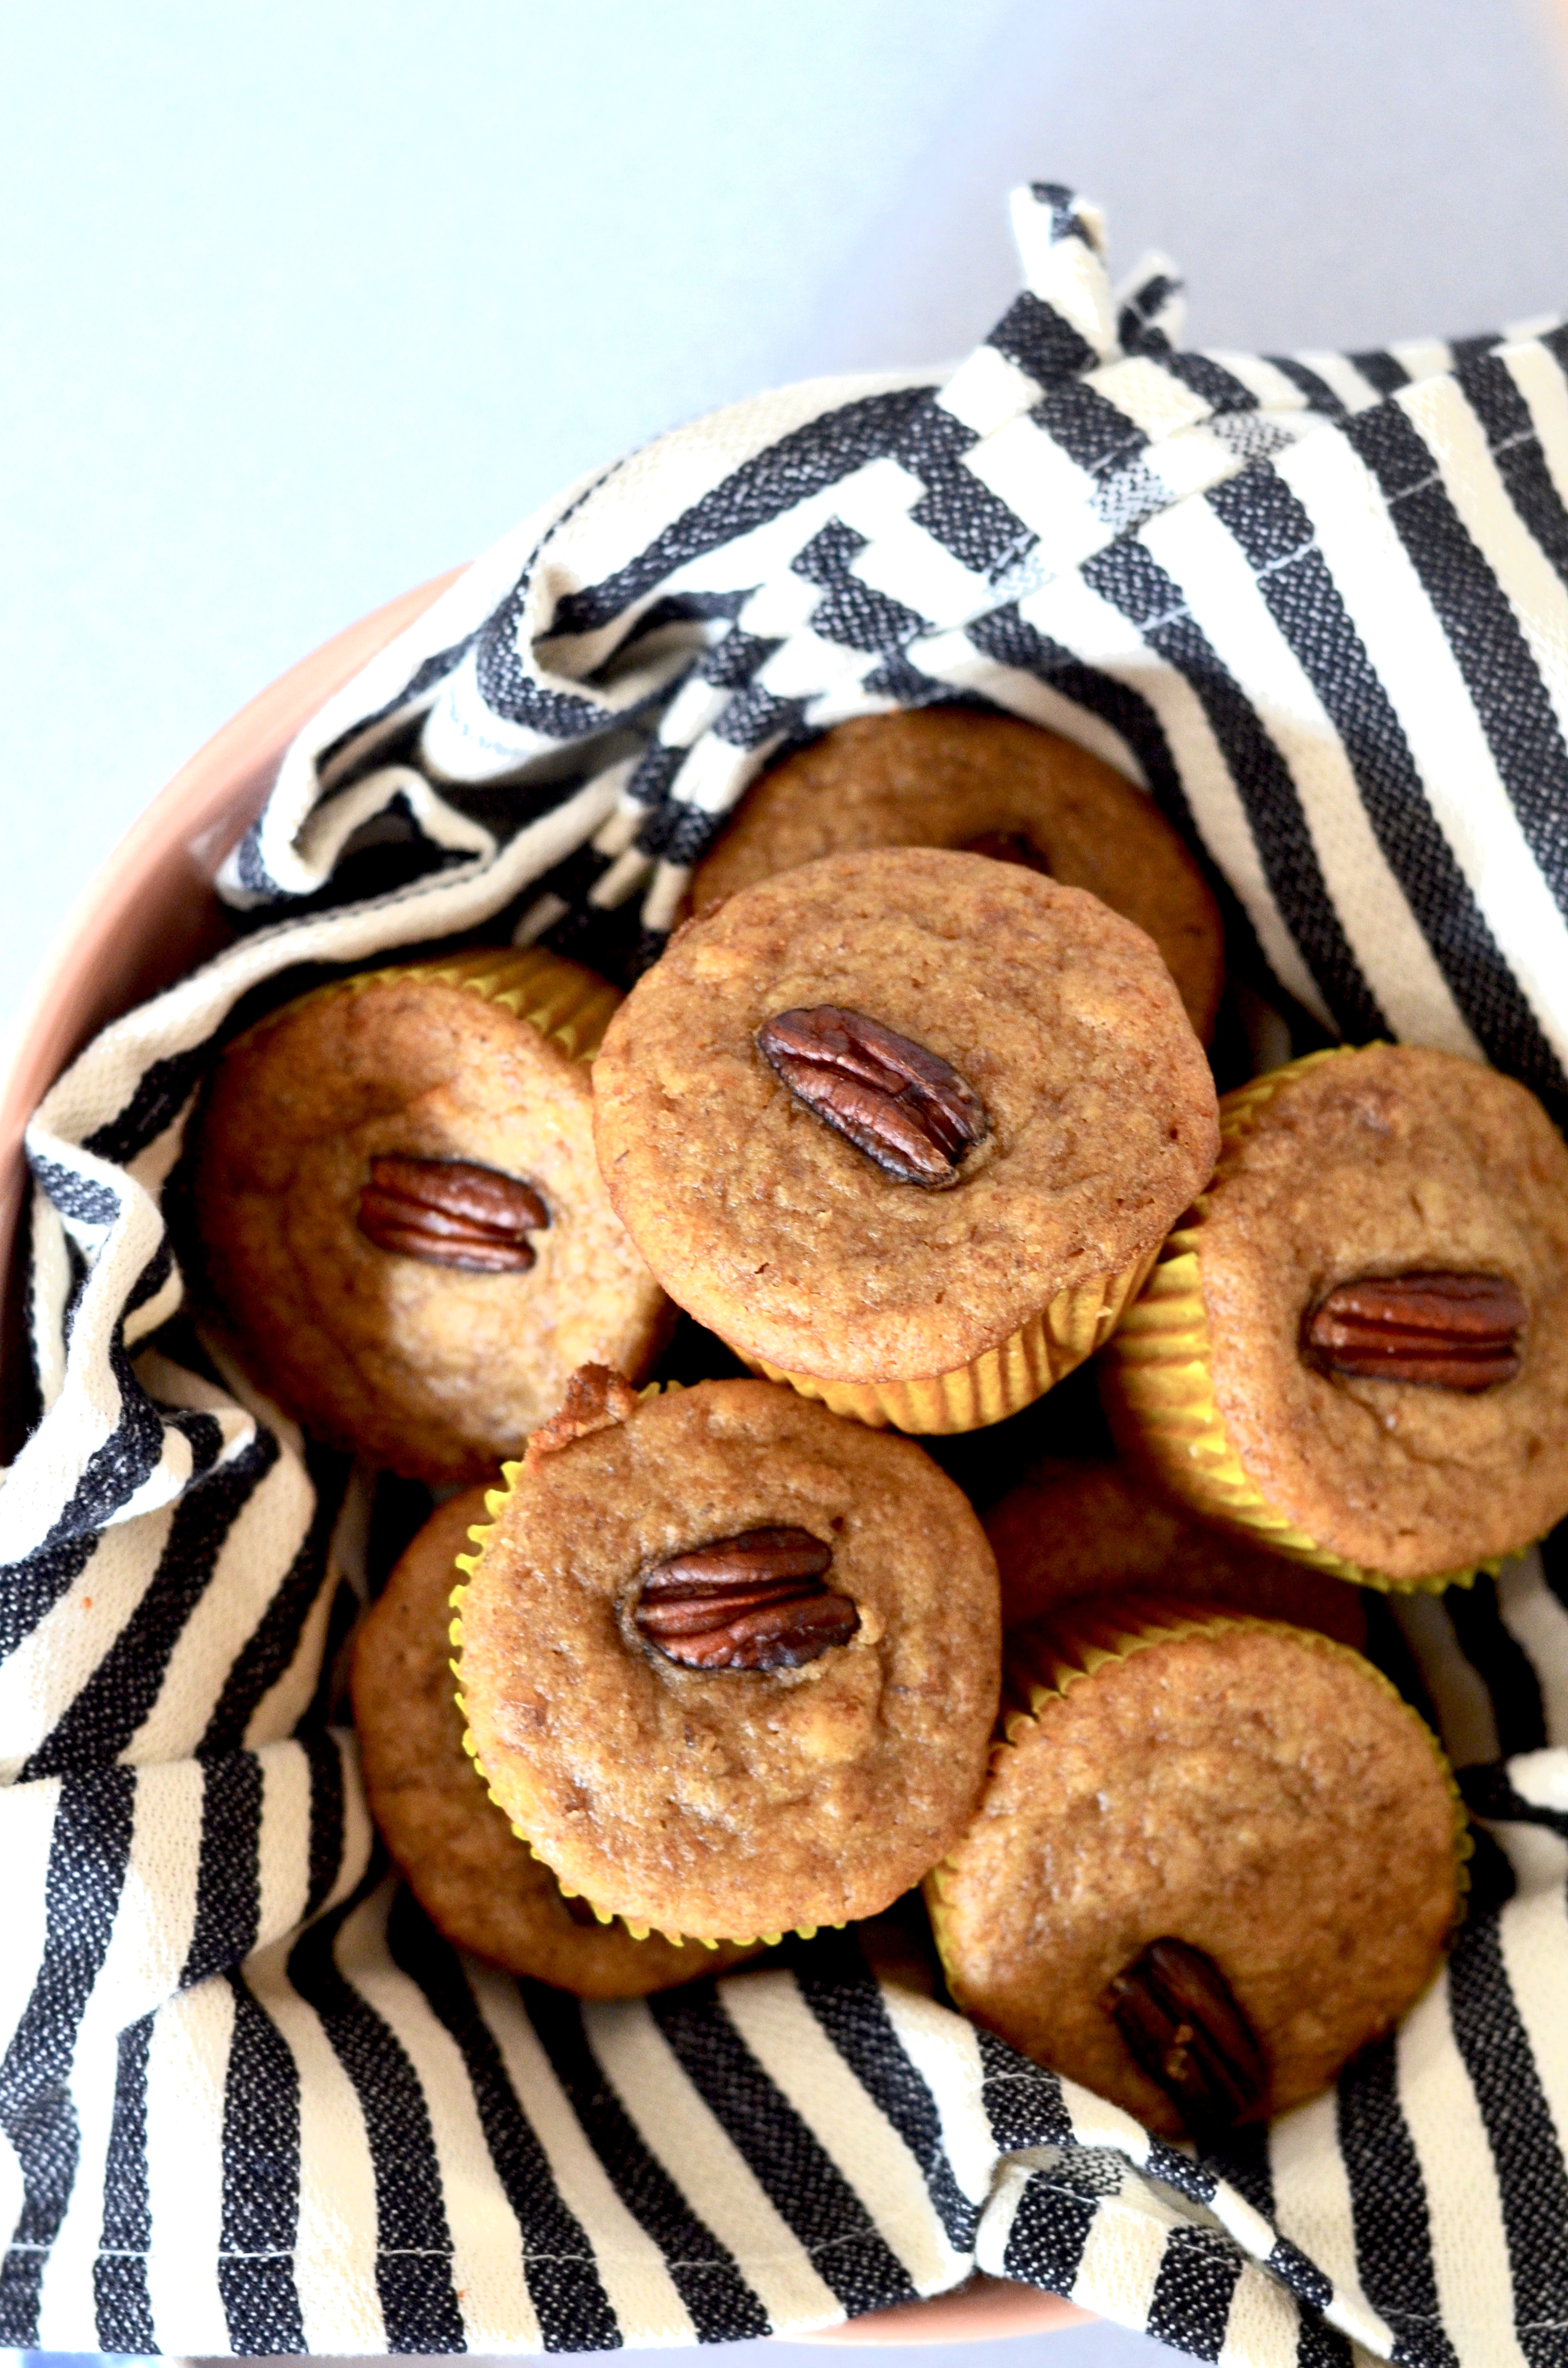
They are just a simple bran muffin, and best served warm with a thick swipe of butter.Grandma's Bran Muffins | The Path Less TraveledGrandma would top each one with a half of a pecan – a lovely touch. I remember Grandma loving the lovely touches, especially in the food she made.
Grandma's Bran Muffins | The Path Less Traveled Grandma's Bran Muffins | The Path Less Traveled Grandma's Bran Muffins | The Path Less Traveled When I found the recipe, I was a bit surprised to see that it was one that she had gotten from a friend – but only a little. :) Sometimes the best recipes are from friends, aren’t they? Also, I’m not sure why they are called “6-week Bran Muffins”. Grandma's Bran Muffins | The Path Less Traveled Grandma's Bran Muffins | The Path Less Traveled Grandma's Bran Muffins | The Path Less Traveled Grandma's Bran Muffins | The Path Less Traveled

These are quite simple to whip up, and freeze well.

6-week Bran Muffins

  • 3 cups bran cereal {grandma used All Bran}
  • 1 cup boiling water
  • 1/2 cup shortening {I used oil, grandma noted that she used margarine}

Mix above and let cool.

  • 2 eggs
  • 1/2 quart buttermilk
  • 2 1/2 cups flour {I used whole wheat}
  • 2 1/2 tsp baking soda
  • 1 tsp salt
  • pecan halves for topping, optional

Mix everything together, and bake the muffins at 350 degrees for 25 minutes. Makes 30 muffins.

Remember, they are best warm! With butter! But don’t eat too many at once ;D


Grandma’s Molasses Cookies

Grandma’s Molasses Cookies

I’ve told you about the fruit salad {Ambrosia} that my mom’s mom used to make, and about her Lemon Curd, too. But I don’t think I’ve told you about some of the things my Dad’s mom used to make – and that is a definite shortcoming, since she was an amazing cook! Grandma was know for many dishes, but one of the ones she made every few weeks {and that I remember best} was her Molasses Cookies. Grandma's Molasses Cookies | the Path Less Traveled They were soft, yet firm, just the right texture to accompany a glass of milk {or cup of coffee, if you were old enough}. She used Blackstrap molasses when she made them, which resulted in a rich flavor that balanced the spices perfectly.Grandma's Chewy Molasses Cookies | the Path Less TraveledGrandma's Chewy Molasses Cookies | the Path Less Traveled

Molasses Crinkles

  • 1 cup packed brown sugar
  • 3/4 cup shortening
  • 1/4 cup molasses
  • 1 egg
  • 2 1/4 cups all purpose flour
  • 2 teaspoons baking soda
  • 1 teaspoon cinnamon
  • 1 teaspoon ground ginger
  • 1/2 teaspoon cloves
  • 1/4 teaspoon salt
  • granulated sugar

Mix brown sugar, shortening, molasses and egg. Mix in flour, baking soda, cinnamon, ginger, cloves and salt. Cover and refrigerate at least 1 hour.

Heat oven to 375. Shape dough by rounded teaspoonfuls into balls. Dip tops in granulated sugar. Place balls, sugared side up, about 2-3 inches apart on lightly greased cookie sheet. Bake just until set, 10 to 12 minutes. Immediately remove from cookie sheet. Makes about 4 dozen cookies.

Grandma's Spicy and Chewy Molasses Cookies | the Path Less Traveled Grandma's Chewy Molasses Cookies | the Path Less Traveled Grandma's Chewy Molasses Cookies | the Path Less Traveled


These come together quickly – the longest, most patience requiring part is waiting for the dough to firm up in the fridge! As they bake their aroma fills the whole house, making it smell amazing. And yes, they are pretty wonderful warm from the oven, too. :)

one of my favorite comfort foods

one of my favorite comfort foods

Have I mentioned this recipe here before? Maybe? Oh wait, I have. Oh well! The photos I took this time around are a little prettier :)

My Gramma used to make this for Easter every year {and also most summer events}, and now when I think of spring, or my Gramma, this is one dish that is always in the front of my mind. Shetaught me the recipe when I was staying with her for a few weeks one summer and it is so simple that even a 10-12 year old can remember it. And it’s really yummy, too.

ingredients for Ambrosia, A.K.A. "5 Cup Salad" | the Path Less Traveled

So here you go (ready? you might want to write it down ….. ;) ):

Combine:
1 cup chunked pineapple
1 cup mandarin oranges
1 cup miniature marshmallows
1 cup flaked coconut
1 cup sour cream

ingredients for Ambrosia, A.K.A. "5 Cup Salad" | the Path Less Traveled my favorite comfort food: Ambrosia, A.K.A. "5 Cup Salad" | the Path Less Traveled Ambrosia, A.K.A. "5 Cup Salad" | the Path Less Traveled Stir. Cover and refrigerate for at least an hour to let the flavors meld together {although you can eat it right away, it tastes better if you let it rest} and then serve!

end of summer {Mint Chocolate Chip Ice Cream recipe}

end of summer {Mint Chocolate Chip Ice Cream recipe}

Oh my, we’re already looking at the end of Summer! In just one week it will be Labor Day here in the US, the day that traditionally signals the end of Summer and the closing of the community swimming pools {and the end of wearing white!} and the begin of Fall. Some of you with kids have already been back in your school routine for a month {the summers seem to keep getting shorter, don’t they?} and some of you won’t start until after Labor Day – but either way, the weather still says “Summer” and every last bit of it should be enjoyed … and what better way than with home made ice cream, of course!!!

My sister’s favorite flavor is Mint Chocolate Chip, and every few years I’ve tried my hand at making a yummy home made version – with varying results. Most recipes I’ve tried call for mint extract to provide the minty lightness, and I’ve found that usually it gave the ice cream an odd, “fake” flavor – not what I have in mind when I’m making ice cream from scratch! So, the other day I was missing my sister, had Mint Chocolate Chip on the brain again, and decided to give it another try. A few weeks ago I made a coconut ice cream recipe from Annie’s Eats {sooooo yummy! and it’s a simple, quick one, too :)} made from coconut milk that had the coconut flavor strengthen by steeping some flaked coconut in the milk. Yum! And so the idea for this version, spun off of hers and tweaked to include chocolate, was born.

16 oz half and half {or 1 cup heavy cream and 1 cup milk}

1/2 cup sugar

a sprig of fresh mint {mine was a gift from CameronHomemade – so kind of her!}

4 {+} oz chocolate

an ice cream maker

Mint Chocolate Chip Ice Cream - with fresh mintCombine the half and half, sugar and mint in a saucepan and heat until the sugar is dissolved, stirring occasionally. Mint Chocolate Chip Ice Cream - with fresh mintRemove from heat and let steep for 10-30 minutes. {the longer you let the mint sit in the cream, the stronger your flavor will be – I let mine sit a bit too long {closer to 30 minutes}, resulting in a stronger mint flavor than I was looking for, but it’s still delicious!}Mint Chocolate Chip Ice Cream - with fresh mint Remove the mint from the cream, straining if needed.DSC_0011 Chill your cream mixture thoroughly, overnight is best. {If you can’t wait, though, you can make an ice bath to speed up the process – place ice and water in a bowl larger than the one your mixture is in, place your cream bowl in the ice water and stir occasionally.}DSC_0012 Chocolate! I used a mix of Trader Joe’s Dark and 72% Dark, and the result was delicious!DSC_0015 DSC_0016 Chop your chocolate – I was looking for chocolate slivers and shards for this version, but any type of chop will work :)DSC_0019DSC_0005 Once your cream mixture is chilled, pour into your ice cream maker and freeze according to manufacturer’s directions, adding the chocolate near the end of the process.an easy Mint Chocolate Chip Ice Cream Recipe - made with fresh mint! And then, enjoy! How do you like yours – cone or bowl? Or straight out of the container? ;) I love how this recipe turned out! I think I’d like to try some chocolate mint next time instead of spearmint to strengthen the chocolate flavor … mmm! an easy Mint Chocolate Chip Ice Cream Recipe - made with fresh mint!

To celebrate the last {traditional} week of Summer, we are unveiling a new feature here on the site – a special selection of Special FindsHere you will find special, one-time finds with limited quantities that we have enjoyed in our home and are excited to share with you. We are looking forward to providing product reviews and also some “how-to’s” through the blog, and hope you enjoy them as much as we do. :) Our most recent find is {wait for it ……………} an ice cream maker! I hope that you enjoy these fun, brightly colored machines as much as we have ours. They are the electric, “ice-less” variety, which means that, if you store yours in your freezer as we do, you can have home made ice cream in under half an hour. Seriously, it’s the best! :)

Do you have plans for this last week of Summer? Will they include ice cream? ;)

Follow on Bloglovin

mmm, homemade granola

mmm, homemade granola

Yep, Baby Girl still hasn’t arrived.  Which means that I’m really nesting now. Baking. Sewing. Knitting. (but not cleaning – somehow I haven’t had a burning desire to get my 6-day-overdue belly bent over to clean things …)
And yesterday? I made granola. (and a few other things :D)

 (this recipe is from a woman in my MOPS group – thank you Cathy! I tweaked it just a bit)

1/3 cup oil
1/3 cup honey
1/2 cup brown sugar
1 tsp cinnamon
1 tsp vanilla
1/2 cup shredded coconut
2/3 cup nuts, roughly chopped
2/3 cup raisins (I used a mix of craisins and raisins)
2 1/2 cups oatmeal

  • combine sugar, honey and oil in a saucepan and cook until sugar melts and begins to boil. Add vanilla and cinnamon, remove from heat.
  • combine oats, coconut, nuts and raisins in a large bowl. Add sugar mixture, and stir until oats are well coated. 
  • Cover a jellyroll pan with foil (for easy cleanup) and spread oat mixture evenly in pan.
  • bake at 325 for 30 minutes, stirring twice during baking.
  • Store in an airtight container.

Once it’s cooled, you could also stir in other things – chocolate chips, perhaps?
 

And I also finally got around to making curtains for our kitchen window :)

recipe: Apple-Walnut Spice Cake with Cream Cheese & Praline Frosting

recipe: Apple-Walnut Spice Cake with Cream Cheese & Praline Frosting

This apple bundt cake is sooooo yummy. And the photos I remembered to take before it disappeared don’t do it justice!

Have you read the Brown Eyed Baker’s blog? If not, I highly recommend that you start – she posts some wonderfully delicious stuff! I get the updates emailed to me and am starting to think i might need stop reading them when I’m ready to lose the baby weight – or have some serious self control – since she targets baked goods, which are definitely my weakness :)

When I saw this recipe for apple cake I knew it would be perfect for us right now! Our little ones have taken to asking for “big” apples for snack time, meaning whole apples, and most of the time they only eat about half of the apple before they lose interest (which leads to a bowl full of brownish apple pieces in the fridge). A recipe like this was just what I needed to use them up!

The only things I changed were to use whole wheat flour, un-peeled apples and walnuts in place of the pecans, and the result was just scrumptious.

If you’d like to make your own, here’s a link to the recipe – enjoy!

<3

recipes as art

recipes as art

My dad’s mom died in March, and she was an excellent cook as well as a wonderful hostess. She left oodles of handwritten recipes, some that she hadn’t made in years, and some that were family classics. As I was looking through them I was inspired by this pin to frame some of them to decorate our kitchen.

I picked up these frames for $0.33 each from a thrift store, and once I had decided which recipes to use I painted the frames white. The can of paint cost $0.98 at Walmart. Amazing!

Once the frames were dry – after several coats to cover the black and gold finish – I used some natural colored photo corners to mount the recipes onto white cardstock (so that I can switch them out if I want without damaging them). I really love how they turned out! Although after living with them for a while I think I want to go back and add ribbons like the originals. : )

and this last photo shows how they fit in with the decor of most of our downstairs (really the only thing left out is the kitchen, which is behind me!) quite a bit of which is still in progress. Imagine the red turned to a creamy white or very light yellow, for example.

There is something so sentimental about being able to see the handwriting of someone you love, handwriting that will never write you another card, spelling out the recipes from your childhood every day. So, yes, I am very happy with how they turned out!

chocolate and peanut butter

chocolate and peanut butter

Just thought I’d share …

…even though you’ll probably wish that I hadn’t …

… that I have found something wonderful.

Peanut butter smeared onto a warm brownie. Mhmm. Yummm.

Not really a recipe at all, but soooo good!
(warning – they can be a bit addicting. As in, you realize that you just ate a quarter of the pan by yourself type of addicting)

You’re welcome.

<3

apple tarte tatin (sort of)

apple tarte tatin (sort of)

The other night I made one of my favorite simple desserts – an apple tarte tatin – and it was so simple that I didn’t use a recipe. I made it once from Williams-Sonoma’s Pie and Tart, and have been making a version of it every so often from memory. And they’ve all been really good. (and really simple to make – always a good thing : D)

To make our version, you start with a few apples (2-4, depending on their size) which you slice thinly. I like to leave the skins on, but I think if you wanted to make an authentic apple tarte tatin you would need to take them off.
Then you sprinkle about 1 cup of sugar evenly on the bottom of an oven-proof skittle/frying pan. Dot that with 4 tablespoons of butter and then arrange the apples on top. The round part (outside) of the apples should be facing the bottom of the pan – you will eventually turn the entire thing upside-down and the bottom will become the top.
Then you top the entire thing with a piece of pie dough (or puff pastry – both are absolutely delicious options) and tuck the edges down.

Bake it in a 375 degree oven for about an hour or until the apples are tender when you poke it with a fork.
Let it rest for about 5 minutes and then place your serving plate on the skillet and (very quickly and carefully) flip the tatin upside-down onto your plate.

The combination of caramelized sugar and butter and apples and flaky dough is amazing! You can serve it with ice cream or whipped cream, but to do so is really gilding the lily. : )

Oh! I also have started growing herbs on our kitchen windowsill and love it! We have a pot of basil that has been so delicious to use and the cilantro is almost ready. I started some rosemary too and am waiting to see if it will sprout. Fresh herbs have been so wonderful!

hello again : )

hello again : )

It’s June 23 and Summer has officially been here for 2 days. And I haven’t blogged since May 14 – yikes!

I had every intention of posting a new silhouette in the shop for Father’s Day, using the one that I was making as John’s gift as the example. Um …. I got his done on Father’s Day afternoon. Definitely not in time to post.
His dessert this year was a Strawberry Upside-down Cake (recipe from here) and it was delicious. : )

Emma had seconds. : )

Blurry, but the best shot of John and the little ones from the day.

Father’s Day was relaxed, fun and John got showered with loves from our children. He’s such a wonderful daddy, and their love is proof of that!

So, yes, I have plans to post about all that I’ve been doing during the silence on this blog. And it’s been a lot!