Browsed by
Tag: crafts for kids

Summer Crafts: Ice Painting

Summer Crafts: Ice Painting

(I wrote this post at the end of July and am just now getting around to publishing :D)

Around here it has been wet and warm this Summer, which put together makes for hot, steamy days! Hot, steamy days can lead to the kids being just as cooped up inside as rainy ones, so we have been coming up with some ideas to help them stay out (and cool) as long as possible, one of which is Ice Painting. It is super easy (you could probably figure out how to do it by simply looking at one of these photos!), entertains kiddos for quite a while and is also (nearly) free – a triple win!Summer Crafts for Kids: Ice Painting | the Path Less Traveled They love any craft that involves painting, and could spend hours coloring on the sidewalk, so I combined both!Summer Crafts for Kids: Ice Painting | the Path Less Traveled It is quite simple, really, only involving a bit of forethought on the part of the parent. :)Summer Crafts for Kids: Ice Painting | the Path Less Traveled

You will need:

an ice tray

water

food color

paper (optional)

paintbrushes (option)
Summer Crafts for Kids: Ice Painting | the Path Less Traveled Fill the ice tray with water and add a few drops of coloring to each well. I used two trays and made about eight different colors for this project. Put the trays of colored water in your freezer, and wait! Summer Crafts for Kids: Ice Painting | the Path Less Traveled Once the ice has frozen, spread out some papers (I used a length of white butcher paper) on a table or concrete (we used our patio – a driveway or sidewalk would also work well) and add the colored ice cubes to it. I also supplied some small paintbrushes and encouraged the kids to rub the ice around, “painting” with the trails of colored water it left.

Summer Crafts for Kids: Ice Painting | the Path Less Traveled

Much fun was had by all! Now that the weather is starting to cool again, I’m imagining that using the colored ice cubes in a warm bath would be equally fun. :)

how-Tuesday – recycled crayons

how-Tuesday – recycled crayons

Have you ever thought of buying small packs of crayons to include in a gift for a child? or to stuff in a busy bag or child’s party favor bag? Well, today we have a quick, eco-friendly, child do-able {with a bit of encouragement and supervision from an adult}, perfect for Earth Day how-Tuesday project – recycled crayons! And, assuming you have crayon bits already, it’s free {always a win!}!

One of the lovely things about this project is that you can make the crayons into whatever shape you choose to suit your theme or the child’s interests – having a beach themed wedding? Use a sea creature or shell shaped mold and viola! Custom shaped crayons!

materials needed: crayon pieces, mold {we used a mini muffin tin with silicon liners – you can also use a greased muffin tin, a silicon candy mold, or even small cookie cutters on a foil lined baking sheet}, an oven

making recycled crayons via the Path Less Traveled
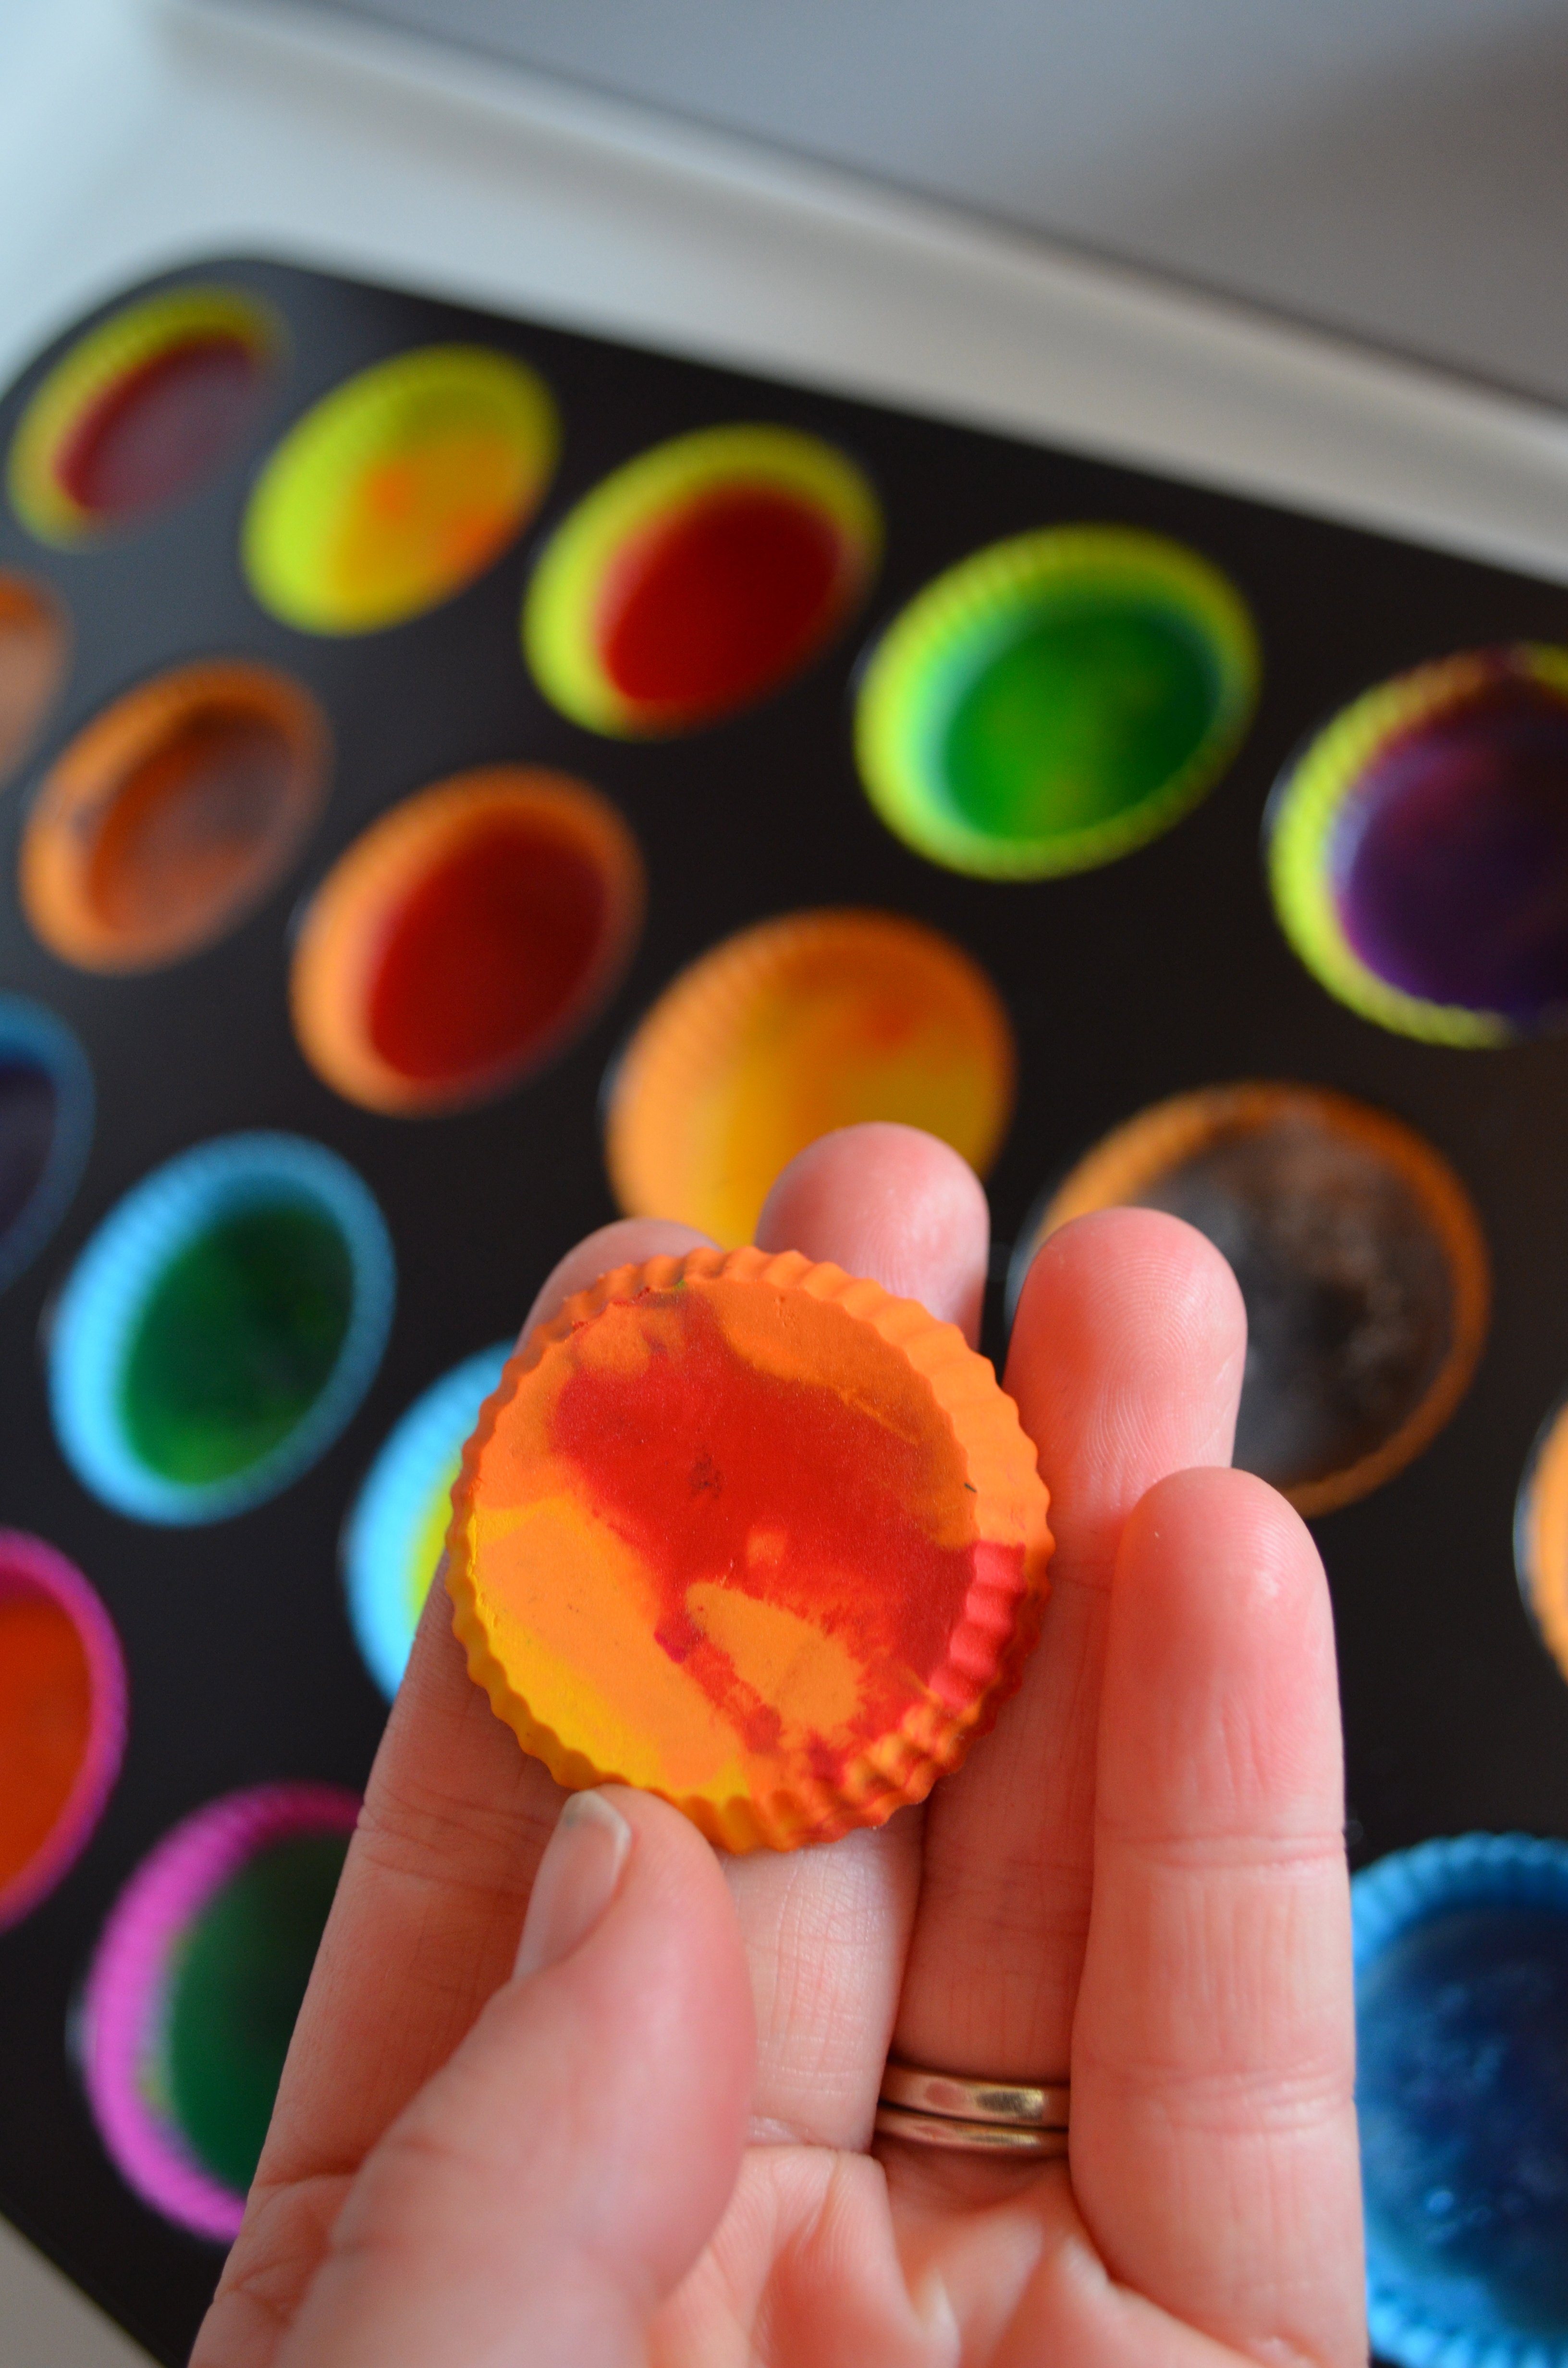
step one: prepare your crayons. Unwrap the one ones that still have paper on them, and, if needed break them further down so that they will fit in your mold
making recycled crayons via the Path Less Traveled

 *note: if the crayons have gotten hot {such as in the diaper bag that you might have left in your car? *ahem*}, peeling off the paper might take a bit of work :)making recycled crayons via the Path Less Traveled
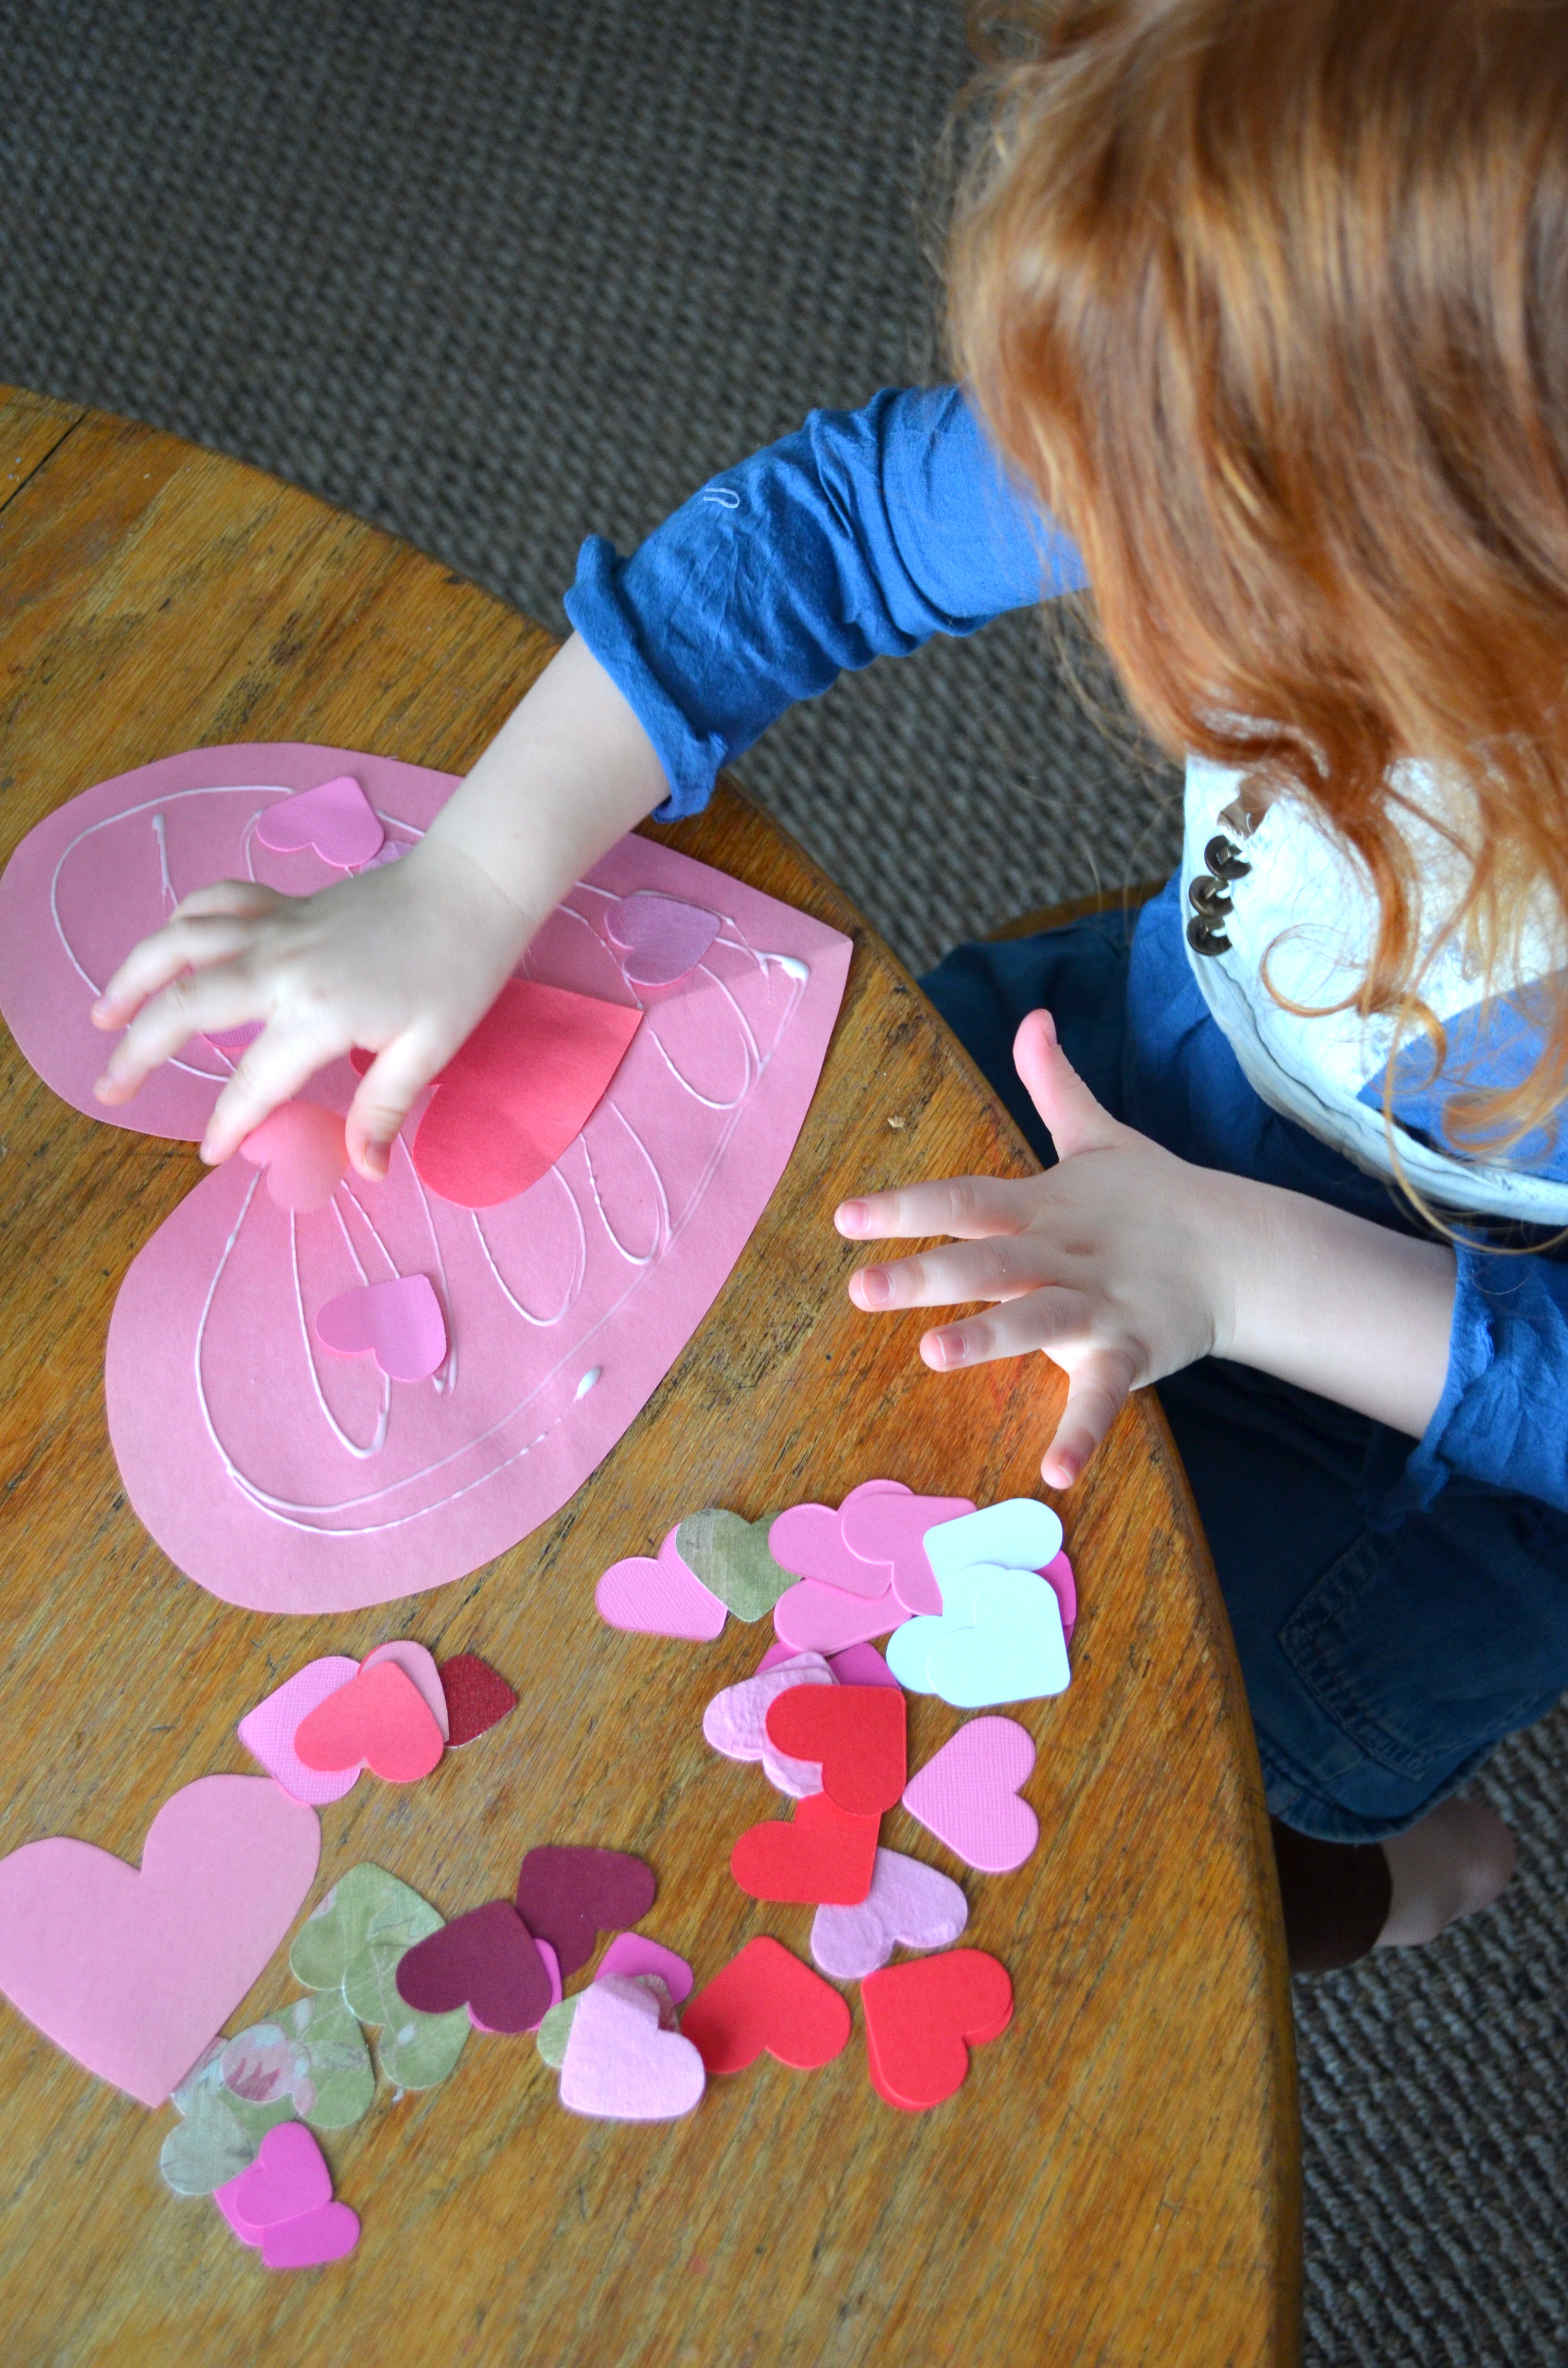
step two: arrange your bits in the mold – we chose to arrange by color, but you might decide to do a variety together – the combination options are endless!making recycled crayons via the Path Less Traveleda little artist hard at work {i’ve been told that I make the same face when I’m concentrating on my work ;)}making recycled crayons via the Path Less Traveledstep three: preheat your oven to 275* {135 celsius} and put in your mold. This little guy was soooo patient!

making recycled crayons via the Path Less Traveledthe pan after about 3 minutes

Keep an eye on your crayons – the wax will smoke once it has completely melted {ask me how I know ;)}

making recycled crayons via the Path Less TraveledStep four: Pull them out of the oven and let them cool. They will be cool enough to handle after a few minutes, but will take just a few minutes longer before they are “set” entirely through.
making recycled crayons via the Path Less Traveled
 Step five: enjoy! At this point they are ready to package or use to color with … we did a bit of both :) My little ones love coloring with these larger sized crayons!

I’d love to hear if you try this and what you do with your new shapes! A collection of multicolored Lego men marching through the crayon box, perhaps? Or maybe some colorful hearts to remind your guests of your special day? Might I suggest using some bags like these to package them? They’d be so lovely!

blessings for a lovely day,

XO

p.s. there will be a giveaway tomorrow!!!

p.p.s. would you like to see more posts like this? sign up for my updates and you’ll receive my newest content and exclusive deals in your inbox!

{I’m sharing this on Today’s Creative Blogthe Girl Creative,  Sew Can DoA Vision To RememberSkip To My LouSew Chatty and C.R.A.F.T.}

Follow on Bloglovin

How-Tuesday #4 – child-made Valentines

How-Tuesday #4 – child-made Valentines

Well, the picture in my head for this post and how it actually turned out are a little different, mostly due to me deciding to actually have my children make the Child-made Valentines {novel idea, I know ….} on their own. It turned out so different that I was thinking of skipping the post this week, but then thought that you’d enjoy seeing it anyway, so here it is for your enjoyment!

the Path Less Traveled child made Valentines

the Path Less Traveled: making ValentinesStep one: get really brave and allow your child to squeeze their own glue :)

the Path Less Traveled: making ValentinesStep two: watch your child choose their own supplies from the array you’ve provided – the ones of choice for this project were: large construction paper hearts, paper doilies and small colored hearts

DSC_0019

step three: watch the child enjoy pouring out their love and creativity

the Path Less Traveled: making Valentines

the Path Less Traveled: making Valentines

the Path Less Traveled: making Valentinesand then, step four, sit back and admire them :) And plan who they’re going to give them to! Grampa? Mimi? Daddy? Baby Sister?

All in all, this was quite a sweet project. The finished products weren’t really what I had envisioned {think lace, glitter, etc.}, but they were even sweeter because of the originality that the little ones brought. And I know that all their loved ones will adore them! :)

The real “how-Tuesday” today, I think, is learning how to release your child to create however they choose – even though I deeply desire them to create on their own and love the creative process, somehow I have a hard time letting them. Do any of you find this for yourselves?

I hope you’re having a lovely Valentine week!

<3

p.s. don’t forget! the shop coupon code for 15% off of your entire purchase {BeMine} expires midnight on the 14th