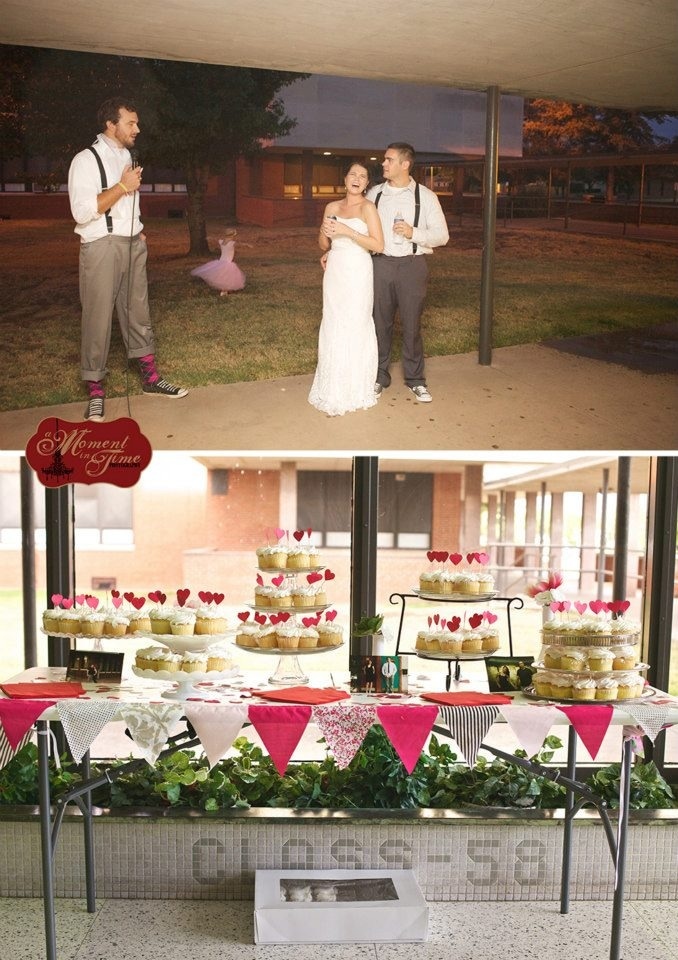
Come this Friday, my husband and I will have been married for 5 years. 5 amazing years!
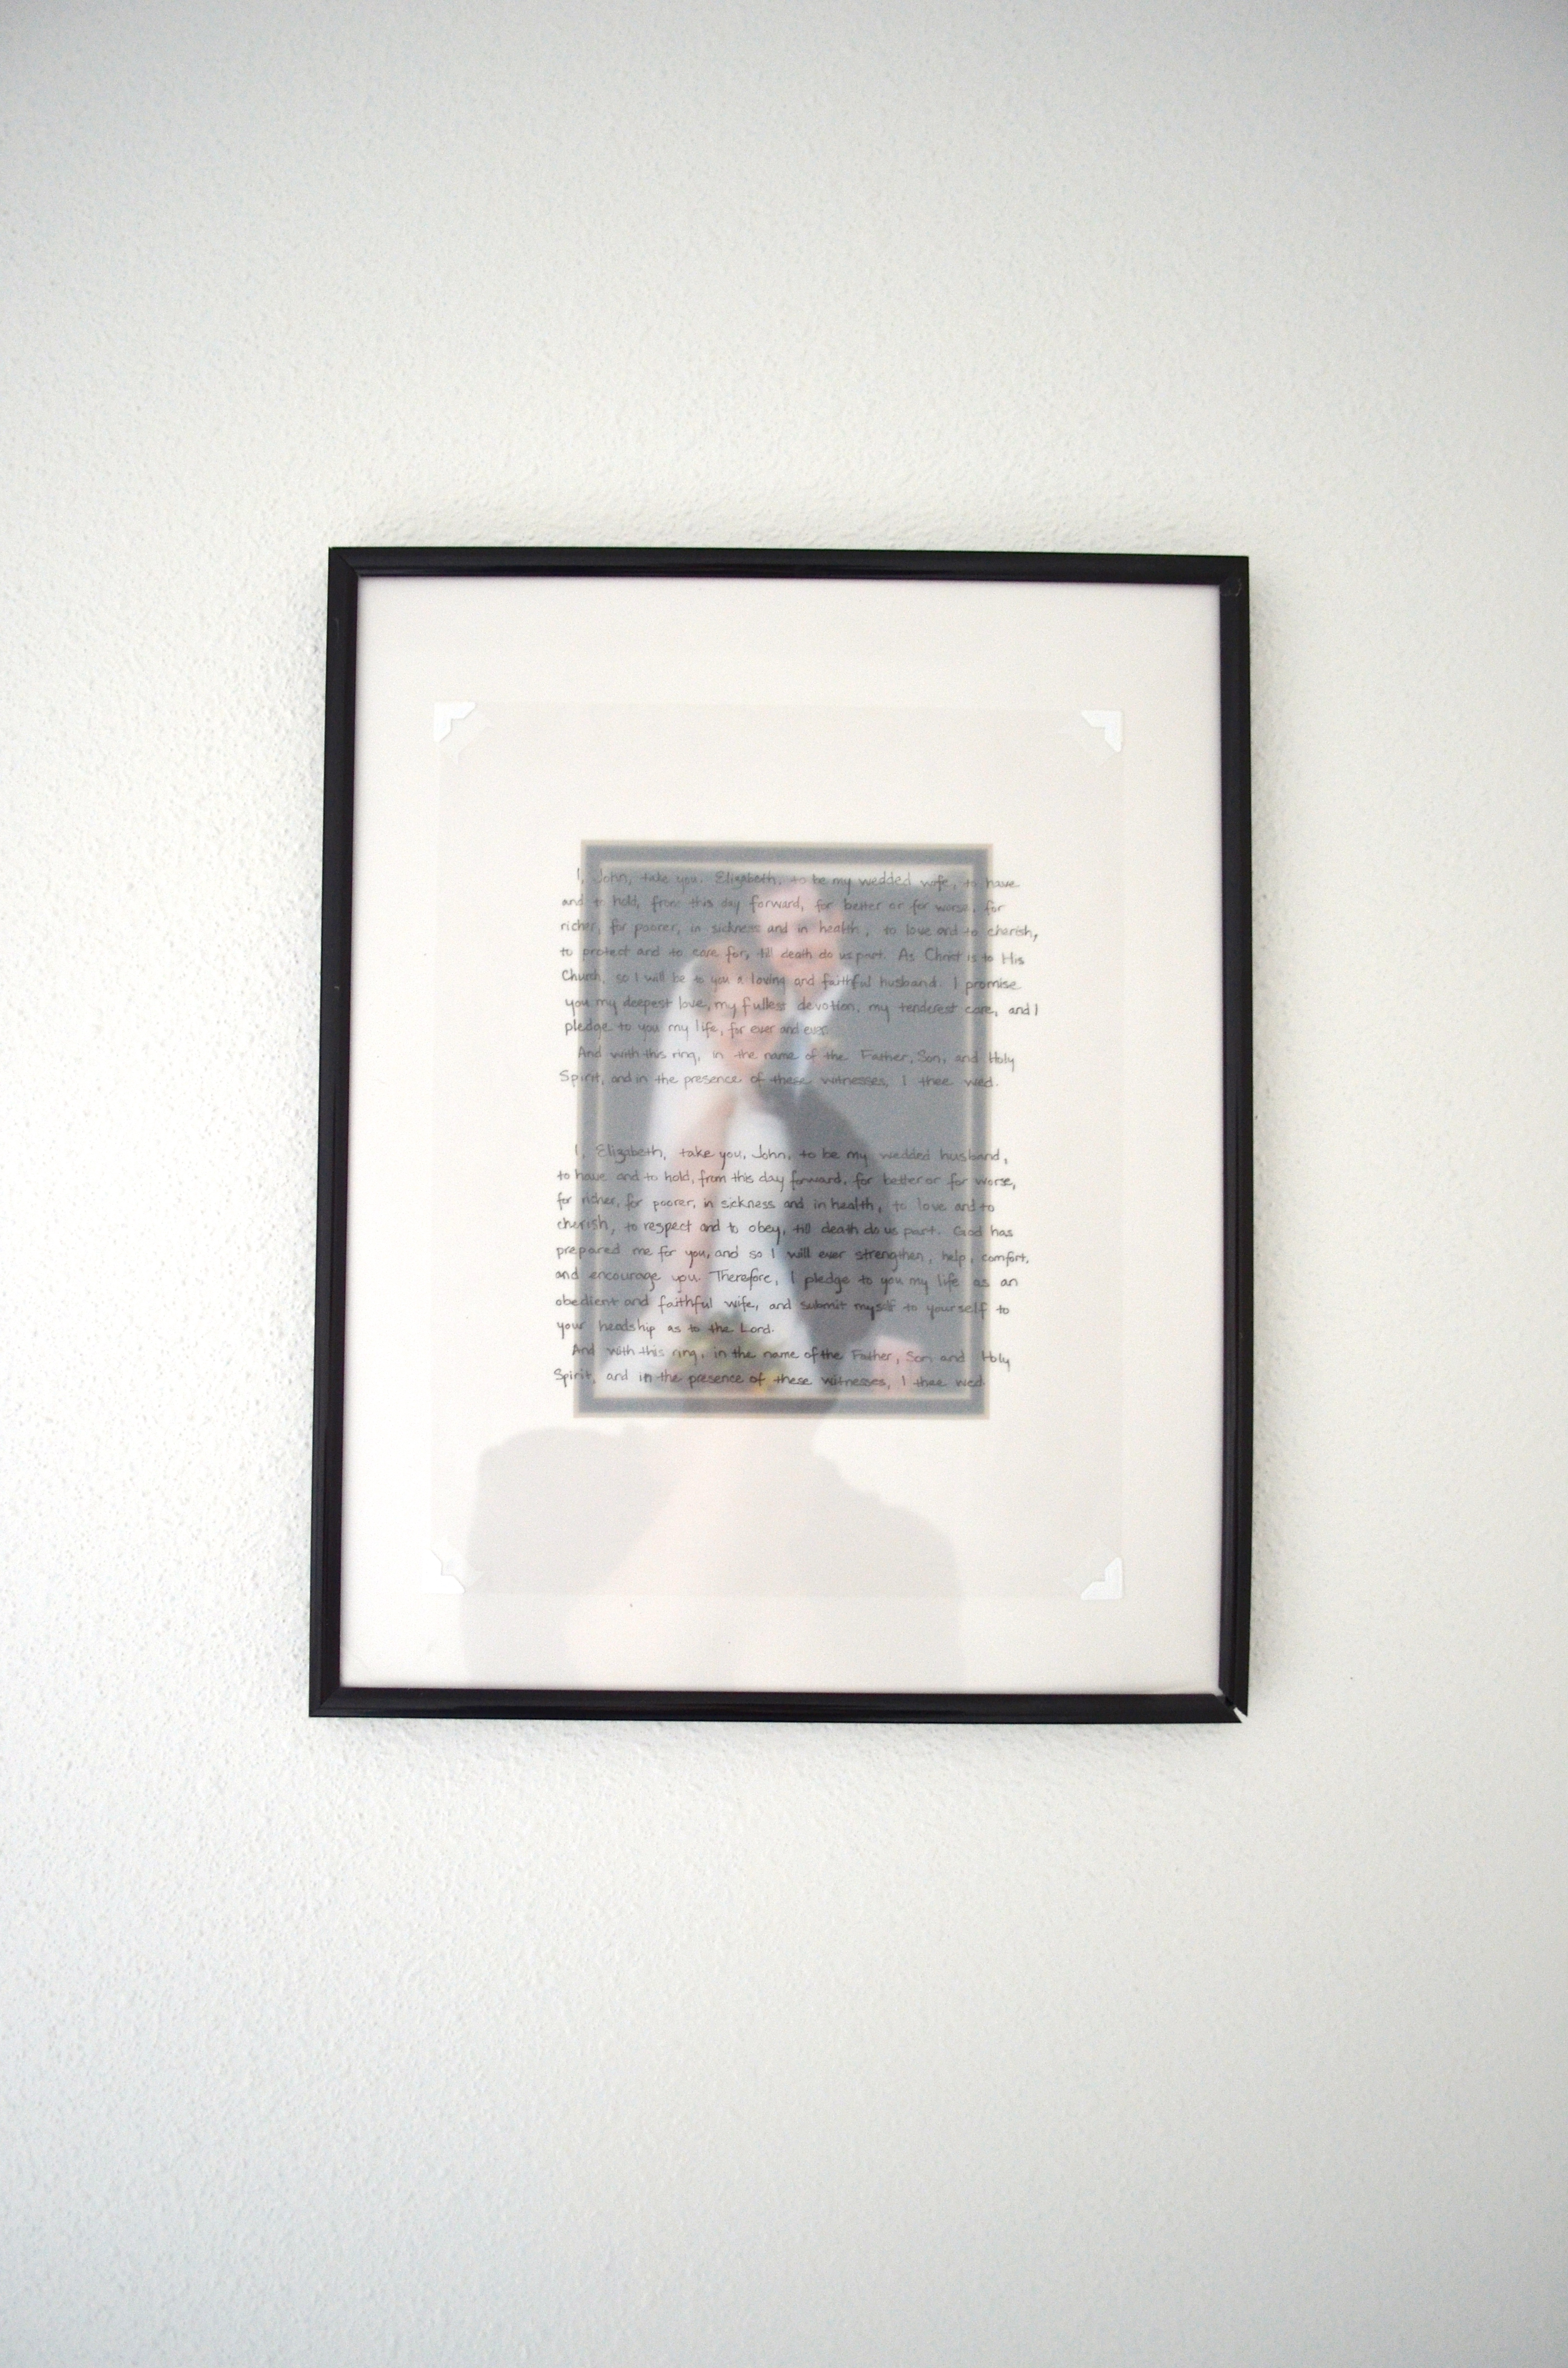
To celebrate that milestone, I have a sweet anniversary keepsake that I’d like to share with you for today’s How-Tuesday – of course, it doesn’t just have to be for an anniversary. You could make a version of this for any special photo: an engaged couple, babies, graduations …. just switch out the marriage vows for a quote or poem and viola! A new piece of art to grace your wall {or to use as a gift – this would make a lovely, cherished gift!}.
 materials needed: your marriage vows {or whatever poem/quote that you’d like to use}, lined paper, vellum {or tracing paper}, a fine point pen, your photo, a frame
optional materials {not pictured}: photo corners, photo mat You’ll need to determine the area that you’d like your writing to cover – if you’d like it to go all the way across your frame or just be centered over your photo. Place your vellum over the lined paper and start writing. {or maybe, if you’re nervous, practice on some scratch paper before starting on the vellum} Take your time!
  Once you’ve finished writing – being careful not to smudge the ink as you go along – you can put the layers of the art together. I used an 11×14 frame with a 4×6 photo, and so of course need a mat to fill out the frame. :) The layers, as I stacked them, are: glass, vellum, mat, photo, cardboard reinforcer that came with frame and frame back.
– Because I chose to place the vellum over the mat instead of under it, I used white photo corners to anchor the corners and add another layer of texture.
Once you have the layers adjusted to your satisfaction, carefully pop them in the frame and secure it. Then either wrap it {if using as a gift} or display on your wall – you’re done!
I can hardly believe that 5 years have already gone by – being married to John has been a blessing each and every day.
This project is a great way for us to be able to see {and be reminded of} our vows on a daily basis, and it has the added effect of renewing my gratefulness for him when I see how he’s fulfilling his vows on a daily basis. God gave me a winner! The congregation at our wedding laughed as I jumped with giddy joy when I heard John say “I do”, and I love being reminded of that moment – and his continuing faithfulness – each day!
xo
Did you miss the coupon I shared yesterday? If so, you might like to click over and check it out – it’s a good one!
{I’m sharing this on the Girl Creative, Sew Can Do, A Vision To Remember, Skip To My Lou, Sew Chatty and C.R.A.F.T.}
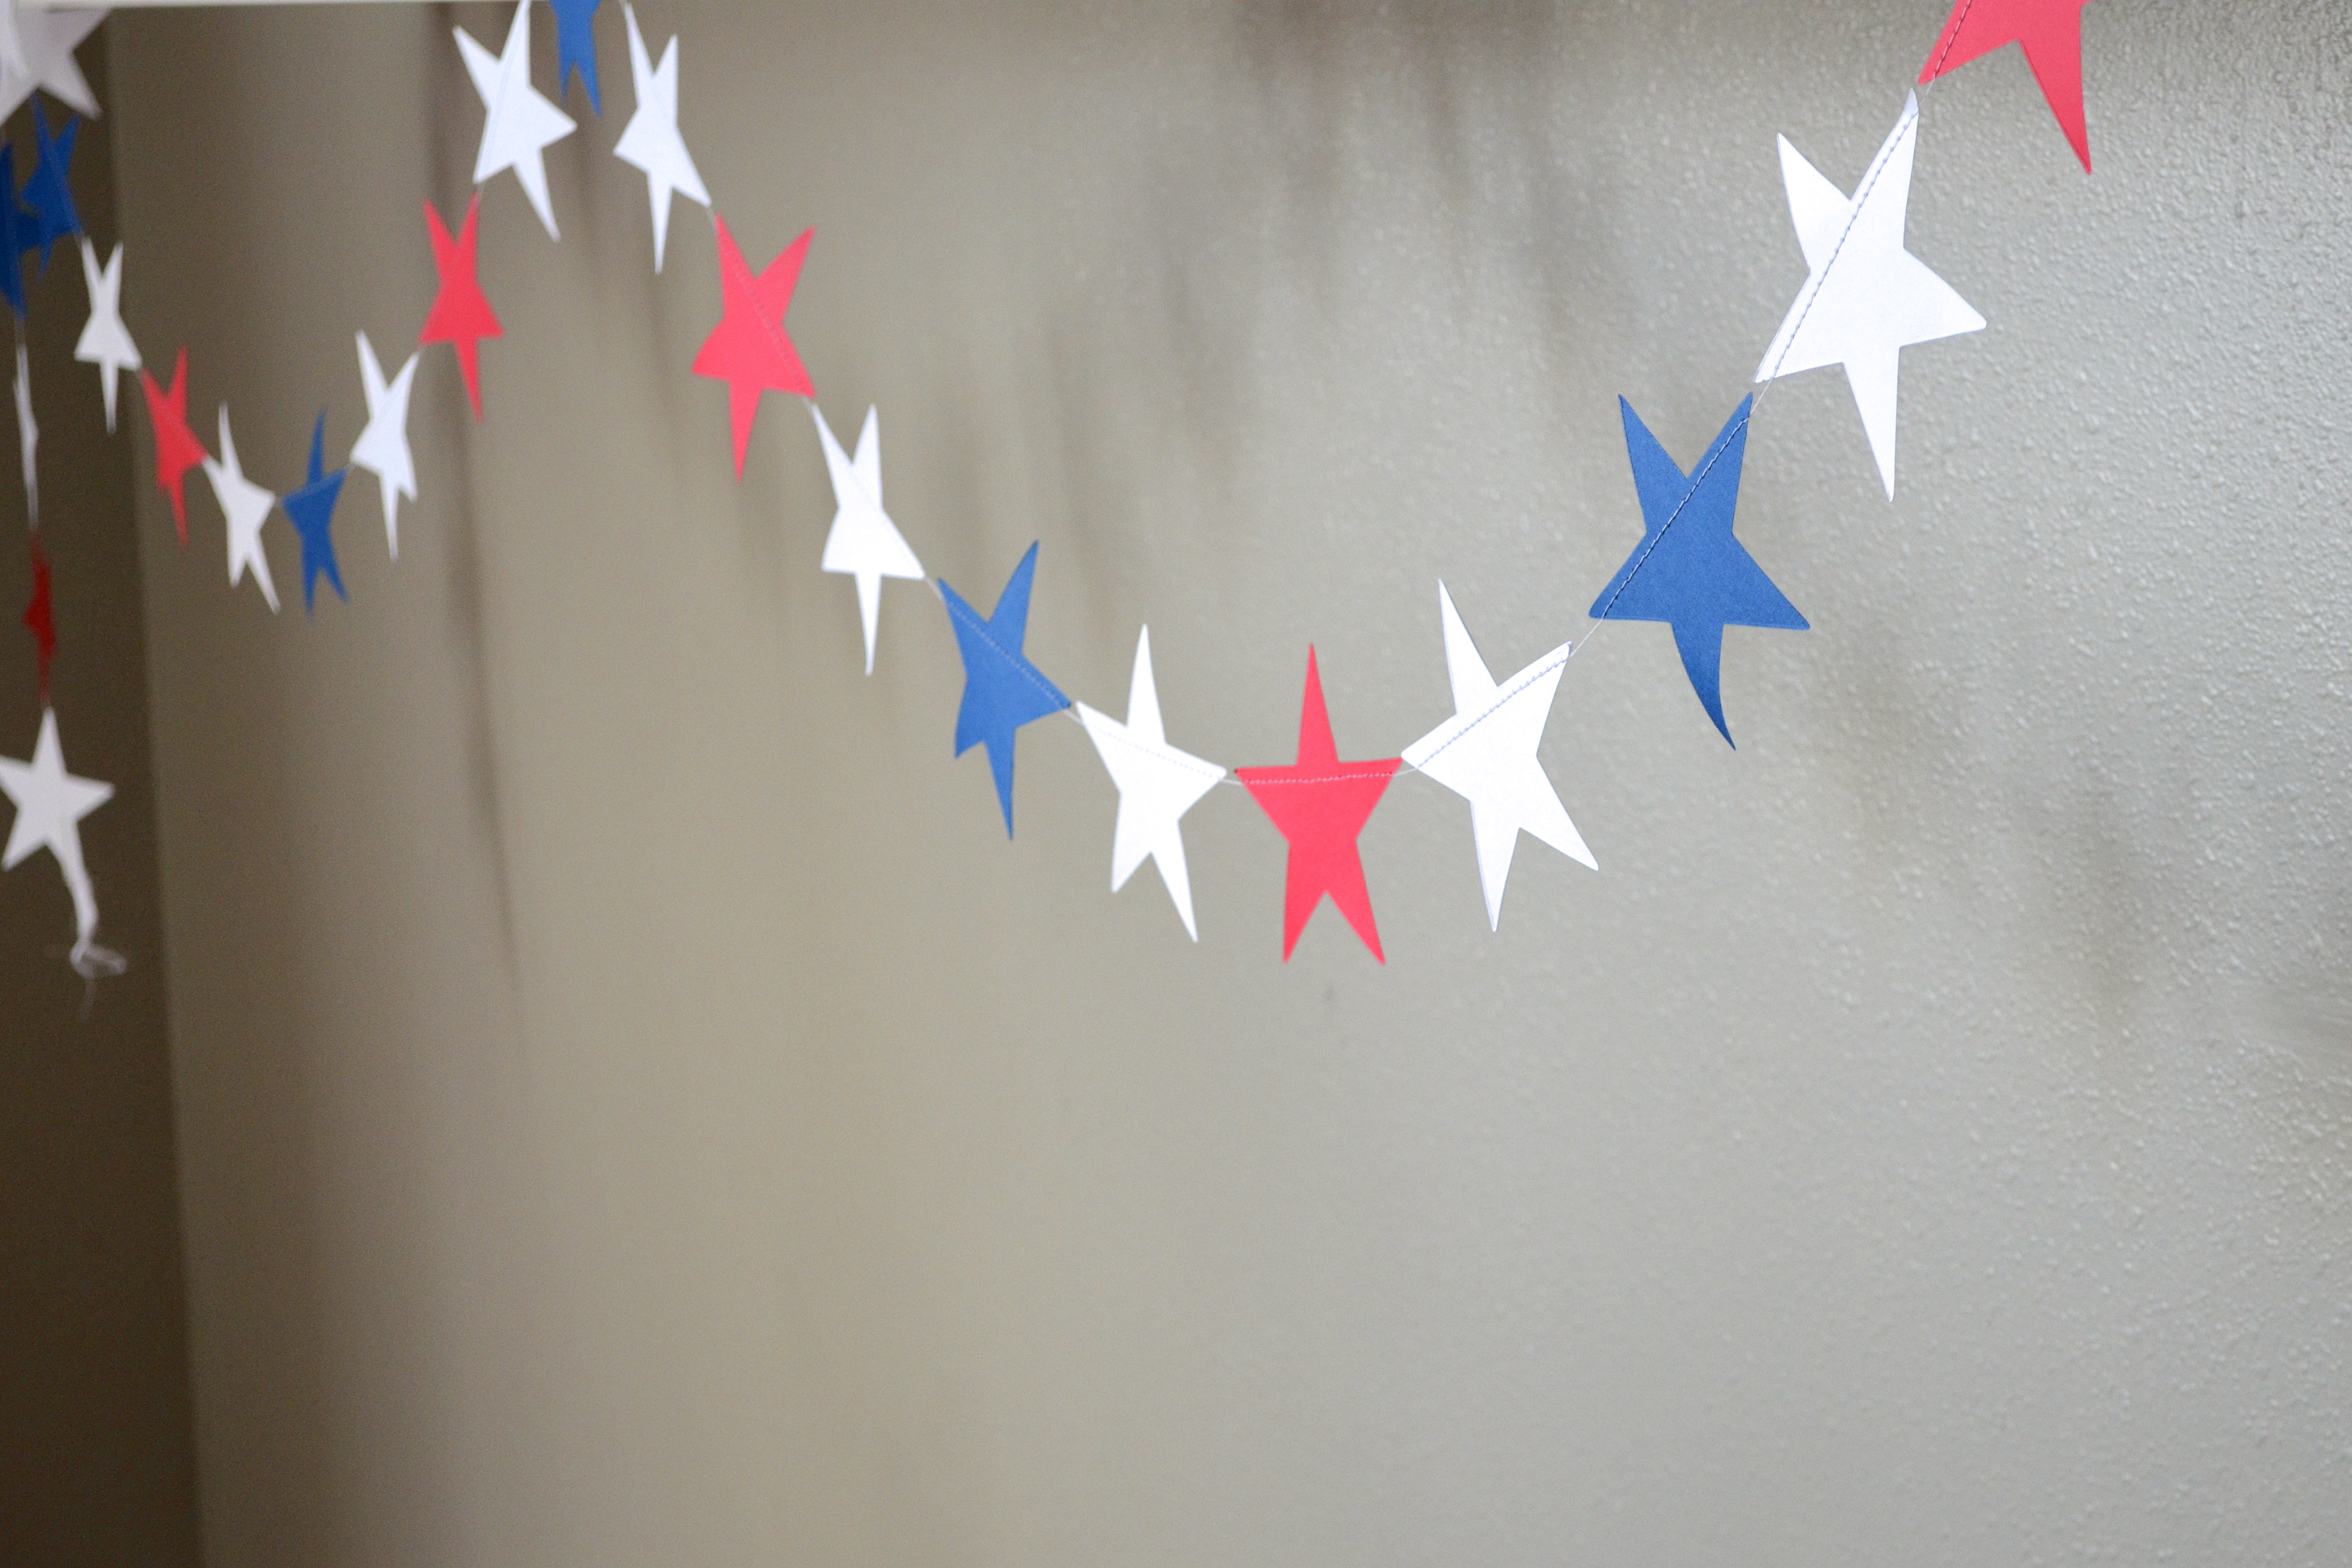
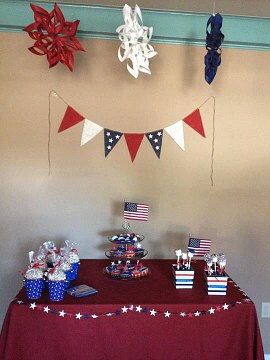
 I’ve just added our newest garland to the shop! {you might have seen a sneak peek of it in my Instagram feed or this post}
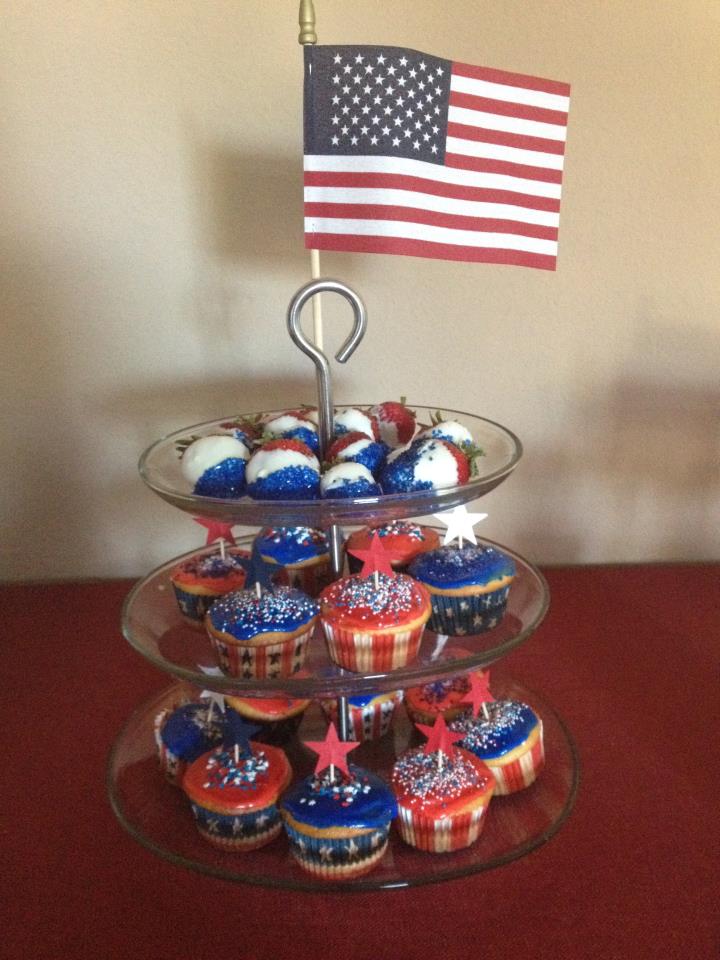
 Isn’t it lovely? Each of the stars is almost three times larger than the stars in our smaller patriotic garland, and makes an even bigger visual impact – because sometimes you just need a big”pop” of color!