how-Tuesday – recycled crayons
Have you ever thought of buying small packs of crayons to include in a gift for a child? or to stuff in a busy bag or child’s party favor bag? Well, today we have a quick, eco-friendly, child do-able {with a bit of encouragement and supervision from an adult}, perfect for Earth Day how-Tuesday project – recycled crayons! And, assuming you have crayon bits already, it’s free {always a win!}!
One of the lovely things about this project is that you can make the crayons into whatever shape you choose to suit your theme or the child’s interests – having a beach themed wedding? Use a sea creature or shell shaped mold and viola! Custom shaped crayons!
materials needed: crayon pieces, mold {we used a mini muffin tin with silicon liners – you can also use a greased muffin tin, a silicon candy mold, or even small cookie cutters on a foil lined baking sheet}, an oven
 step one: prepare your crayons. Unwrap the one ones that still have paper on them, and, if needed break them further down so that they will fit in your mold

*note: if the crayons have gotten hot {such as in the diaper bag that you might have left in your car? *ahem*}, peeling off the paper might take a bit of work :) step two: arrange your bits in the mold – we chose to arrange by color, but you might decide to do a variety together – the combination options are endless!
 a little artist hard at work {i’ve been told that I make the same face when I’m concentrating on my work ;)}
 step three: preheat your oven to 275* {135 celsius} and put in your mold. This little guy was soooo patient!
 the pan after about 3 minutes
Keep an eye on your crayons – the wax will smoke once it has completely melted {ask me how I know ;)}
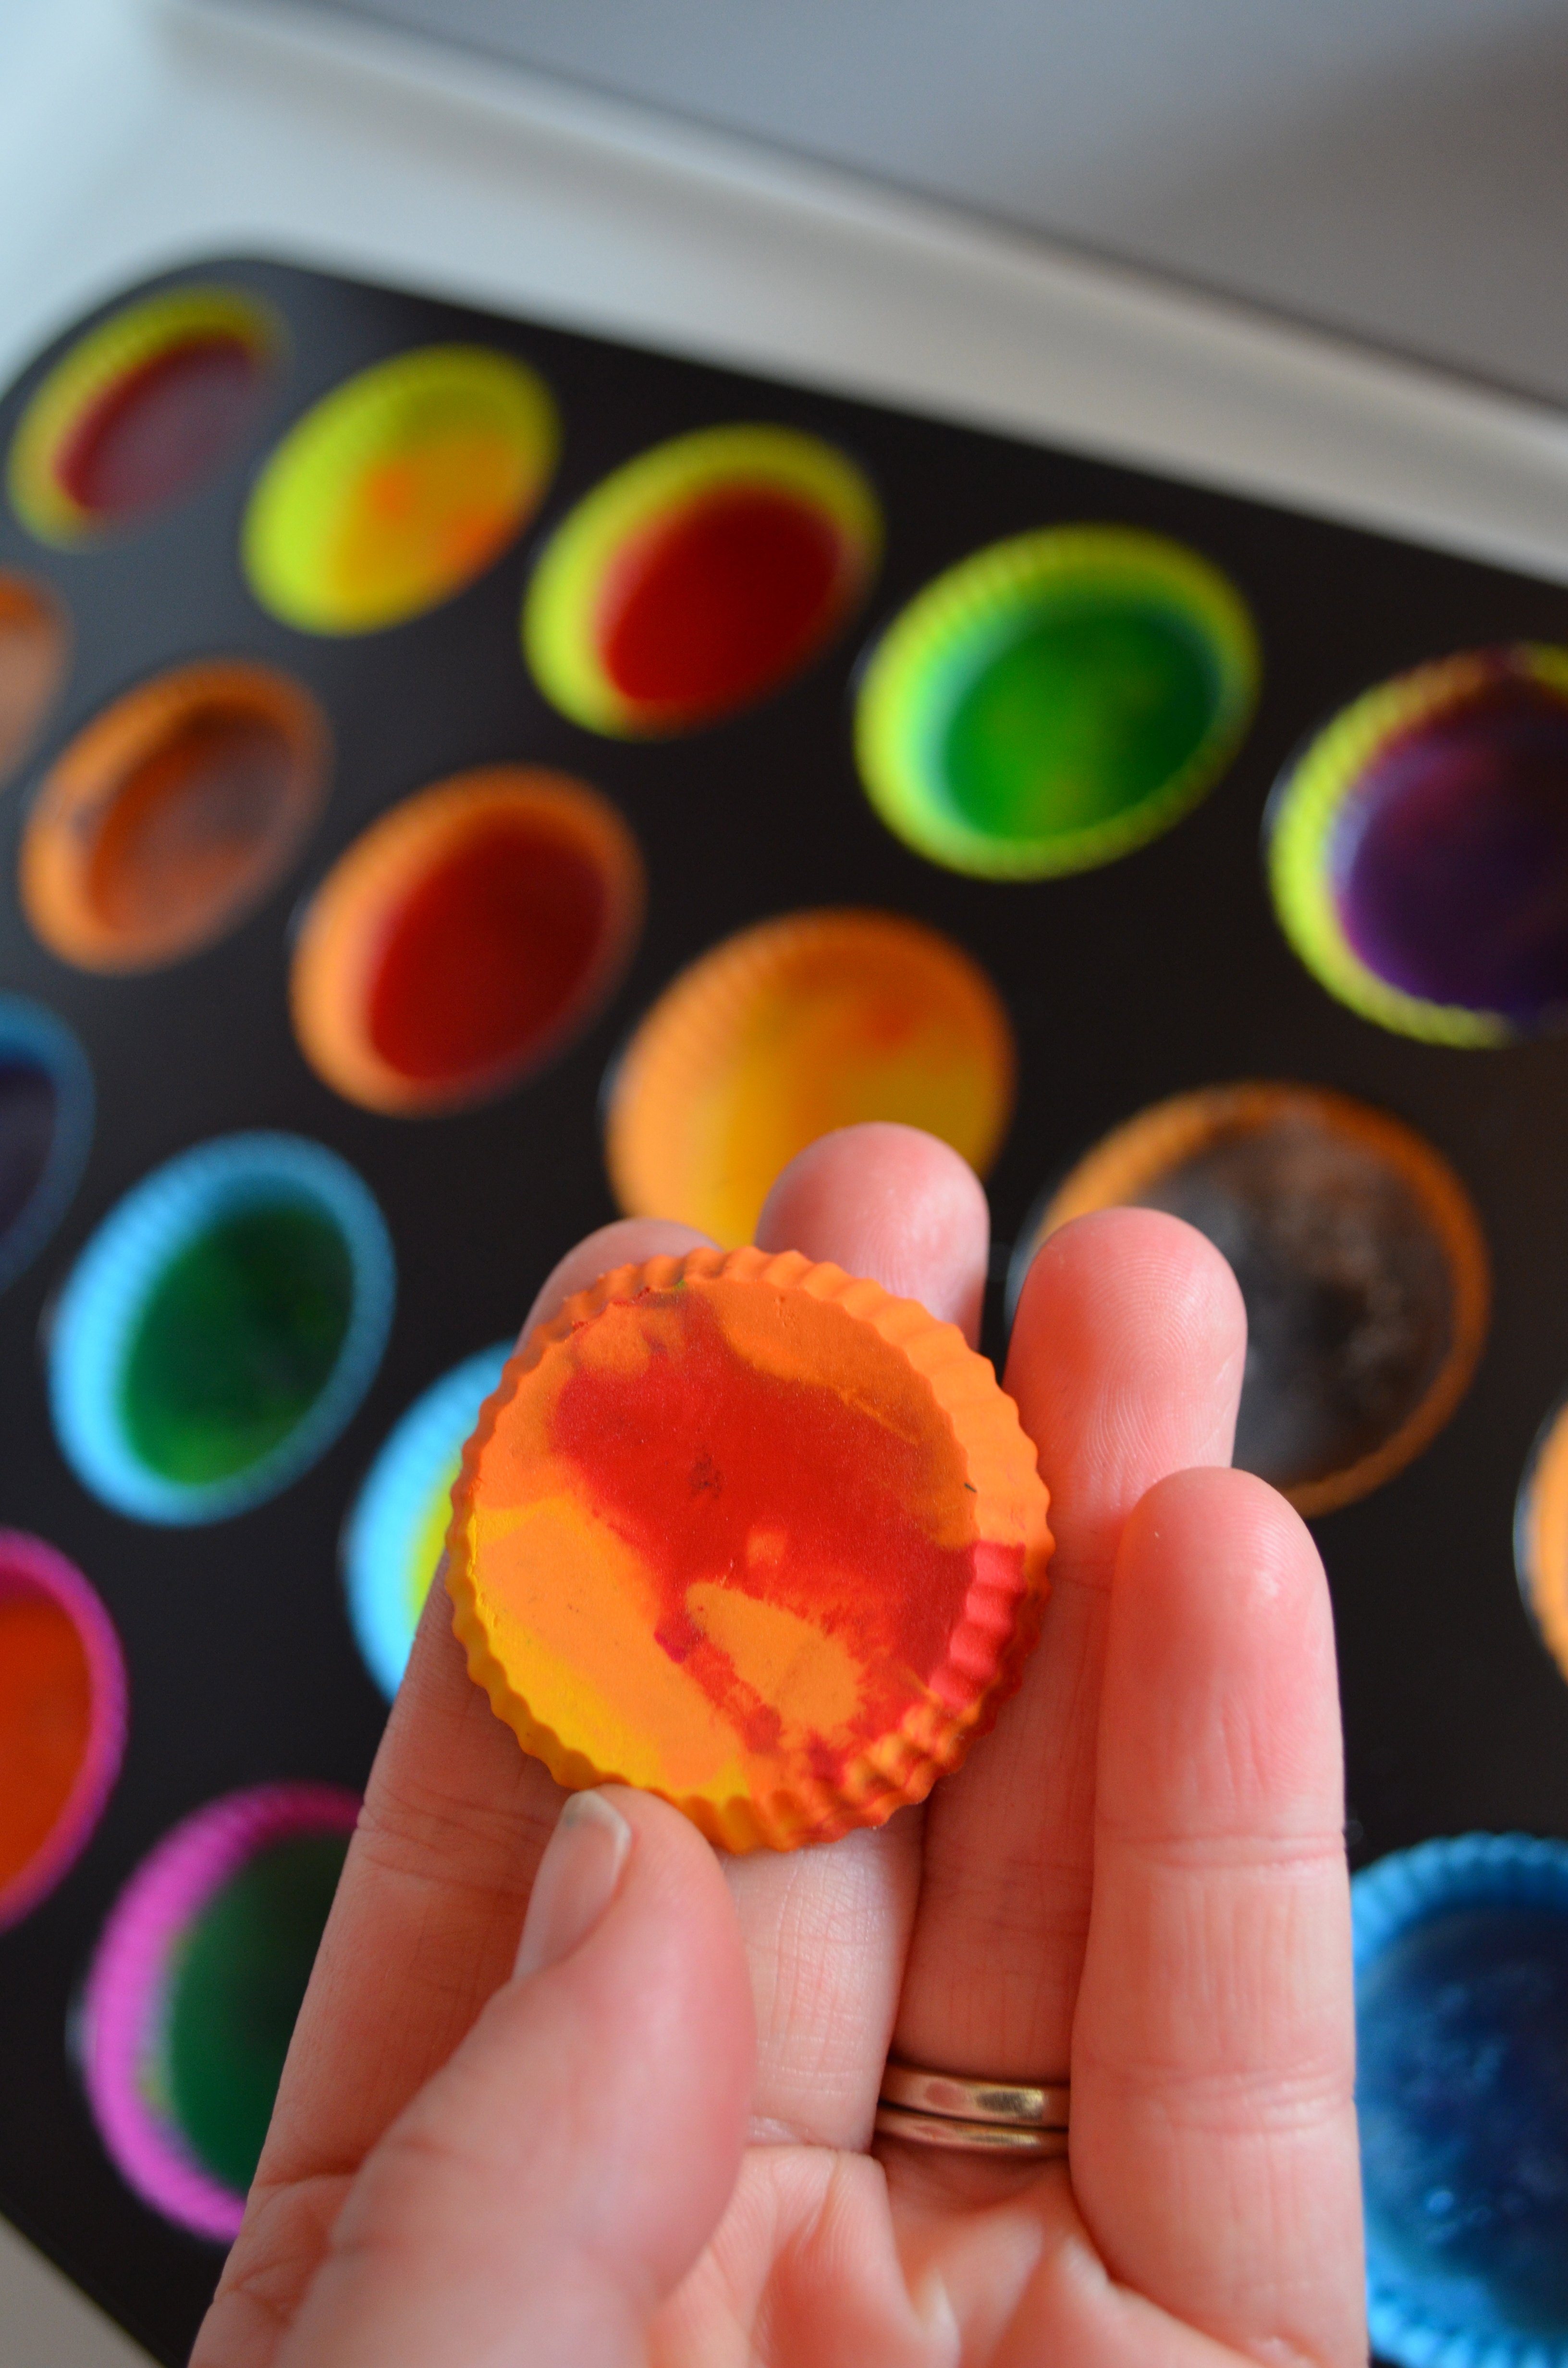
 Step four: Pull them out of the oven and let them cool. They will be cool enough to handle after a few minutes, but will take just a few minutes longer before they are “set” entirely through.
 Step five: enjoy! At this point they are ready to package or use to color with … we did a bit of both :) My little ones love coloring with these larger sized crayons!
I’d love to hear if you try this and what you do with your new shapes! A collection of multicolored Lego men marching through the crayon box, perhaps? Or maybe some colorful hearts to remind your guests of your special day? Might I suggest using some bags like these to package them? They’d be so lovely!
blessings for a lovely day,
XO
p.s. there will be a giveaway tomorrow!!!
p.p.s. would you like to see more posts like this? sign up for my updates and you’ll receive my newest content and exclusive deals in your inbox!
{I’m sharing this on Today’s Creative Blog, the Girl Creative, Sew Can Do, A Vision To Remember, Skip To My Lou, Sew Chatty and C.R.A.F.T.}