Browsed by
Tag: earth day

how Tuesday – growing your own green onions

how Tuesday – growing your own green onions

for today’s how Tuesday – we have a tutorial on growing your own green onions! Yay, right?!

I’m not sure about you, but I usually only use part of the bunch that I bring home from the store, and the rest gets slimy in the fridge while it waits to be used – and then I feel bad that I let it go to waste {ah, such a vicious cycle!}.

Inspired by this pin on Pinterest last year, I gave growing my own a shot – and it worked! I harvested the amount I needed {fresh! soooo yummy} all summer, and then towards the end of the summer planted them in our garden. To my surprise, they overwintered on their own, and have come back this summer as lovely as ever.

So, want to give it a try yourself? :) If you can cut a veggie and put water in a glass, you can do this! {it’s almost beyond easy}

how to re-grow green onions

All you need to succeed are a bunch of green onions {actually, you only need the bulbs (the white ends)}, an upright container, and water

how to re-grow green onionsstep one: wash your green onions

how to re-grow green onionsStep two: chop up the green section, cutting off the “leaves” all the way down to the crotch of the onions

how to re-grow green onionsStep three: place the onion bulbs in a glass {other other upright container – a small vase would also be lovely} and add just enough water to cover the roots

how to re-grow green onionsStep four: wait. But you won’t need to wait too long – the growth in this photo is only 5 days old! I recommend rinsing the roots every few days, and make sure that there’s always just a bit of water in the glass.how to re-grow green onions the roots will eventually start to wind around the base of your glass – lovely!

And that’s it! I’d love to know if you try and how you like it – and have any of you ever tried to grow {or re-grow} other things this way?

<3


p.s. I’m sharing this here: Skip To My Lou and on C.R.A.F.T.

how-Tuesday – recycled crayons

how-Tuesday – recycled crayons

Have you ever thought of buying small packs of crayons to include in a gift for a child? or to stuff in a busy bag or child’s party favor bag? Well, today we have a quick, eco-friendly, child do-able {with a bit of encouragement and supervision from an adult}, perfect for Earth Day how-Tuesday project – recycled crayons! And, assuming you have crayon bits already, it’s free {always a win!}!

One of the lovely things about this project is that you can make the crayons into whatever shape you choose to suit your theme or the child’s interests – having a beach themed wedding? Use a sea creature or shell shaped mold and viola! Custom shaped crayons!

materials needed: crayon pieces, mold {we used a mini muffin tin with silicon liners – you can also use a greased muffin tin, a silicon candy mold, or even small cookie cutters on a foil lined baking sheet}, an oven

making recycled crayons via the Path Less Traveledstep one: prepare your crayons. Unwrap the one ones that still have paper on them, and, if needed break them further down so that they will fit in your mold
making recycled crayons via the Path Less Traveled

 *note: if the crayons have gotten hot {such as in the diaper bag that you might have left in your car? *ahem*}, peeling off the paper might take a bit of work :)making recycled crayons via the Path Less Traveled
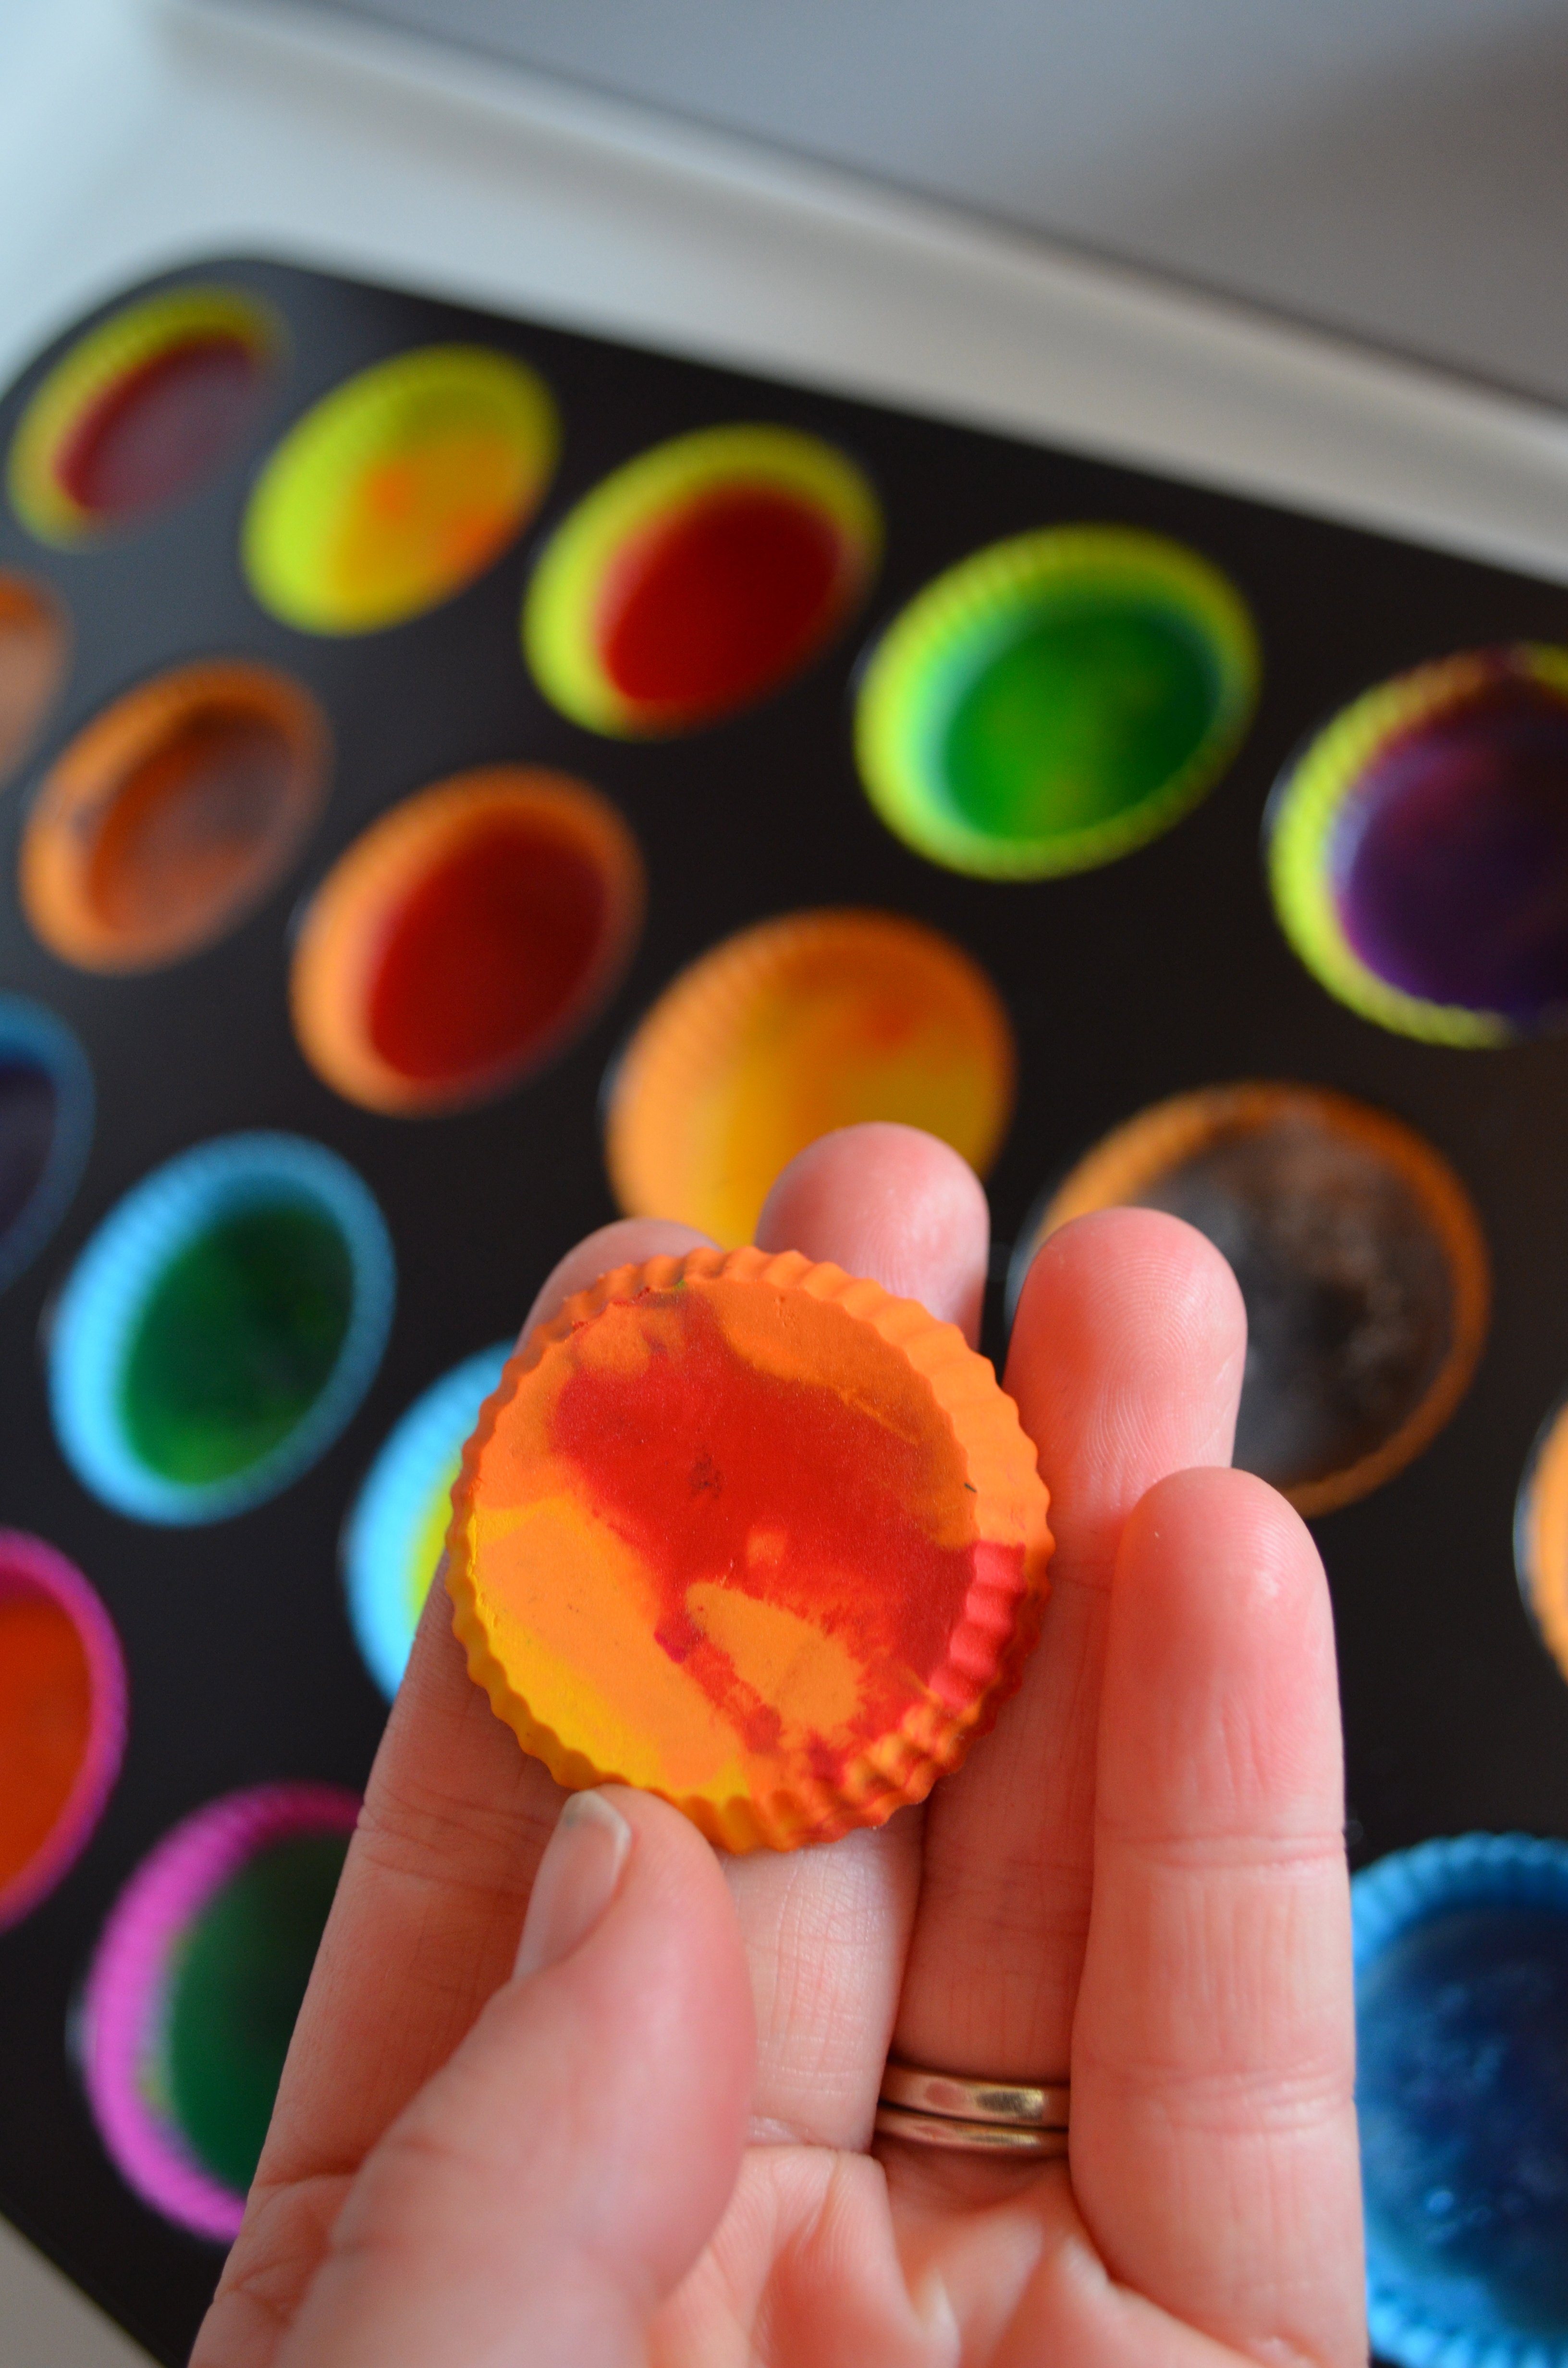
step two: arrange your bits in the mold – we chose to arrange by color, but you might decide to do a variety together – the combination options are endless!making recycled crayons via the Path Less Traveleda little artist hard at work {i’ve been told that I make the same face when I’m concentrating on my work ;)}making recycled crayons via the Path Less Traveledstep three: preheat your oven to 275* {135 celsius} and put in your mold. This little guy was soooo patient!

making recycled crayons via the Path Less Traveledthe pan after about 3 minutes

Keep an eye on your crayons – the wax will smoke once it has completely melted {ask me how I know ;)}

making recycled crayons via the Path Less TraveledStep four: Pull them out of the oven and let them cool. They will be cool enough to handle after a few minutes, but will take just a few minutes longer before they are “set” entirely through.
making recycled crayons via the Path Less Traveled
 Step five: enjoy! At this point they are ready to package or use to color with … we did a bit of both :) My little ones love coloring with these larger sized crayons!

I’d love to hear if you try this and what you do with your new shapes! A collection of multicolored Lego men marching through the crayon box, perhaps? Or maybe some colorful hearts to remind your guests of your special day? Might I suggest using some bags like these to package them? They’d be so lovely!

blessings for a lovely day,

XO

p.s. there will be a giveaway tomorrow!!!

p.p.s. would you like to see more posts like this? sign up for my updates and you’ll receive my newest content and exclusive deals in your inbox!

{I’m sharing this on Today’s Creative Blogthe Girl Creative,  Sew Can DoA Vision To RememberSkip To My LouSew Chatty and C.R.A.F.T.}

Follow on Bloglovin

How-Tuesday (on a Thursday): DIY Egg Centerpiece

How-Tuesday (on a Thursday): DIY Egg Centerpiece

Have you ever wondered how to make eggs stand up without using those darling little egg cups? Well, today I’ll show you how :) And yes, today is Thursday, not Tuesday … {life … happened. I’m sure you understand}.

This project is perfect for all sorts of celebrations: Easter, Earth Day, baby showers or farm-themed birthdays – and if you use the eggs as vases for tiny arrangements, the list grows even more. You could even adapt these to use as mini herb pots on your kitchen windowsill!

DIY Easter Egg and Grass Centerpiece via the Path Less Traveled

The materials for this project are very simple:

– egg shells {either empty for vases or with grass growing in them}

– a candle

– matches

– a platter {or whatever you’d like the eggs to be stood on}

DIY Easter Egg and Grass Centerpiece via the Path Less Traveled

Step one: Light your candle

DIY Easter Egg and Grass Centerpiece via the Path Less Traveled

Step two: find where you’d like your first egg to be placed and tip your candle so that the hot wax drips on the exact spot {holding your candle at a slightly upside down angle – 100-110 % works well – allows the flame to melt your candle quickly so that you can work before your pool hardens. Experiment a bit and find the method that works for you :)}

DIY Easter Egg and Grass Centerpiece via the Path Less Traveled

Step three: Quickly press an egg in the center of this puddle, holding it upright for a few seconds until the wax hardens.DIY Easter Egg and Grass Centerpiece via the Path Less Traveled

Repeat step three until you’ve completed your arrangement, and then step back to admire. :)

DIY Easter Egg and Grass Centerpiece via the Path Less TraveledEnjoy! I’d love to hear how yours turn out. :)


<3


How Tuesday: growing Easter grass

How Tuesday: growing Easter grass

Have you seen how some people  {Design Mom has a few sweet posts on it} have grown their own Easter grass? No? It’s a super sweet idea, and this year I decided to give it a try! It’s a simple but meaningful way to add a special touch to your Easter celebrations. It’s a great object lesson for children about new life and putting something “dead” into the ground and watching God make it come to life. Kind of a nice segue into talking about the Resurrection :)

note: If you do this NOW you’ll have some darling little pots of real grass for Easter. Or, you know, if you start the wheatgrass growing in the next few days …. :) {if you’re like me, it works better to tell yourself that it needs to be done NOW – that way it will actually get done, maybe not “now”, but at least soon}

growing wheatgrass via the Path Less Traveled

It turns out that growing wheatgrass is really easy. All you need is some wheat, some water and some dirt {and maybe a container to put the dirt in}. Yep, really easy.

Step one: soak your wheat berries/seeds for a few hours or over night. This isn’t truly needed, but does speed up the sprouting process.

growing wheatgrass via the Path Less Traveled

Step two: gather your containers and dirt. I chose to use some egg shells for some of the containers – when the grass is a little taller I’m going to make a centerpiece for our table like this one {you should click over – it’ soooo pretty! I wish it was my idea first :)}

growing wheatgrass via the Path Less Traveled

If you choose to use egg shells, simply tap your egg all the way around near one end instead of in the middle as you’re cracking it, and rinse out the shell after you’ve dumped out the white and yolk.

growing wheatgrass via the Path Less Traveled

Step three: fill your containers with soil. If you’re using a pot without a drain hole, place small rocks or packing peanuts in the bottom to provide some drainage and keep the seeds from rooting.

growing wheatgrass via the Path Less Traveled

Step four: place your wheat berries on top of the soil, covering the surface with an even layer, and then cover the wheat with more soil.

growing wheatgrass via the Path Less Traveled

Step five: water and wait. The seedlings should emerge in about 48 hours or so. Continue watering every day as it grows, and enjoy the bit of green!

growing wheatgrass via the Path Less Traveled

These are the eggs five days after planting – by the time Easter is here, they may need a trim! I’ll clean up the shells in a few days once the sprouts are a bit sturdier and use some wax to create the centerpiece I mentioned. Maybe I’ll post a photo when it’s done!

Let me know if you try it!


<3