Have you been noticing the gilded trend lately? I’m not sure about you, but I’m loving it. There’s real gilding and there’s faux, and they’re both really lovely.
There are tutorials on the web for real gilding, and, if using gold leaf isn’t your thing or scares you, you can even find some really lovely gold {or silver, or bronze} paint that is quite convincing. Or, if you’re at home and don’t want to venture out in the snow just to get some gilding materials, you can also use in ink pad. Yep. I know because I tried. You’re welcome. :)
This is super quick, and, if you happen to have the items already in your closet {what do ya know, I did!}, free! Or, if you don’t have them already, the paper mache eggs were originally 50% off of $0.34 each at Hobby Lobby, and the ink pads were $1-ish at Michael’s, so …. pretty cheap. :) Of course, you could also use real eggs, which would be quite lovely too. Maybe tomorrow I’ll try it with real ones – and then hang them from the ceiling, like {this}.

materials needed: ink and eggs

step one: press your egg onto the ink, rolling it around a bit. Repeat on each side until the egg is covered. Depending on the quality of your ink pad, you might need to give it a few coats.

Chances are your fingers will look like this by now. Totally normal. :)

Repeat step one with each of the eggs.
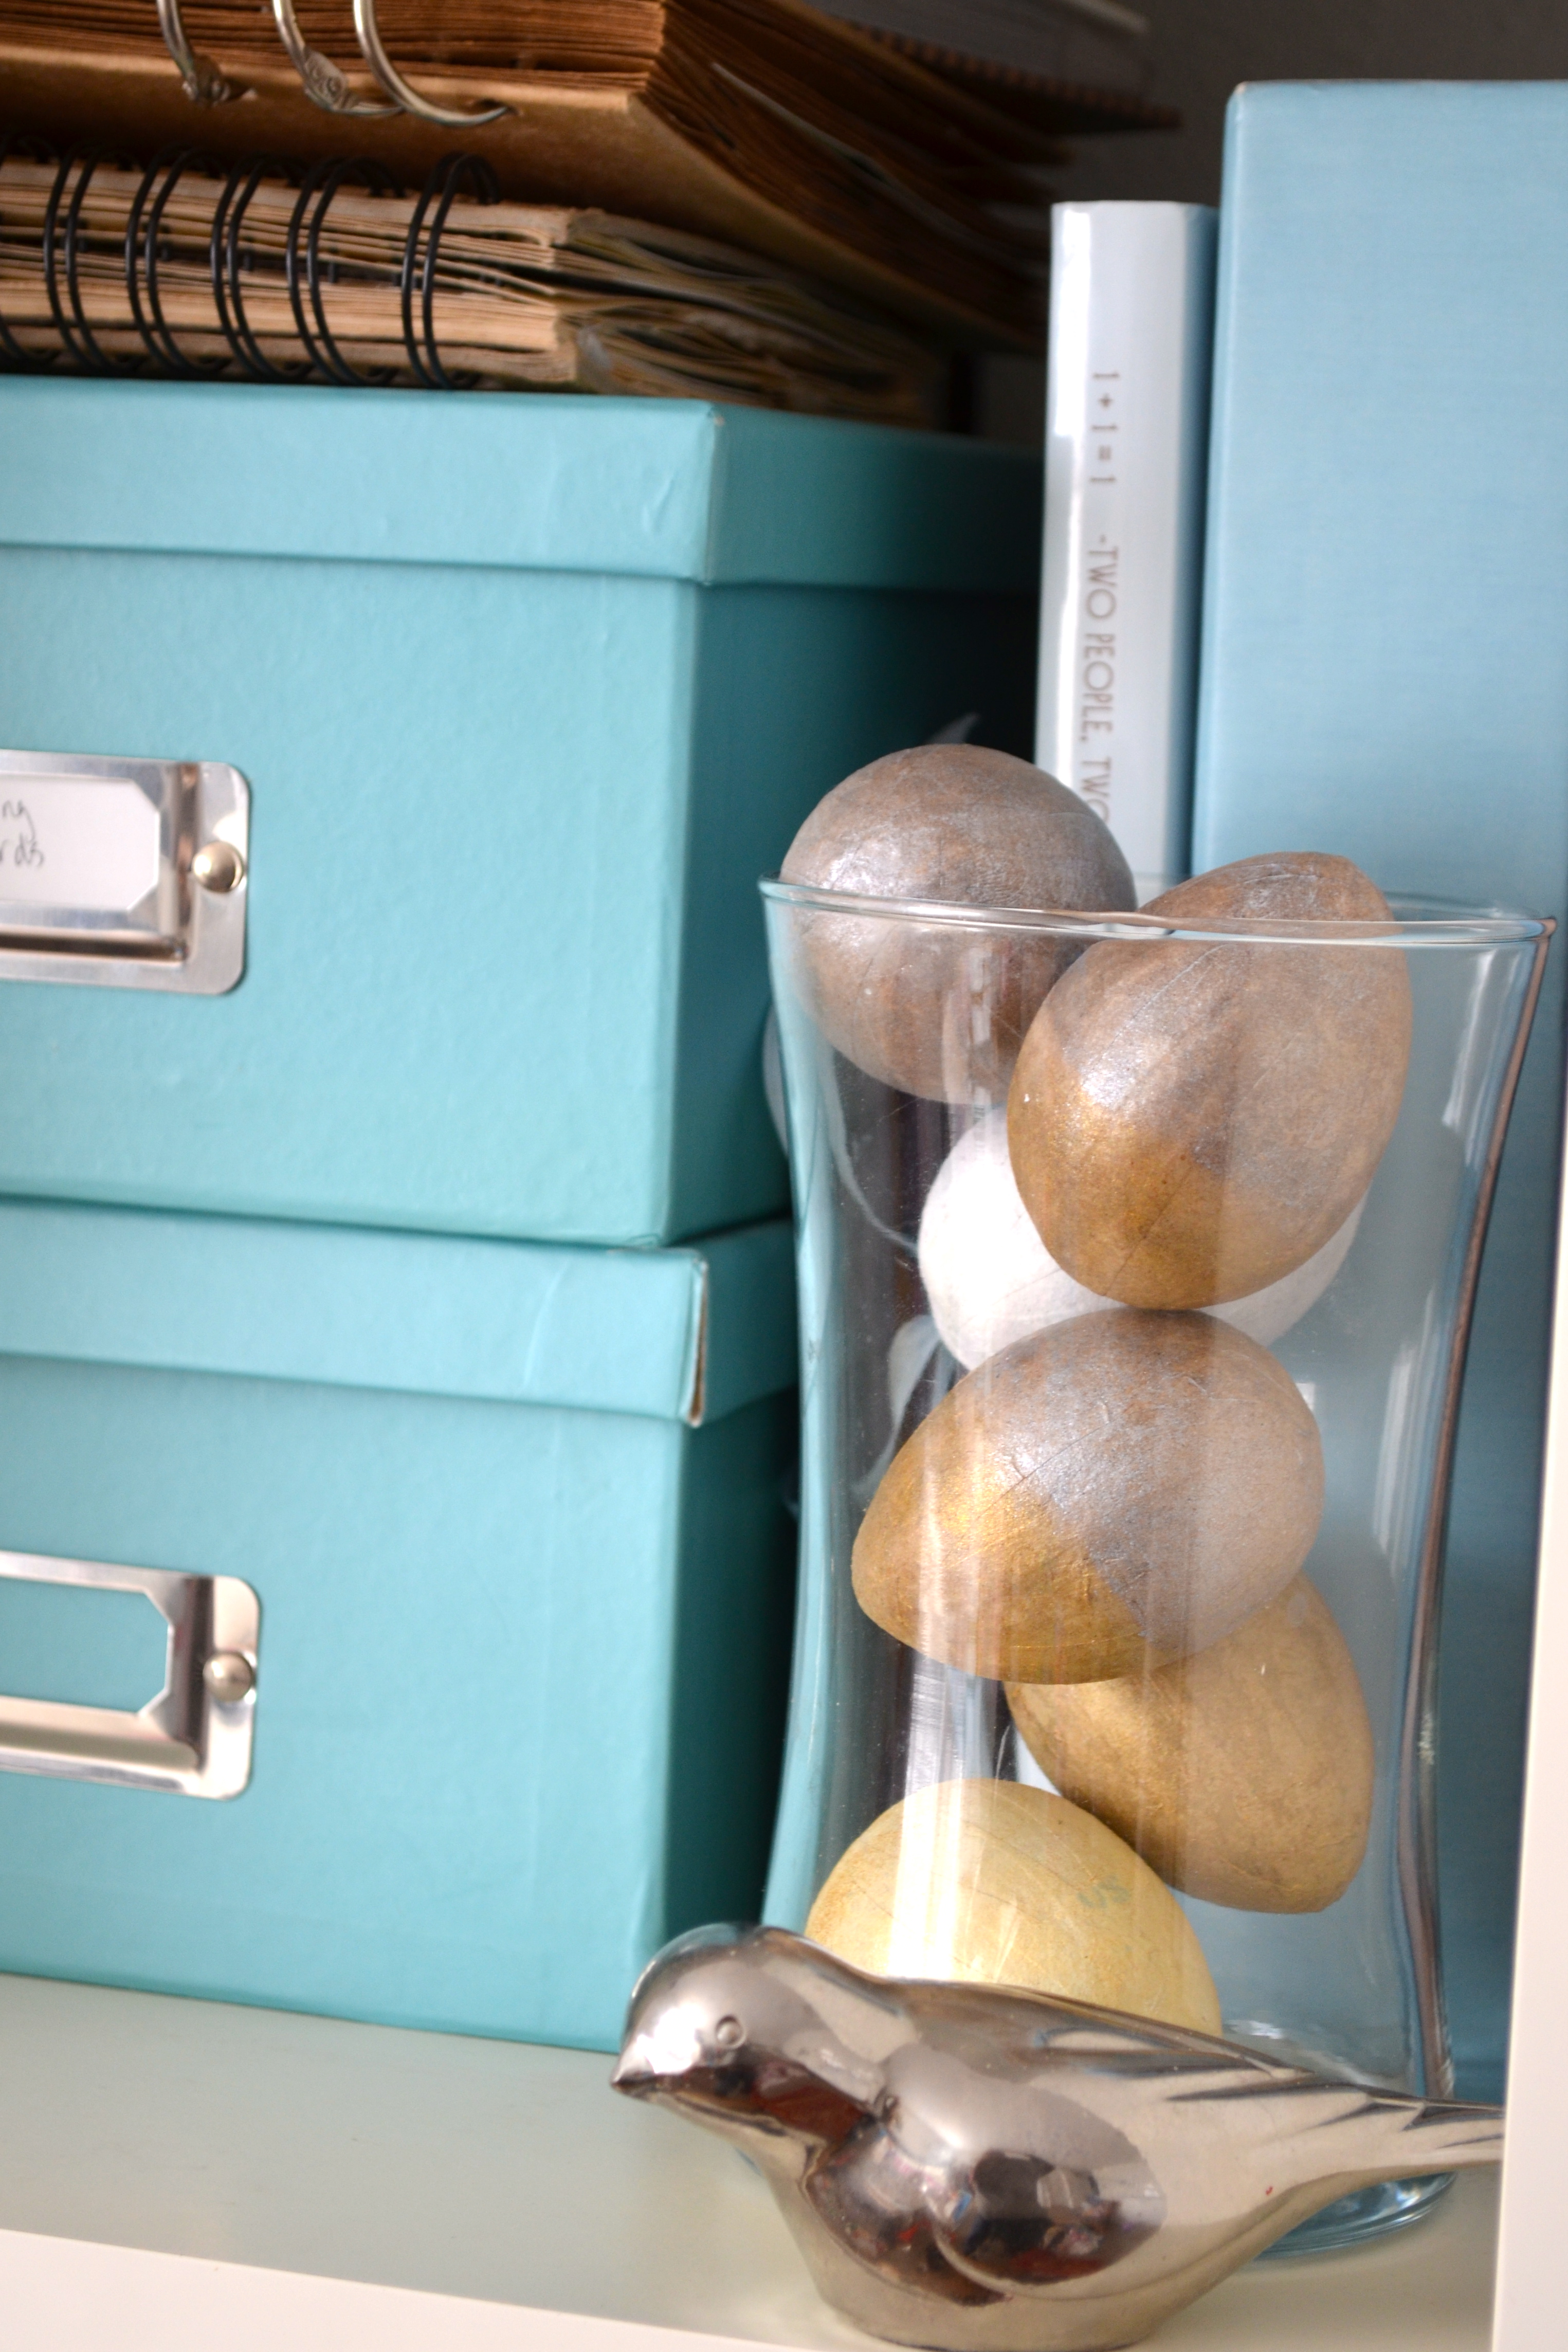
Step two: Find a clear vase to display them in. Admire them. And see if the shimmer washes off of your hands. :)

That’s it! One of the lovely things about using an ink pad instead of gold leaf or paint is that dry time is non existent and clean up is a breeze – not even any brushes to wash!
Imagine how you could use this trick in other projects – maybe “gild” the edge of some invitations, or, using a color instead of shimmer, add a splash of color to some disposable flatware?
Have you been doing any projects to add to your decor this spring? If so, I’d love to see them! Just add a link in the comments section. :)
XO
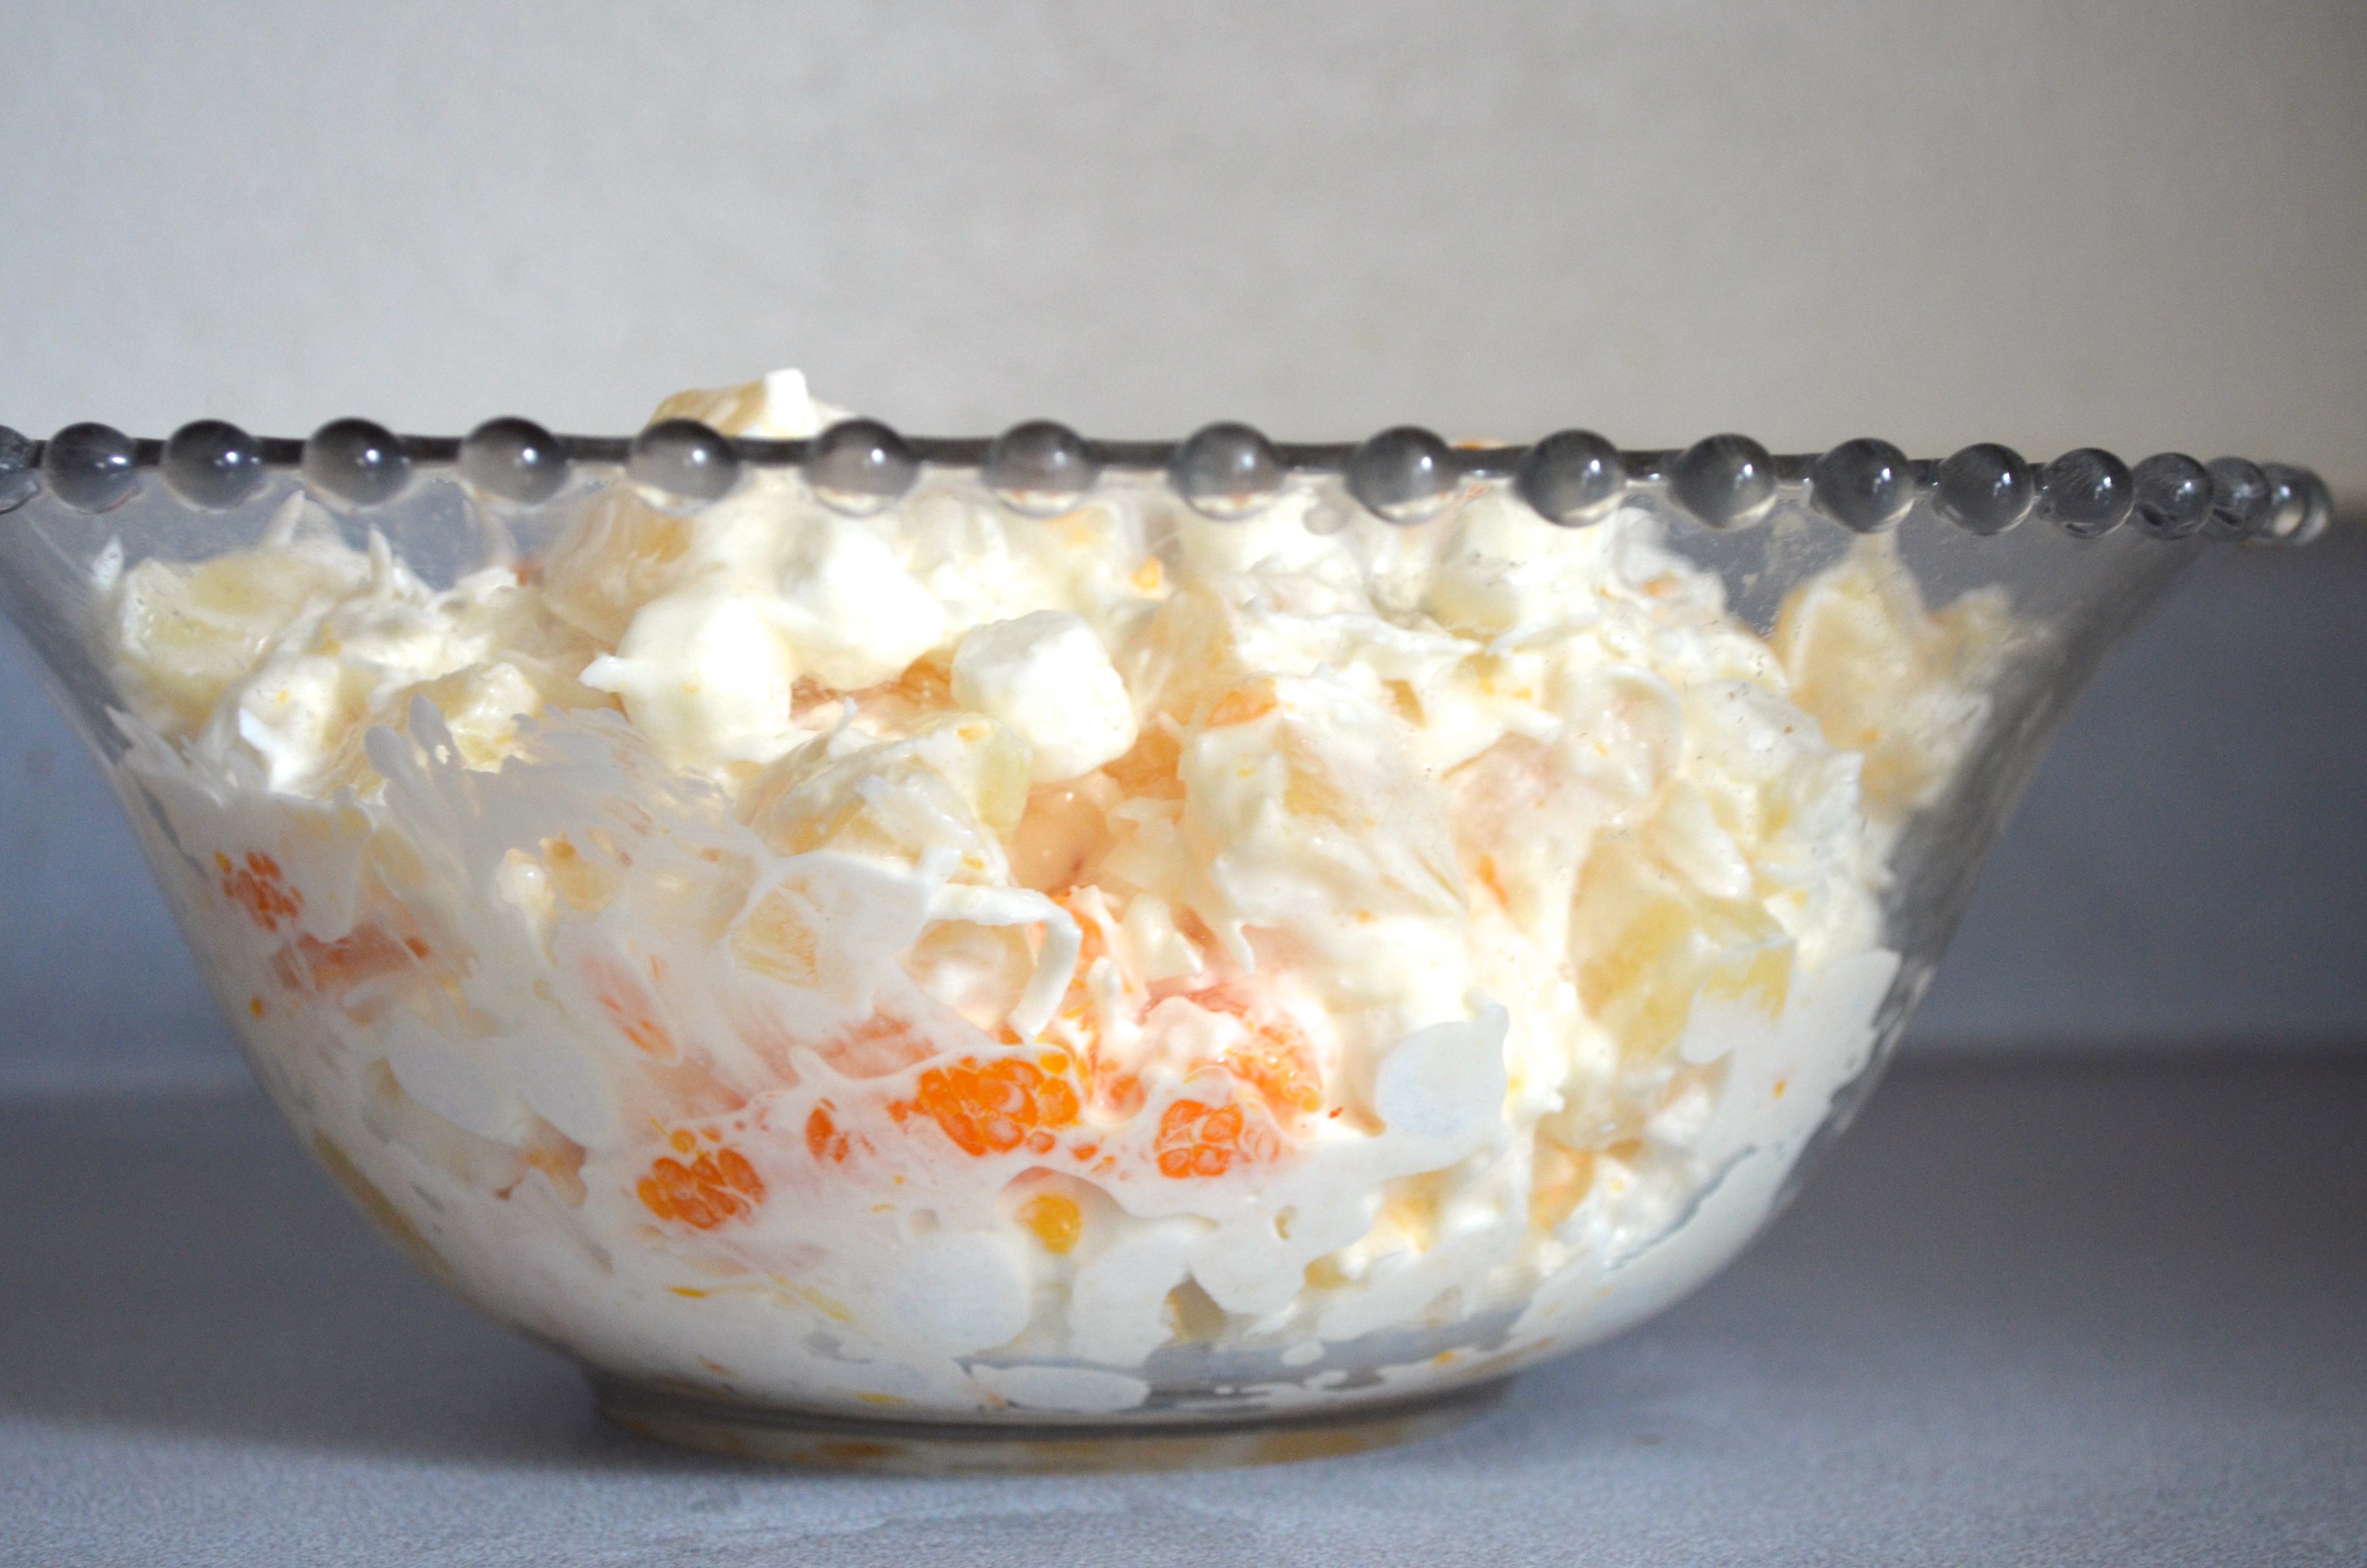


 Stir. Cover and refrigerate for at least an hour to let the flavors meld together {although you can eat it right away, it tastes better if you let it rest} and then serve!