Browsed by
Tag: party

6 years

6 years

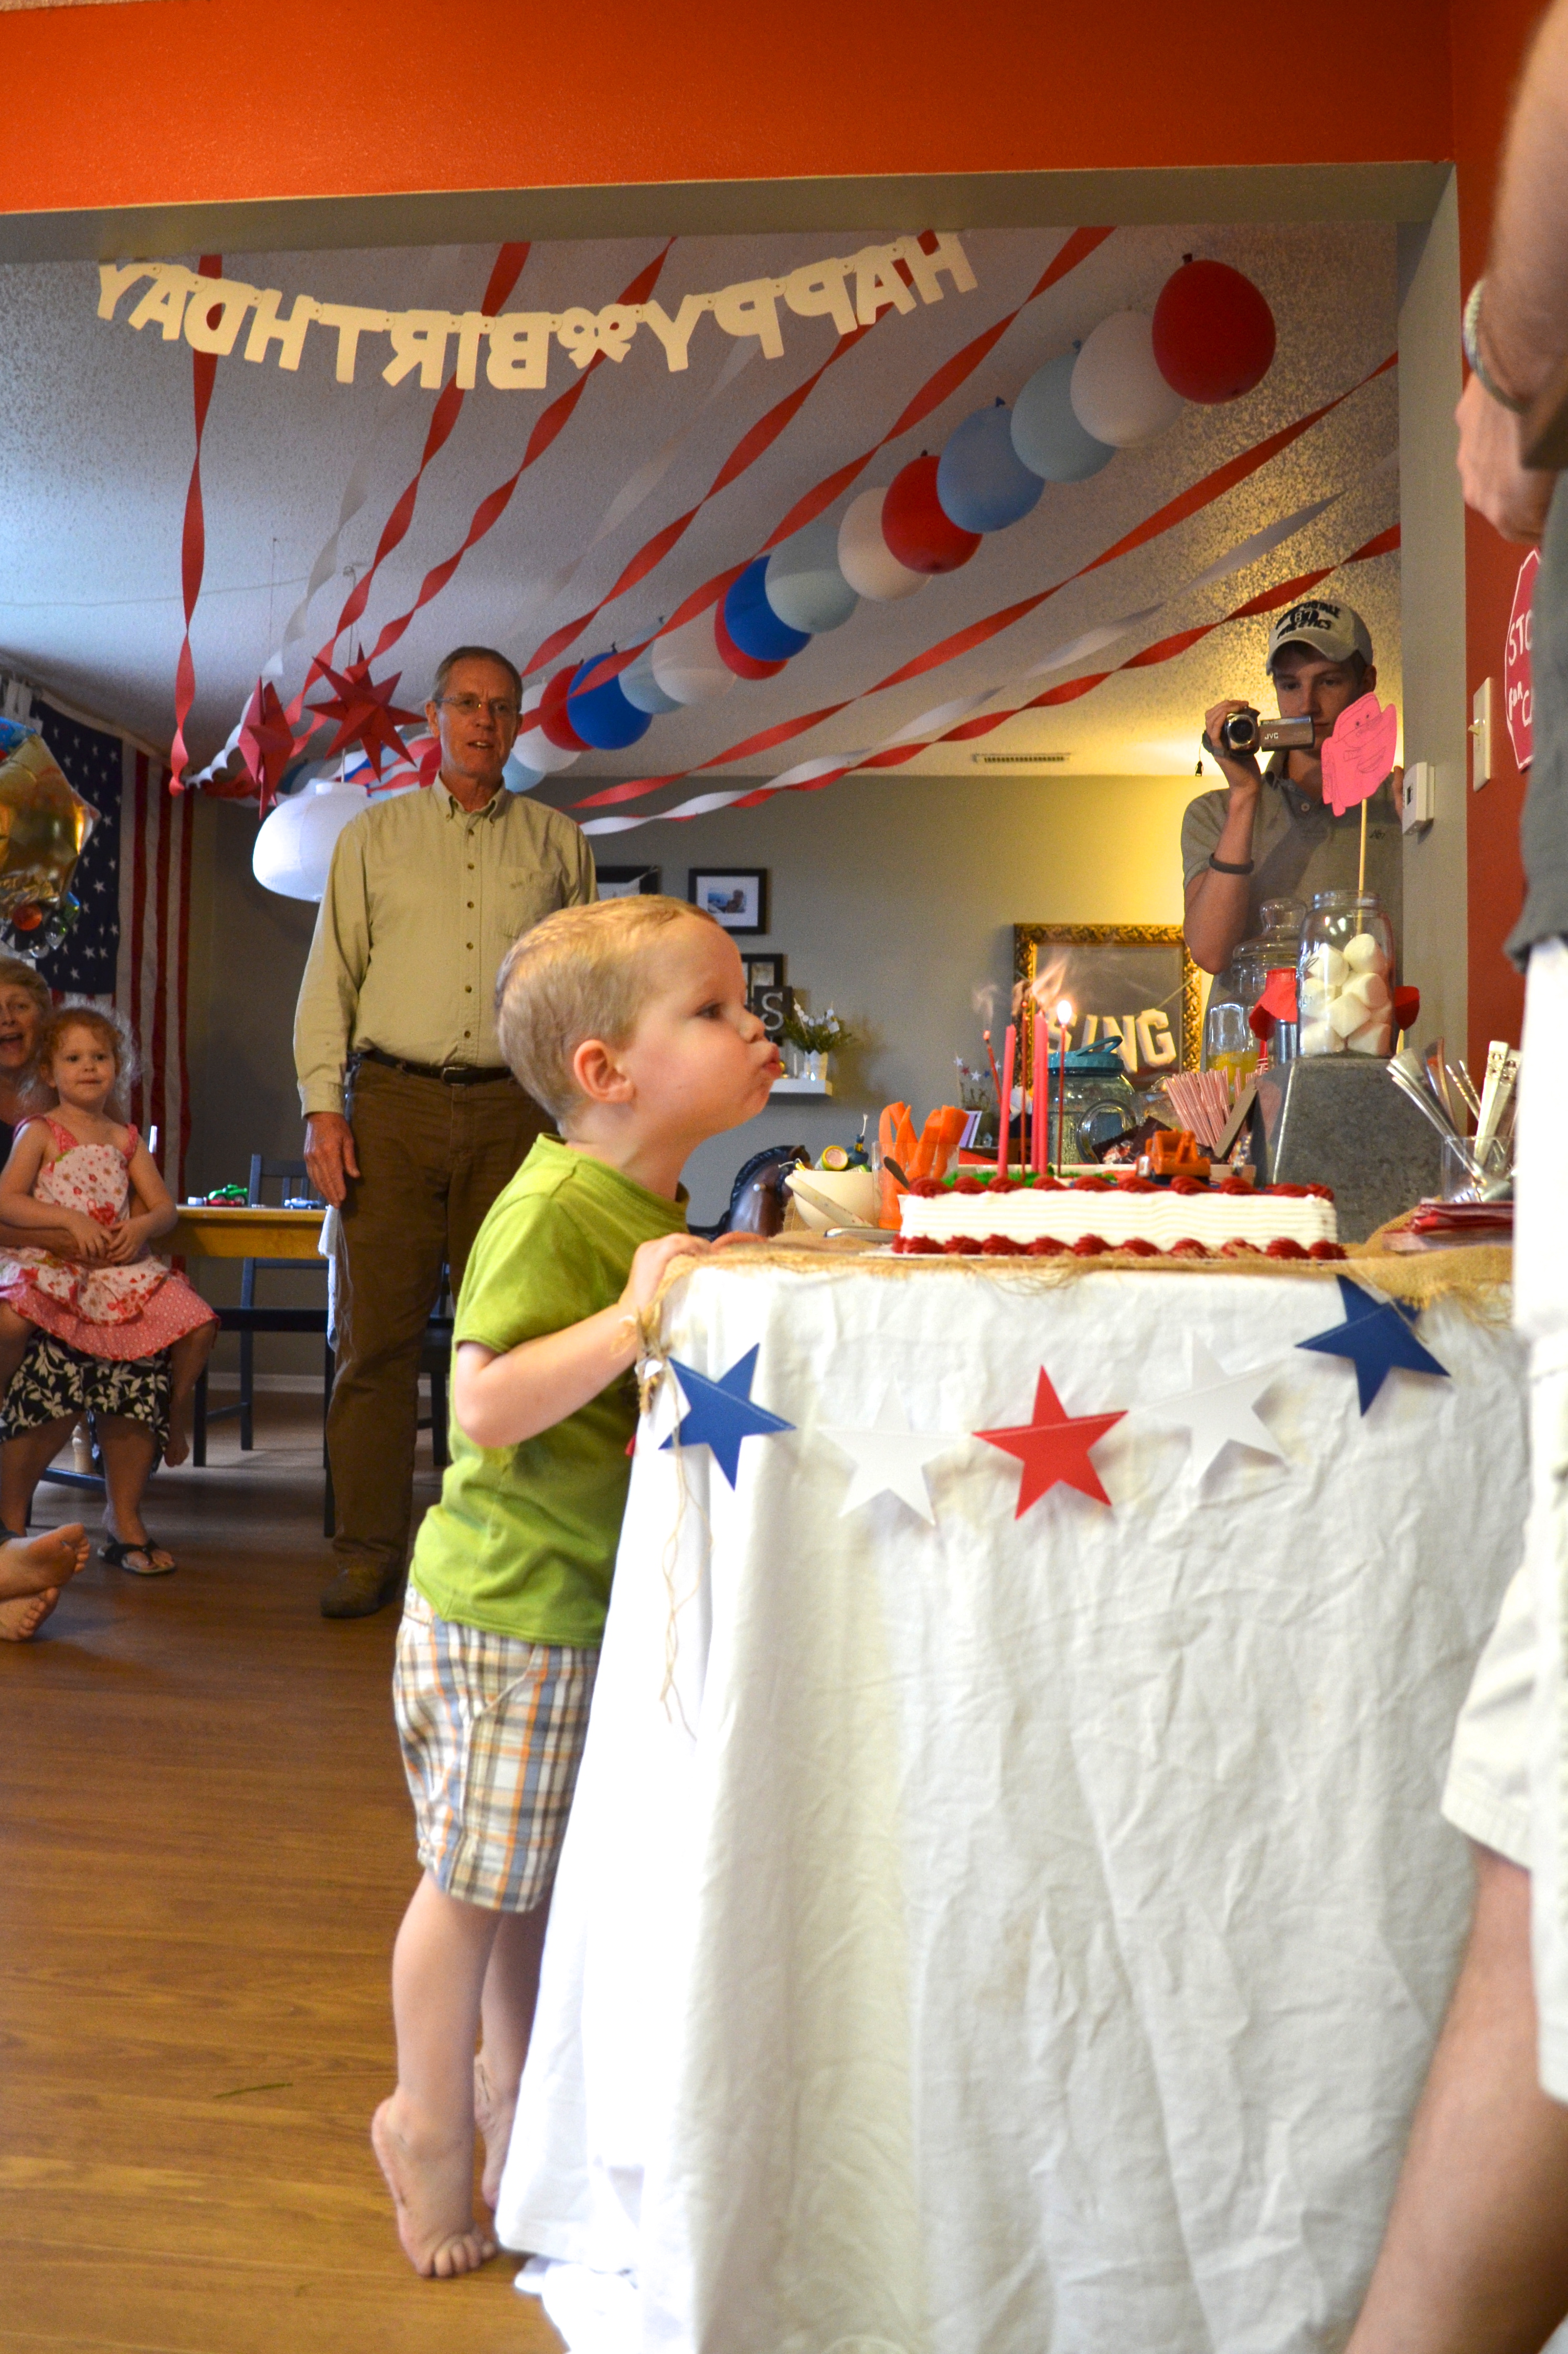
Today our little Etsy shop celebrated 6 years of business! 6 years of following a “path less traveled”, taking twists and turns that we didn’t expect {but that have been a wonderful blessing} as we “live creatively & celebrate every day”. 6 years! celebrating 6 years | the Path Less Traveled

6 years ago we were living in a little {uh, yes …quite little…not our littlest ever, but still, quite little} apartment, living from one slim paycheck to the next with an almost 1-year-old {and another baby due that summer} and gratefully taking advantage of any opportunities to earn an extra dollar that we could. We had opened a shop on another selling platform the year before {you can read a bit about that story here and here} and, as pennies were getting pinched tighter, the time had come to mix things up a bit and see if something else would work better – and lo, our Etsy shop was born. office luncheon | the Path Less TraveledOur first sale came over 2 months after opening our virtual doors – and it was a welcome one! 6 years later, our shop bears very little resemblance to what it was in early 2010: we are in a different city, different state, we have a house {with an actual yard!}, our family has grown to 4 precious little ones, John is the one mainly running the business now {there’s a good chance he’ll be the one answering your emails} and I have taken more of a back seat while I homeschool the littles, we have 3{!} employees and every single item in the shop right now was birthed sometime in the last 5 years.
celebrating 6 years! | the Path Less TraveledA few things are still very much the same – every single thing that we sell is hand made right here in our home, we still make sure that each new product fits within “live creatively & celebrate every day”, and we do everything we can to make your visions come to life. The custom orders that we fill are always a fun challenge!

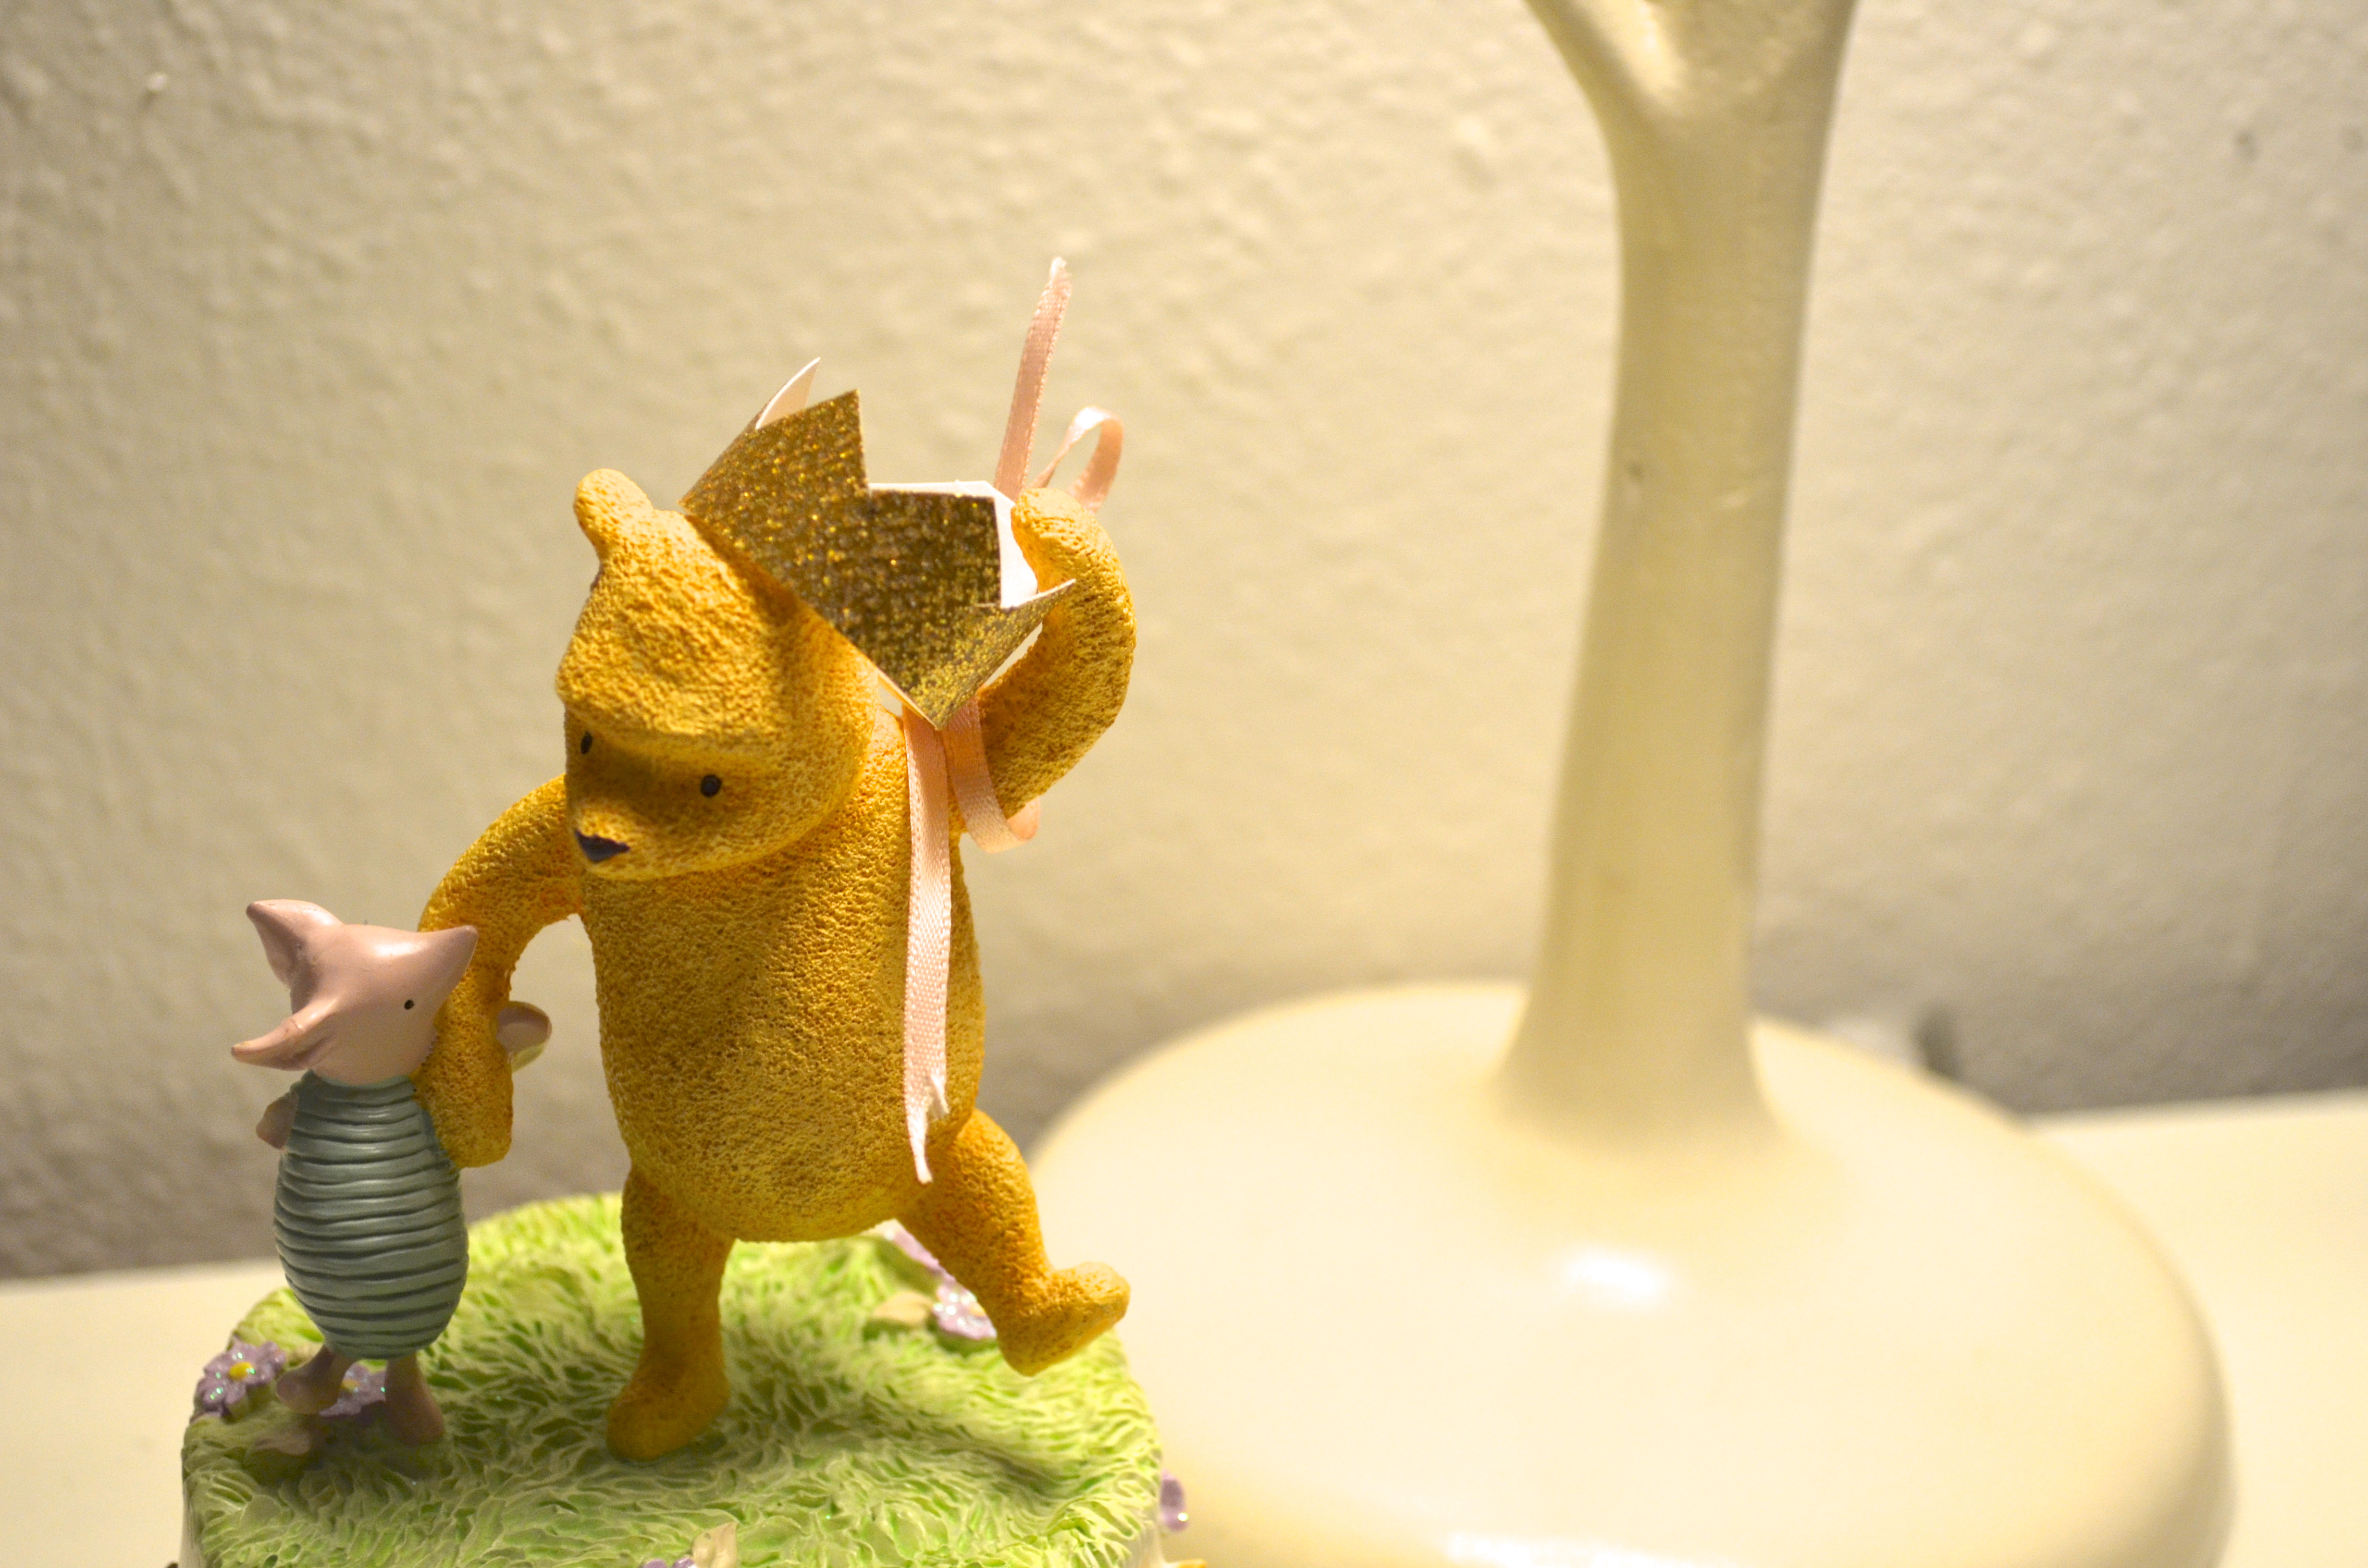
We are so, so immensely blessed. This “path less traveled” is not the easiest thing, but it is well worth the rewards. {Our 3 year old cannot remember a time when her Daddy wasn’t home every day – he may be busy, but he is home, and it is wonderful. :D}celebrating 6 years! | the Path Less Traveled You – each and every one of you – are a huge part of where we are today. Without you and others like you, our shop {and lives!} would look very different! Your orders and feedback are always, always deeply appreciated.celebrating a year together | the Path Less Traveled 
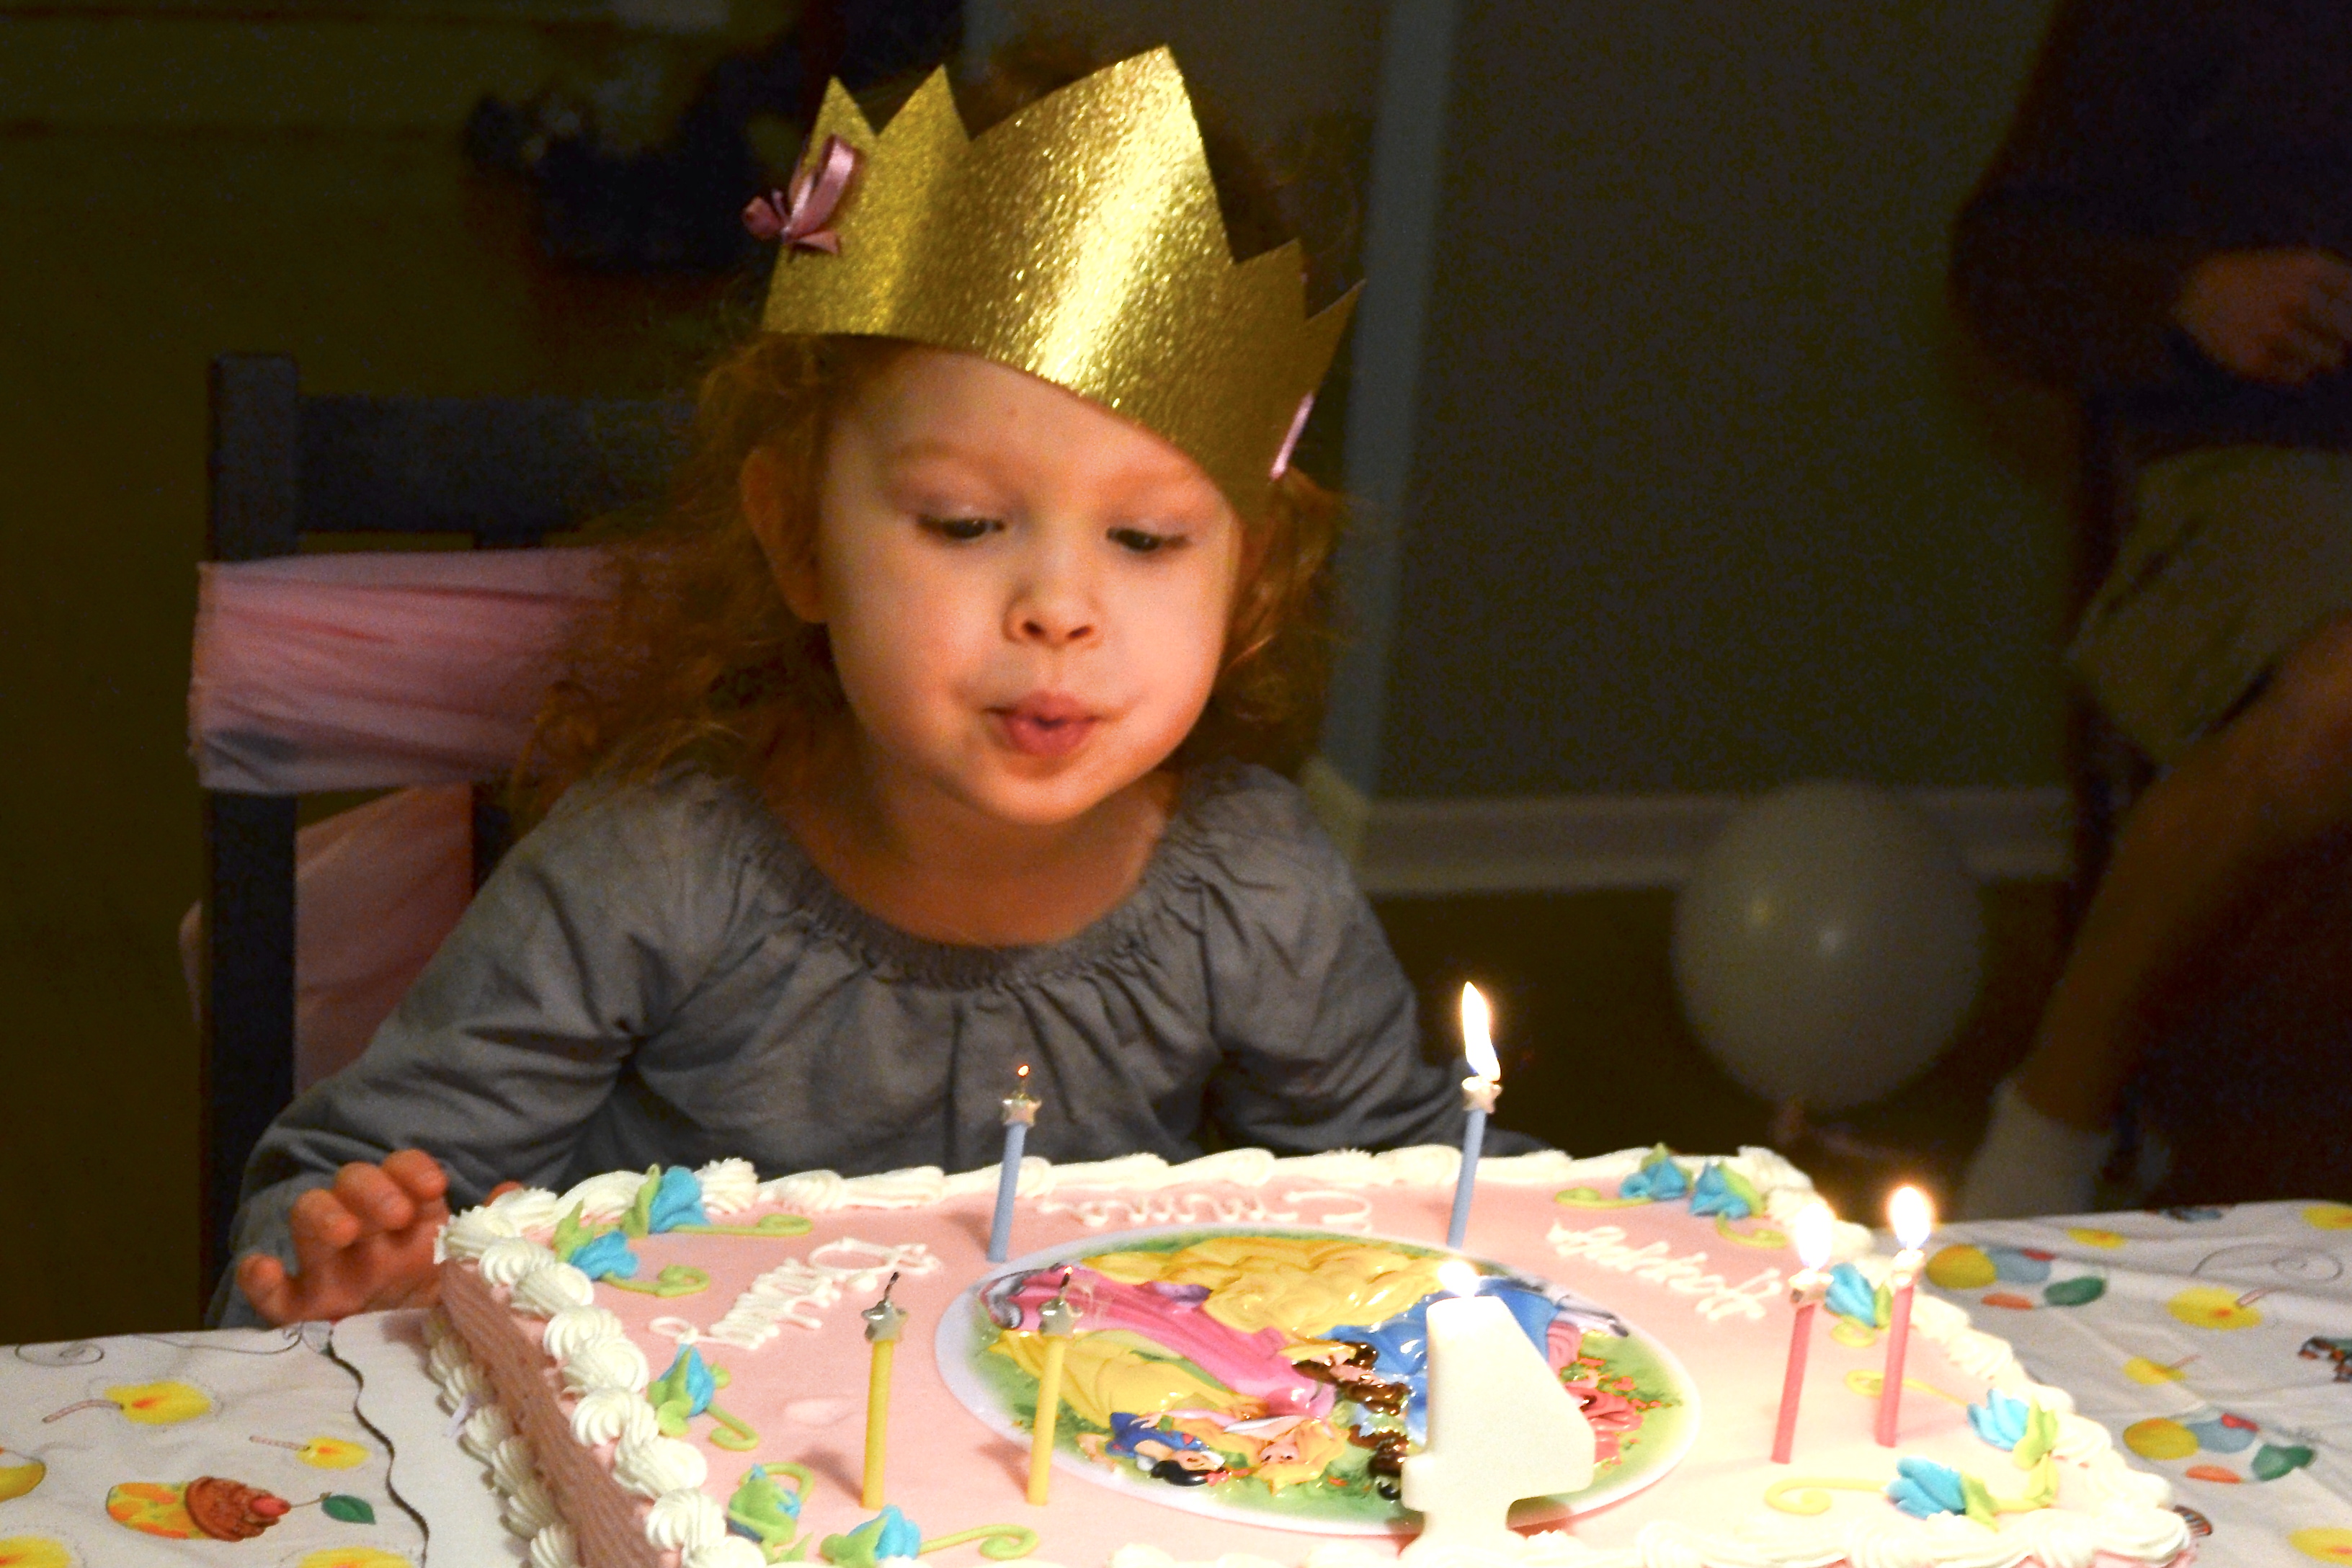
Our second hire celebrates her 1 year anniversary with us tomorrow, so we rolled both events into one and celebrated with a lunch – and cake {of course!}! It was a fun time to take a few moments to mark the occasion, to celebrate how far we’ve come – plus, a great excuse to have cake. :Dthe evening glow | the Path Less Traveled

So … here’s to another “Etsy-versary” in the books, and looking forward to whatever new and exciting things this next year holds.

<3

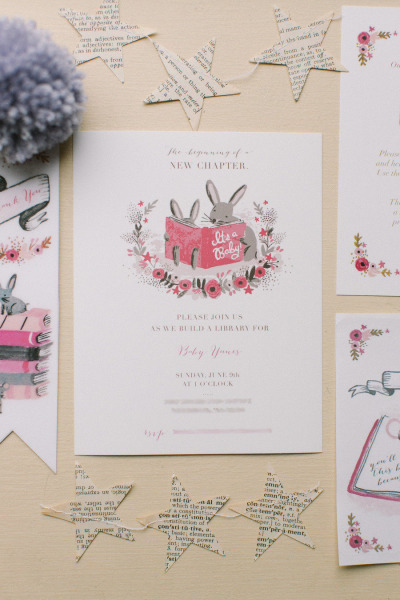
items featured: Monogram Cake Topper (6 in Gold Glitter)

Sparkly Star Cake Toppers

Customizable Letter Banner in Gold Glitter


customer love – American theme party!

customer love – American theme party!

Sometimes your custom order requests are just the little extra “push” we need to create a new product, and sometimes we end up loving the new thing so much that we carry it full time in our shop.

This a story of one of those things. :) We started offering our Hanging Paper Stars {see them here} about 3 years ago, and found that many of you really enjoy using them for your events and in your homes! However, because they are large and a bit fragile, they have been a total bear to ship, and the shipping fees can be a bit high. So, John and I have talked on and off about creating a DIY Kit version of the stars with the idea that you would be able to purchase all of the materials needed, all of them pre-folded so that you would only need to assemble them {meaning, very little skill required!}. But life was busy, the shop was growing quickly, and it was something that kept getting set aside for “when things slow down”. Until – someone in Australia emailed to ask about possibly getting 12-20 of the white stars!

American themed party decor | the Path Less Traveled
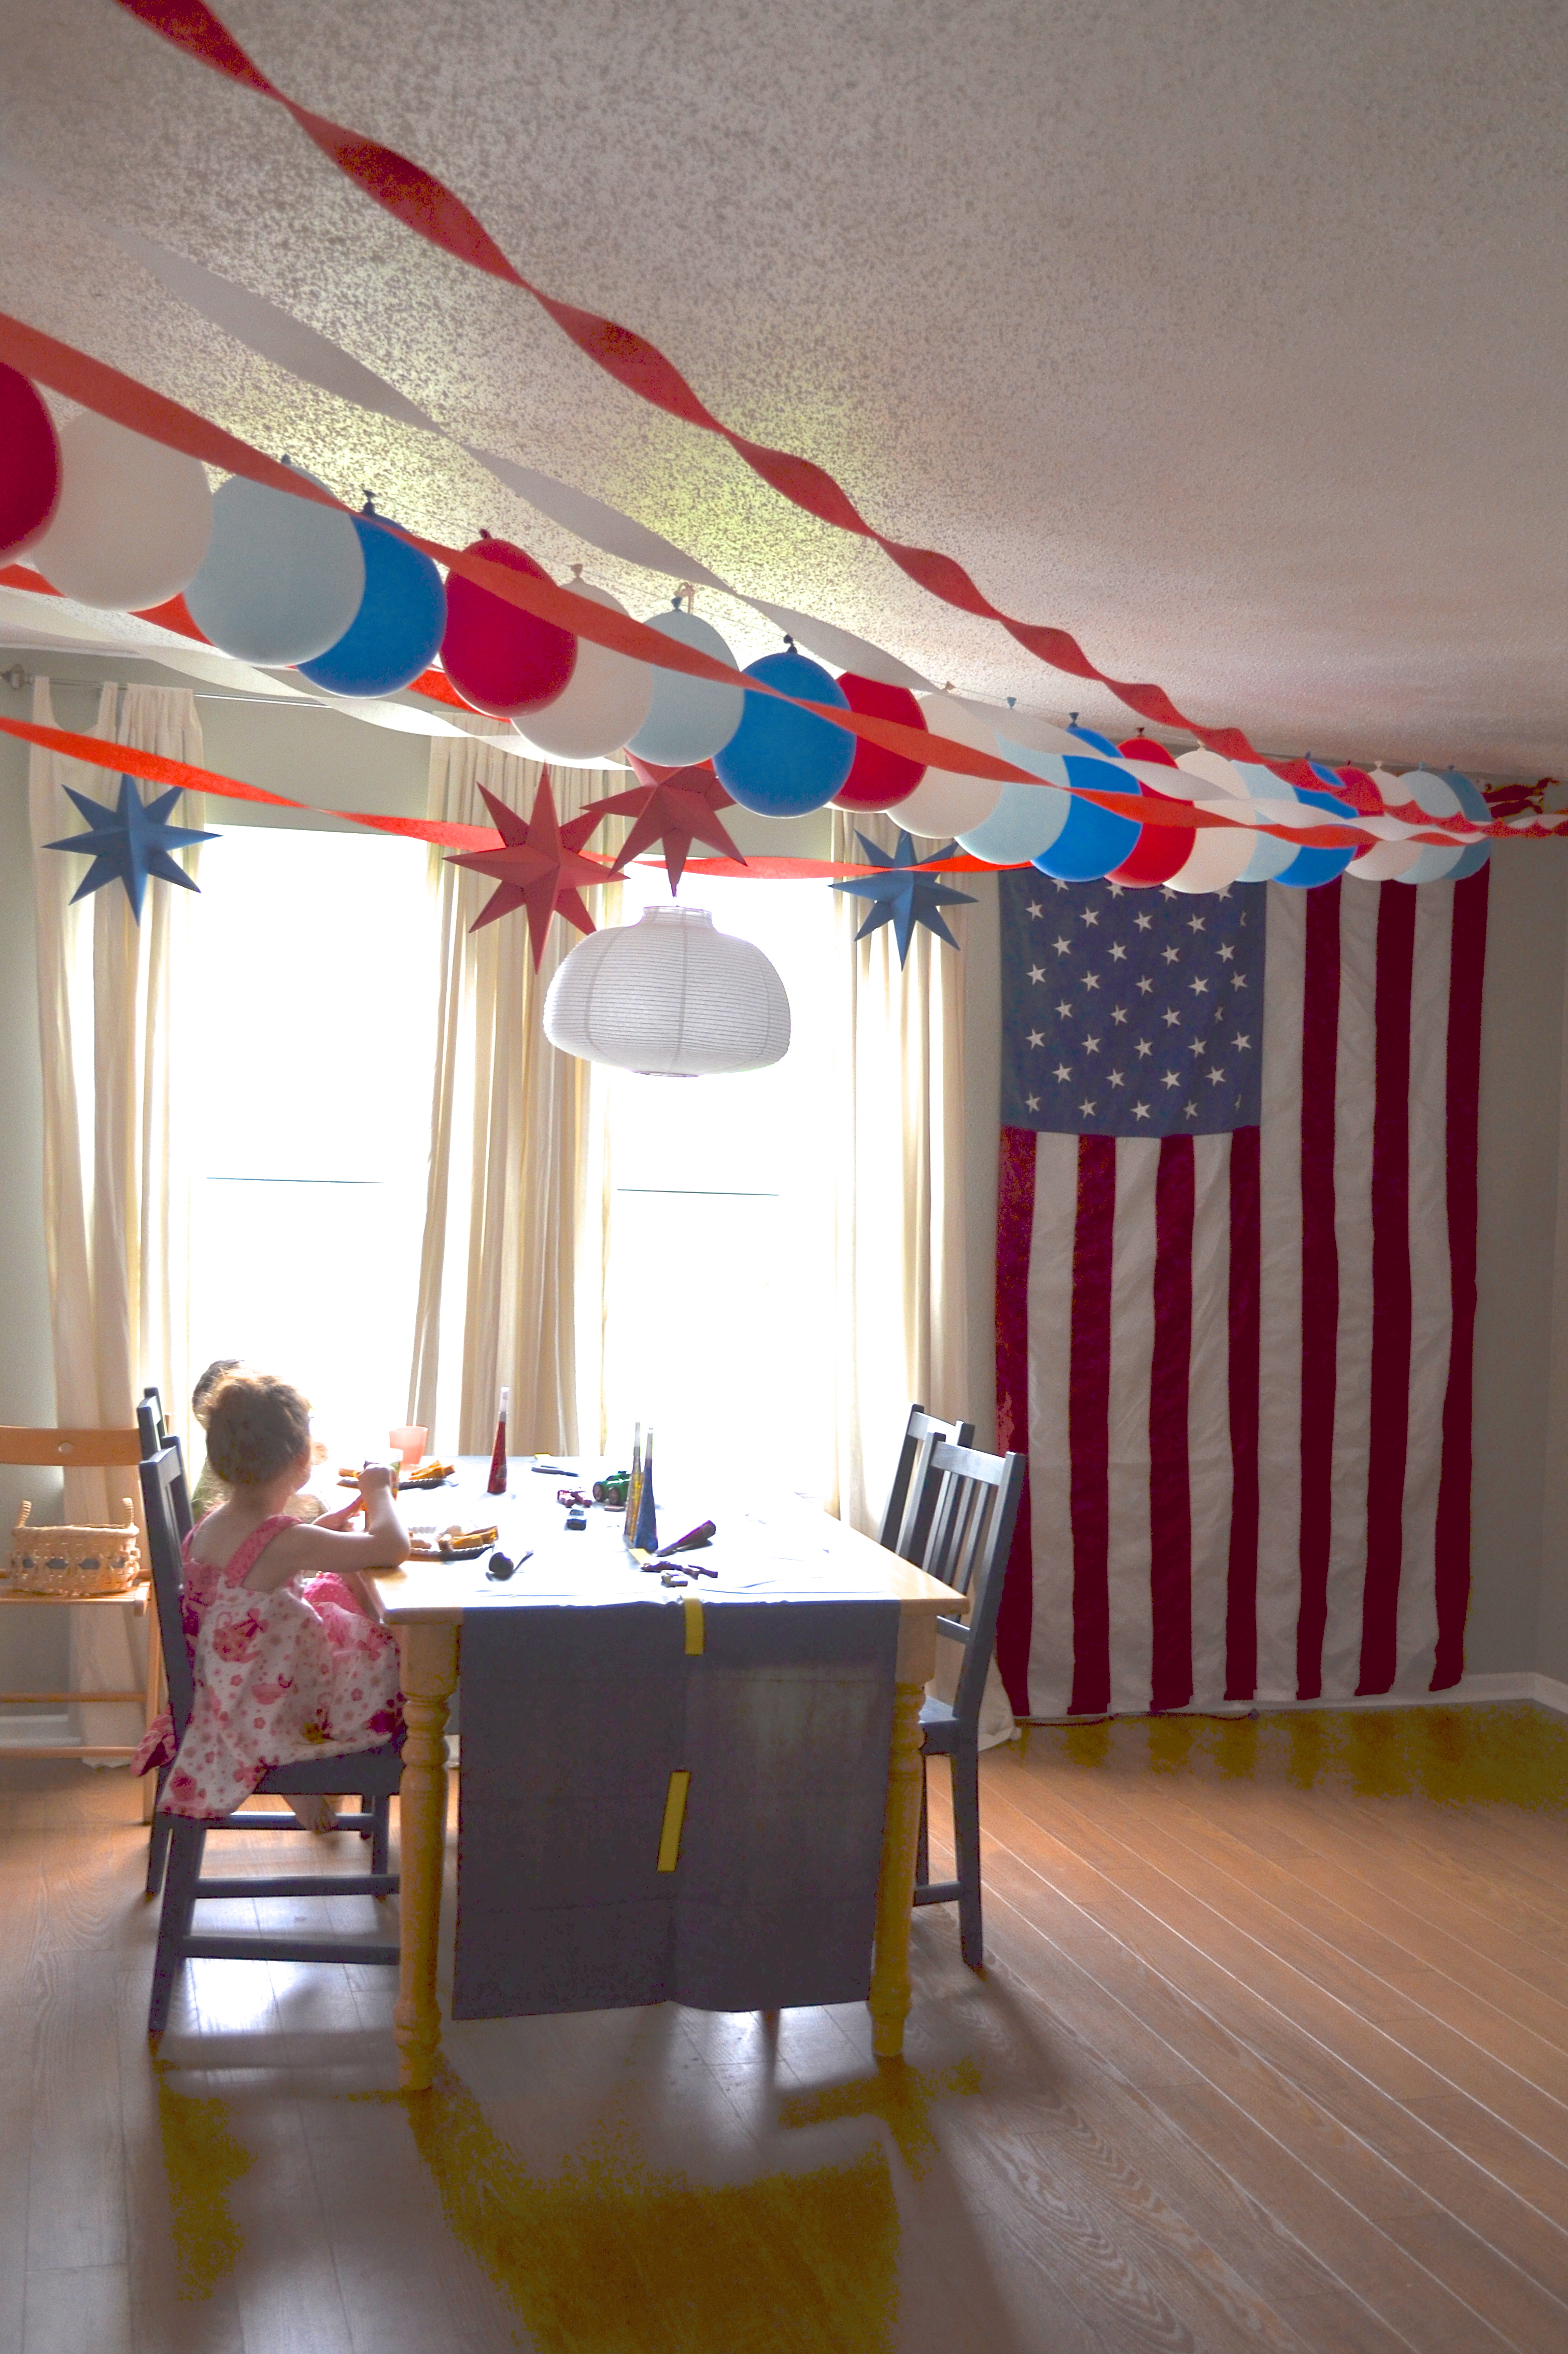
She was in charge of her corporate Christmas party, and they wanted to have an American theme to it – and have a bunch of our stars hanging from the ceiling! We knew that shipping that many of the stars to Australia {a location where shipping fees from the US were already high} would cost an enormous amount, and realized that this was the push we needed to finally get the kits made.

American themed party star garlands and decor | the Path Less TraveledThe gal sent us these photos to share after the event, and it looks like it was a terrific party! She also used our Red, White and Blue Stars Garlands in custom 60 foot lengths to string across the space, bunches of our Red, White and Blue Star Dessert Toppers in little glass vases as centerpieces on the tables and our Star Cupcake Picks in Patriotic Colors to top the desserts – it all came together so well!
Servers in costume at a Vintage America theme party | the Path Less TraveledSo there you have it! An idea that was stuck in the concept phase for far too long was brought to life {and now is a top seller! you can find them here} by a customer’s special request. You guys really are what keep our little shop going, in so many ways!

Do you have photos that you’d like to share? If so, you can either email them to me at elizabeth@pltmarket.com or tag them with #thepathlesstraveledmarket on Instagram – we’d all love to see your ideas! Also, I often send “thank you” coupons to the lovelies who let me share their photos with you – so if you’re looking for a coupon for your next order, sharing photos is a great way to get a discount!


<3

Items featured:

Large Folded Hanging Paper Stars

DIY Hanging Origami Star Kits

Red, White and Blue Stars Garlands

Red, White and Blue Large Stars Garlands

Red, White and Blue Star Dessert Toppers

Star Cupcake Picks in Patriotic Colors

an engagement party for a bride-to-be

an engagement party for a bride-to-be

{I originally posted this this a few weeks ago, but it got lost in the Great Blog Erase of 2015 – thankfully, most of the blog content was recovered after about a week, but a few of the most recent posts were gone for good. So here it is again!}

One of my husband’s brothers is getting married this fall {yay!}, and several weeks ago his mom, sister and sister’s-in-law and I had the privilege of throwing the bride-to-be a “welcome to the family” brunch. It was so fun! We had lots of ideas of ways to make the engagement party special without breaking the bank, and we kept track of them on a group Pinterest board {have you ever tried using a group board for something like this? It’s so handy!}.

an engagement party for a bride-to-be | the Path Less TraveledWe used our home as the location on a Saturday morning, and for decorations were able to stick almost entirely to things I already had in my stash, and I made a few banners and personalized cake toppers for a special touch.
a tea party brunch for a bride-to-be | the Path Less Traveled an engagement party brunch for a bride-to-be - layers of lace and lots of pink and gold make it a romance filled event! | the Path Less Traveled Over the table, I had John {he so graciously offered to help with the decorating as I was pulling together the last minute details!} hang up a few of these pink lanterns, mixed with white lace lanterns and some white honeycomb balls, all of which were in my party decoration box. I’ve had all of them for a while now, and they’ve been used over and over and held up so well!

party planning tip: Having re-usable party decoration items in your hostess arsenal is a great way to keep costs down, allowing you to focus your party budget on other areas!DSC_0004 Each place setting had one of these gilded frames on it as a favor for the girls to take home – I found the frames in the dollar bin at Michaels, and then personalized them with little prints {that I made on our computer, and then “dry stamped” a large heart over the text} and some lace trim in a bow.A "Bride-To-Be" banner sets the bride's seat at the party apart | the Path Less TraveledOne of the things I made up just for the party was this pair of Bride To Be banners – we have a version in our shop, but I wanted them to be even a little bit more special, and in two layers since I had this vision in my head of decorating her chair with them. I used doilies that I dyed a light pink to back the white letters, and the resulting effect was quite romantic!
a vintage-style tea party brunch for a bride-to-be | the Path Less Traveled  #BecomingASmillie banner to celebrate a bride-to-be | the Path Less Traveled I made a #BecomingASmillie {her new last name} banner for over the window in the same style, and everyone loved it! It was quite cute, and the hashtag may even get used as the one for her wedding prep. :)dress up the chairs with vintage pillow cases and some satin ribbon - so romantic! | the Path Less TraveledFor the chair decor, we took my stash of vintage embroidered pillowcases and slipped on over the back of each chair, and then tied each with a pink satin bow.
Decorate the chairs with vintage embroidered pillow cases and satin ribbon | the Path Less Traveled It was John’s idea {don’t tell him I told you!}, and was gorgeous!!!a feminine tea party style brunch for a bride-to-be | the Path Less Traveled The table came together beautifully. I used a white, every day table cloth layered with a vintage pink damask table cloth and vintage damask napkins. For the table settings, I layered our white every day plates {these} with some vintage salad plates, and used the vintage silver plated table ware I inherited from a family member. The goblets were find at Marshall’s a while ago, and the tea set was from my grandma. It all came together so beautifully!DSC_0014 a feminine tea party style brunch for a bride-to-be | the Path Less TraveledTo accent the rest of the room, I had John hang up a Lace Doily Garland {looping back and forth across the room}, a Glitter Gold Confetti Garland {in the area over the table} and a Large Paper Hearts Garland in pink around the doorway. The garlands added an additional air of romance and festivity, taking the room from feeling like I had just set the table for the party to feeling like this party was an event. Such a difference!
a feminine tea party style brunch for a bride-to-be | the Path Less Traveled I loved having a reason to get out my special tea set! My sister-in-law made the Strawberry Iced Tea, and – wow. It was good!DSC_0017 My mother-in-law, sister-in-law and I each made a few dishes share, and the resulting buffet was delicious!personalize a tray of desserts with the initials of the couple-to-be! Engagement party on the Path Less Traveled The future Mr. and Mrs.’s initials are E and T, so a pair of glittery gold monogram dessert toppers {with a darling ampersand in a vintage style print!} seemed the perfect choice to top off the platter of Mango Scones. To the left there was a platter of {delicious!} Asian Salad Wonton Cups, and to the right a dish of Grapefruit Curd to accompany the scones.Donut holes on heart tipped bamboo skewers | the Path Less TraveledAs we were planning I came across this picture of donut holes on heart-tipped skewers, and quickly added it to the must try list!
mini BLT sandwiches, topped with heart and flag shaped cupcake picks | the Path Less Traveled The tea sandwich size BLTs were cute and scrumptious.mini BLT sandwiches, topped with heart and flag shaped cupcake picks | the Path Less Traveled DSC_0025 The little girl cousins had their own table :)DSC_0026 DSC_0028


It was a special time to welcome Tessa to the family. We all had full, hectic weeks leading up to the day, but taking the time to prepare for a special, out of the ordinary occasion and to visit with each other for a few hours was a blessing to each of the girls. Times like a wedding only come along a few times in a family’s history, and making them with a little fanfare is worth it!

Have you had a chance to celebrate your family recently? I’d love to hear about it!

<3

Items featured:

Bride To Be Banner

Paper Lace Doily Banner

Glitter Gold Confetti Garland

Large Paper Hearts Garland {in pink}

Monogram Cake Toppers

Gold Heart Cupcake Toppers

Vintage Floral Cupcake Flags


{ you can see more photos of the party here}

a library inspired baby shower

a library inspired baby shower

Tonight I have something quite darling to share – a library inspired baby shower!

One of my customers {Dina of Honey & Fitz} used our Book Star Garland as part of the decor for this darling baby shower that she designed and hostessed for a dear friend – you can read her tell all about it on the sweet feature that Style Me Pretty Living did this morning :)

Photography: Ruth Eileen Photography, Design: Dina of Honey & Fitz


P.S. We have a winner for the giveaway! Congrats to Kristel P.! I’ll email you your gift card code tomorrow :) And thank you to everyone who entered! I’ll be having another very soon – we only need one more Facebook fan to reach 200, and then we’ll celebrate with something pretty and sparkly!

customer love – bridal shower edition!

customer love – bridal shower edition!

It’s time for another customer love post – this time it’s a bridal shower edition! Emelyne ordered some of our “I DO” cupcake toppers in the vintage paper {so many of you LOVE these!} and sweetly shared photos of how she used them for some bridal shower cupcakes:

bridal shower cupcakes on the Path Less Traveled bridal shower cupcakes on the Path Less Traveled pink bridal shower cupcakes on the Path Less Traveled

I love how she used them! The pink frosting {which looks amazingly yummy!}, the sweet paper baking cups and the lace tied around them, the milk glass plates – swoon. Emelyne has a blog and a YouTube channel where she shares her creations and tutorials. You can even follow her on Instagram to see more of the darling things she makes!

Thank you so much Emelyne for sharing these gorgeous photos with us today!

Do you have photos that you’d like to share? If so, you can either email them to me at elizabeth@pltmarket.com or tag them with #thepathlesstraveledmarket on Instagram – we’d all love to see your ideas!

XO


p.s. I often send “thank you” coupons to the lovelies who let me share their photos with you – so if you’re looking for a coupon for your next order, sharing photos is a great way to get a discount!

Follow on Bloglovin

making mini crowns

making mini crowns

Yesterday I showed you how I made the pretty little crown for Emma Grace’s birthday {and she still keeps it in her dress-up box. After over 6 months of wear, I’m kind of impressed by how sturdy card stock can be!} and then mentioned that I had another darling little DIY tutorial up my sleeve :)

making mini crowns

One of the “crowning” touches to E. G.’s party was the little tiny tiara that I made to grace the number “4” I had made from pink paper to hang over the table. It was so cute, I couldn’t bring myself to throw it away when I took down the rest of the princess things, and now it’s sitting on top of a Winnie the Pooh figurine in the kids’ room. {It’s the little touches that make a room (and a party), you know :)}

After walking by it, day after day for months, it occurred to me that the tiny crown would be perfect for a baby shower, too. Or a first birthday, a Quinceanera, a Sweet Sixteen, gracing the top of your jewelry stand or a birthday package, um, the list goes on and on :) And these little things are so easy to make, too! Ready to see how?

materials for making mini crowns materials: scissors, ruler {optional – you can also just eyeball it}, glittery paper, hole punch, narrow ribbon {I used about 7″, but the length is up to you}making mini crowns starting with a 4″ by  3/4″ {or so} piece of paper, bring the ends together to form a circle.making mini crownsPunch two small holes where the ends overlap, thread the ribbon through these holes and tie a pretty little bow.making mini crowns Next, make the little triangles on the top of the crown with your scissors – because the crown is so small I just freehanded these, but you could measure if you want :)making mini crowns And there you have it! A darling little tiara for …. whatever you’d like!making mini crowns

I think Winnie the Pooh is enjoying wearing it, don’t you?

Tell me, what would you use this tiny darling for?

Follow on Bloglovin


I’m sharing this at the Vintage Farmhouse <3

how-Tuesday: DIY Birthday Crowns

how-Tuesday: DIY Birthday Crowns

Today’s promised how-Tuesday: DIY Birthday Crowns! Do you remember the princess party that Emma Grace requested? Well, I realized that I had never shown you how I made her darling Birthday Crown {and, since I’m kind of on a birthday theme at the moment, now is the perfect time to change that, right?}!

DIY Party CrownDIY Party CrownToo cute, isn’t it?! Now, let’s get started:DIY Prince or Princess Crown materials: mid to heavy weight card stock in size 8 1/2″x11″ or larger {I used white for these so my kiddos could color them, but you can use any color you wish! For E.G.’s birthday I used a gold glittered paper}, ruler, pencil, scissors, hole punch, ribbonDIY Prince or Princess Crown step one: with your paper in the “portrait” position {so that it’s facing the “tall” way}, draw a line down the middle {4 1/4″ from the edge} and then cut along this line. You will now have two 4 1/4″x11″ pieces.DIY Prince or Princess Crown step two: find your middle point on one long edge of the paper {at 5 1/2″} and make a small dot. Then, measuring from this same edge, measure 2″ toward the middle and lay your ruler along this 2″ line. Make a dot on this line at the 2″, 4″, 7″ and 9″ marks.

Now it gets just a bit more fun … you get to play connect the dots! Draw lines connecting the corners on the long edge with the dots you’ve just made, forming a series of …DIY Prince or Princess Crown …triangles along what is now the top edge of your crown.DIY Prince or Princess Crown Step three: cut along this line. It’s beginning to take shape!DIY Prince or Princess Birthday Party Crown step four: punch two holes on each end of the crown, about an inch apart.DIY Prince or Princess Birthday Party Crown step five: cut 2 lengths of ribbon, each about 18″ long and thread a piece through the holes of one end {like in the photo} and it to itself so that one side has a knot and the other …DIY Prince or Princess Birthday Party Crown …looks like this. Repeat for the opposite end. Now, at this point you can either be finished or you can pass it on to a child and allow them to decorate it to their heart’s content :)DIY Prince or Princess Birthday Party Crown DIY Prince or Princess Birthday Party Crown DIY Prince or Princess Birthday Party CrownDIY Prince or Princess Birthday Party CrownsThis cutie modeled her party crown again as she colored her new, custom decorated by her tiara.DIY Prince or Princess Birthday Party CrownsSo intent on her work!DIY Prince or Princess Birthday Party CrownsTada! Wouldn’t it be a sweet party activity to decorate your own crown? Maybe with feathers, glitter and sequins, too? I think a little one {or several} would be just over the moon with these!DIY Prince or Princess Birthday Party CrownsDIY Prince or Princess Birthday Party CrownsDIY Prince or Princess Birthday Party Crowns

Gah, those eyes! So, there’s your promised adorable tutorial for the day :) And I’ve got another one up my sleeve! Maybe for tomorrow? Maybe …

Until then, I’d love to hear if you try this! How would you customize them for your littles? Do you have a favorite party hat tradition?


XOXO

Follow on Bloglovin


I’m sharing this at the Vintage Farmhouse <3

the Cars party

the Cars party

Ah, the last installment of the Cars party – and the last one of {what turned into being} the series!

Cars themed birthday party on the Path Less TraveledCars themed birthday party on the Path Less TraveledCars themed birthday party on the Path Less TraveledCars themed birthday party on the Path Less TraveledCars themed birthday party on the Path Less TraveledCars themed birthday party on the Path Less TraveledCars themed birthday party on the Path Less TraveledCars themed birthday party on the Path Less TraveledCars themed birthday party on the Path Less Traveled

It was such a fun, relaxed type of party. We kept it pretty low key {as far as three-year-old’s parties go} and kept the guests to just family. Ian loved showing his cousin how to use the car track that John made and “do racin’!” We listened to the Beach Boys channel on Pandora, and the younger guests played “pass the Parcel” and had a small water fight {it happened to be raining during part of the party, so why not get wetter, right?}. Ian absolutely adored the Cars cake, and it was the sweetest thing ever to see how excited he was to stand in the middle of us all, soaking up the love and attention as we sang “Happy Birthday” to him! :)

He received some of the sweetest things – and even got his very first tool bag {with real tools!}. Isn’t it amazing how much delight kids can get out of a simple gift?

Here’s the sneak peek, part one and part two of the party {since I have apparently made it into a mini series :)} The balloon garland tutorial is here, and the party supplies that I didn’t already have, make or use from my shop are from the Dollar Tree.

And that wraps up Ian’s Cars themed birthday! There are so many other things that I could add, but I think I might have said enough :) Do you have any tips for throwing a kid’s birthday party? What are some of your favorite games?

I’m hoping to have a sweet party-themed How Tuesday for you tomorrow. In other news … the Facebook fan page is getting close to 200 fans!  As soon as we reach 200 I’ll have a giveaway {hint: the prize is going to be sparkly!} for a brand new, yet to be released shop item. Share the fun with your friends to get us there even faster :D


Follow on Bloglovin

some lovelies

some lovelies

Oh wow, I’m so thrilled to share these lovelies with you this morning! One of my local friends, Vanessa from Violet Vintage {we became friends through our shops – I LOVE how having a handmade business brings new connections into my life!} recently threw a gorgeous watercolored  Thank You luncheon for her lovely support team.

The lovely event was featured on Style Me Pretty, and Vanessa was kind enough to let me share it here, too!

Did you know that you can request custom items from our shop? Vanessa had commissioned a custom version of my doily garlands and the result was the amazing peach and mint garlands made from vintage paper doilies that graced the luncheon in such a gorgeous way! They really were the perfect finishing touch to a unforgettable time. What a perfect way to thank the ones who’ve been with you through everything!

The lovely photos of the event are curtesy of Emily Weis and the venue is the Historic Ambassador House in Fishers, Indiana.

Follow on Bloglovin

the Cars party! {part two}

the Cars party! {part two}

Ah, the best laid plans! I started out the week planning to share all sorts of birthday ideas with you lovelies, and then … a {most precious and adorable} teething baby {who wanted to be held all night}, kids with colds who needed their mama and somehow my {sleep deprived, foggy and semi incoherent} thoughts just didn’t make onto the blog. But now, the little are better, I’m more rested and ready to share!

Anyone ready for part two of the Cars party? {looking for part one? or the sneak peek? You can find them here and here}

Cars themed party on the Path Less Traveled I had seen a super fun pool-noodle turned car race track on Pinterest, and picked up a noodle at the Dollar store when I was getting the a few other things for the party {side note – the Dollar Tree is an excellent source for streamers, cake plates, napkins, mylar balloons and plastic tables cloths!}, and it turned out to be a bit too small for the cars {but perfect for marbles}. John improvised and made a track using a large piece of cardboard, and it turned out even better for Ian, since most of cars are bigger than Matchbox size :) The kiddos loved hurling the cars down the “track”, racing to catch them at the bottom and then running back to the top to do it again.Cars themed party on the Path Less Traveled Ian was soooo tickled with his Cars cake from Sam’s Club! And with the stickers and temporary tattoos that we used as party favors :)Cars themed party on the Path Less Traveledthe indoor eating area – at lunch time {the birthday boy requested corn dogs for lunch}

The balloon garland was so fun – and easy! – to make! You can find the tutorial that I made for it here. And do you see the “road” style table cloth? It was another thing that I had found on Pinterest, and super simple to make happen. Just cut a black plastic cloth in half the long way and then attach 1″ x 6″ strips of yellow construction paper down the middle using double sided tape.Cars themed party on the Path Less Traveledview of our dining room from the front of our house – I love the added dimension and pop of color that the red and blue paper stars added!Cars themed party on the Path Less TraveledCars themed party on the Path Less Traveledfrom the kitchen toward the dining room – there were fire engines on the shelf under the photo wall and presents on the piano
Cars themed party on the Path Less Traveledanother one of the Lightning McQueen printouts Cars themed party on the Path Less Traveled

The outdoor eating area, with another “road” style table cloth. I used a bunch of red and white streamers and red and white paper stars to bring a party feel to the tent, and they were so lovely as they swayed in the evening breeze :)

So there you have part two – I’ll be sharing the rest of the party soon!

xoxo

Follow on Bloglovin