Browsed by
Tag: spring

How-Tuesday (on a Thursday): DIY Egg Centerpiece

How-Tuesday (on a Thursday): DIY Egg Centerpiece

Have you ever wondered how to make eggs stand up without using those darling little egg cups? Well, today I’ll show you how :) And yes, today is Thursday, not Tuesday … {life … happened. I’m sure you understand}.

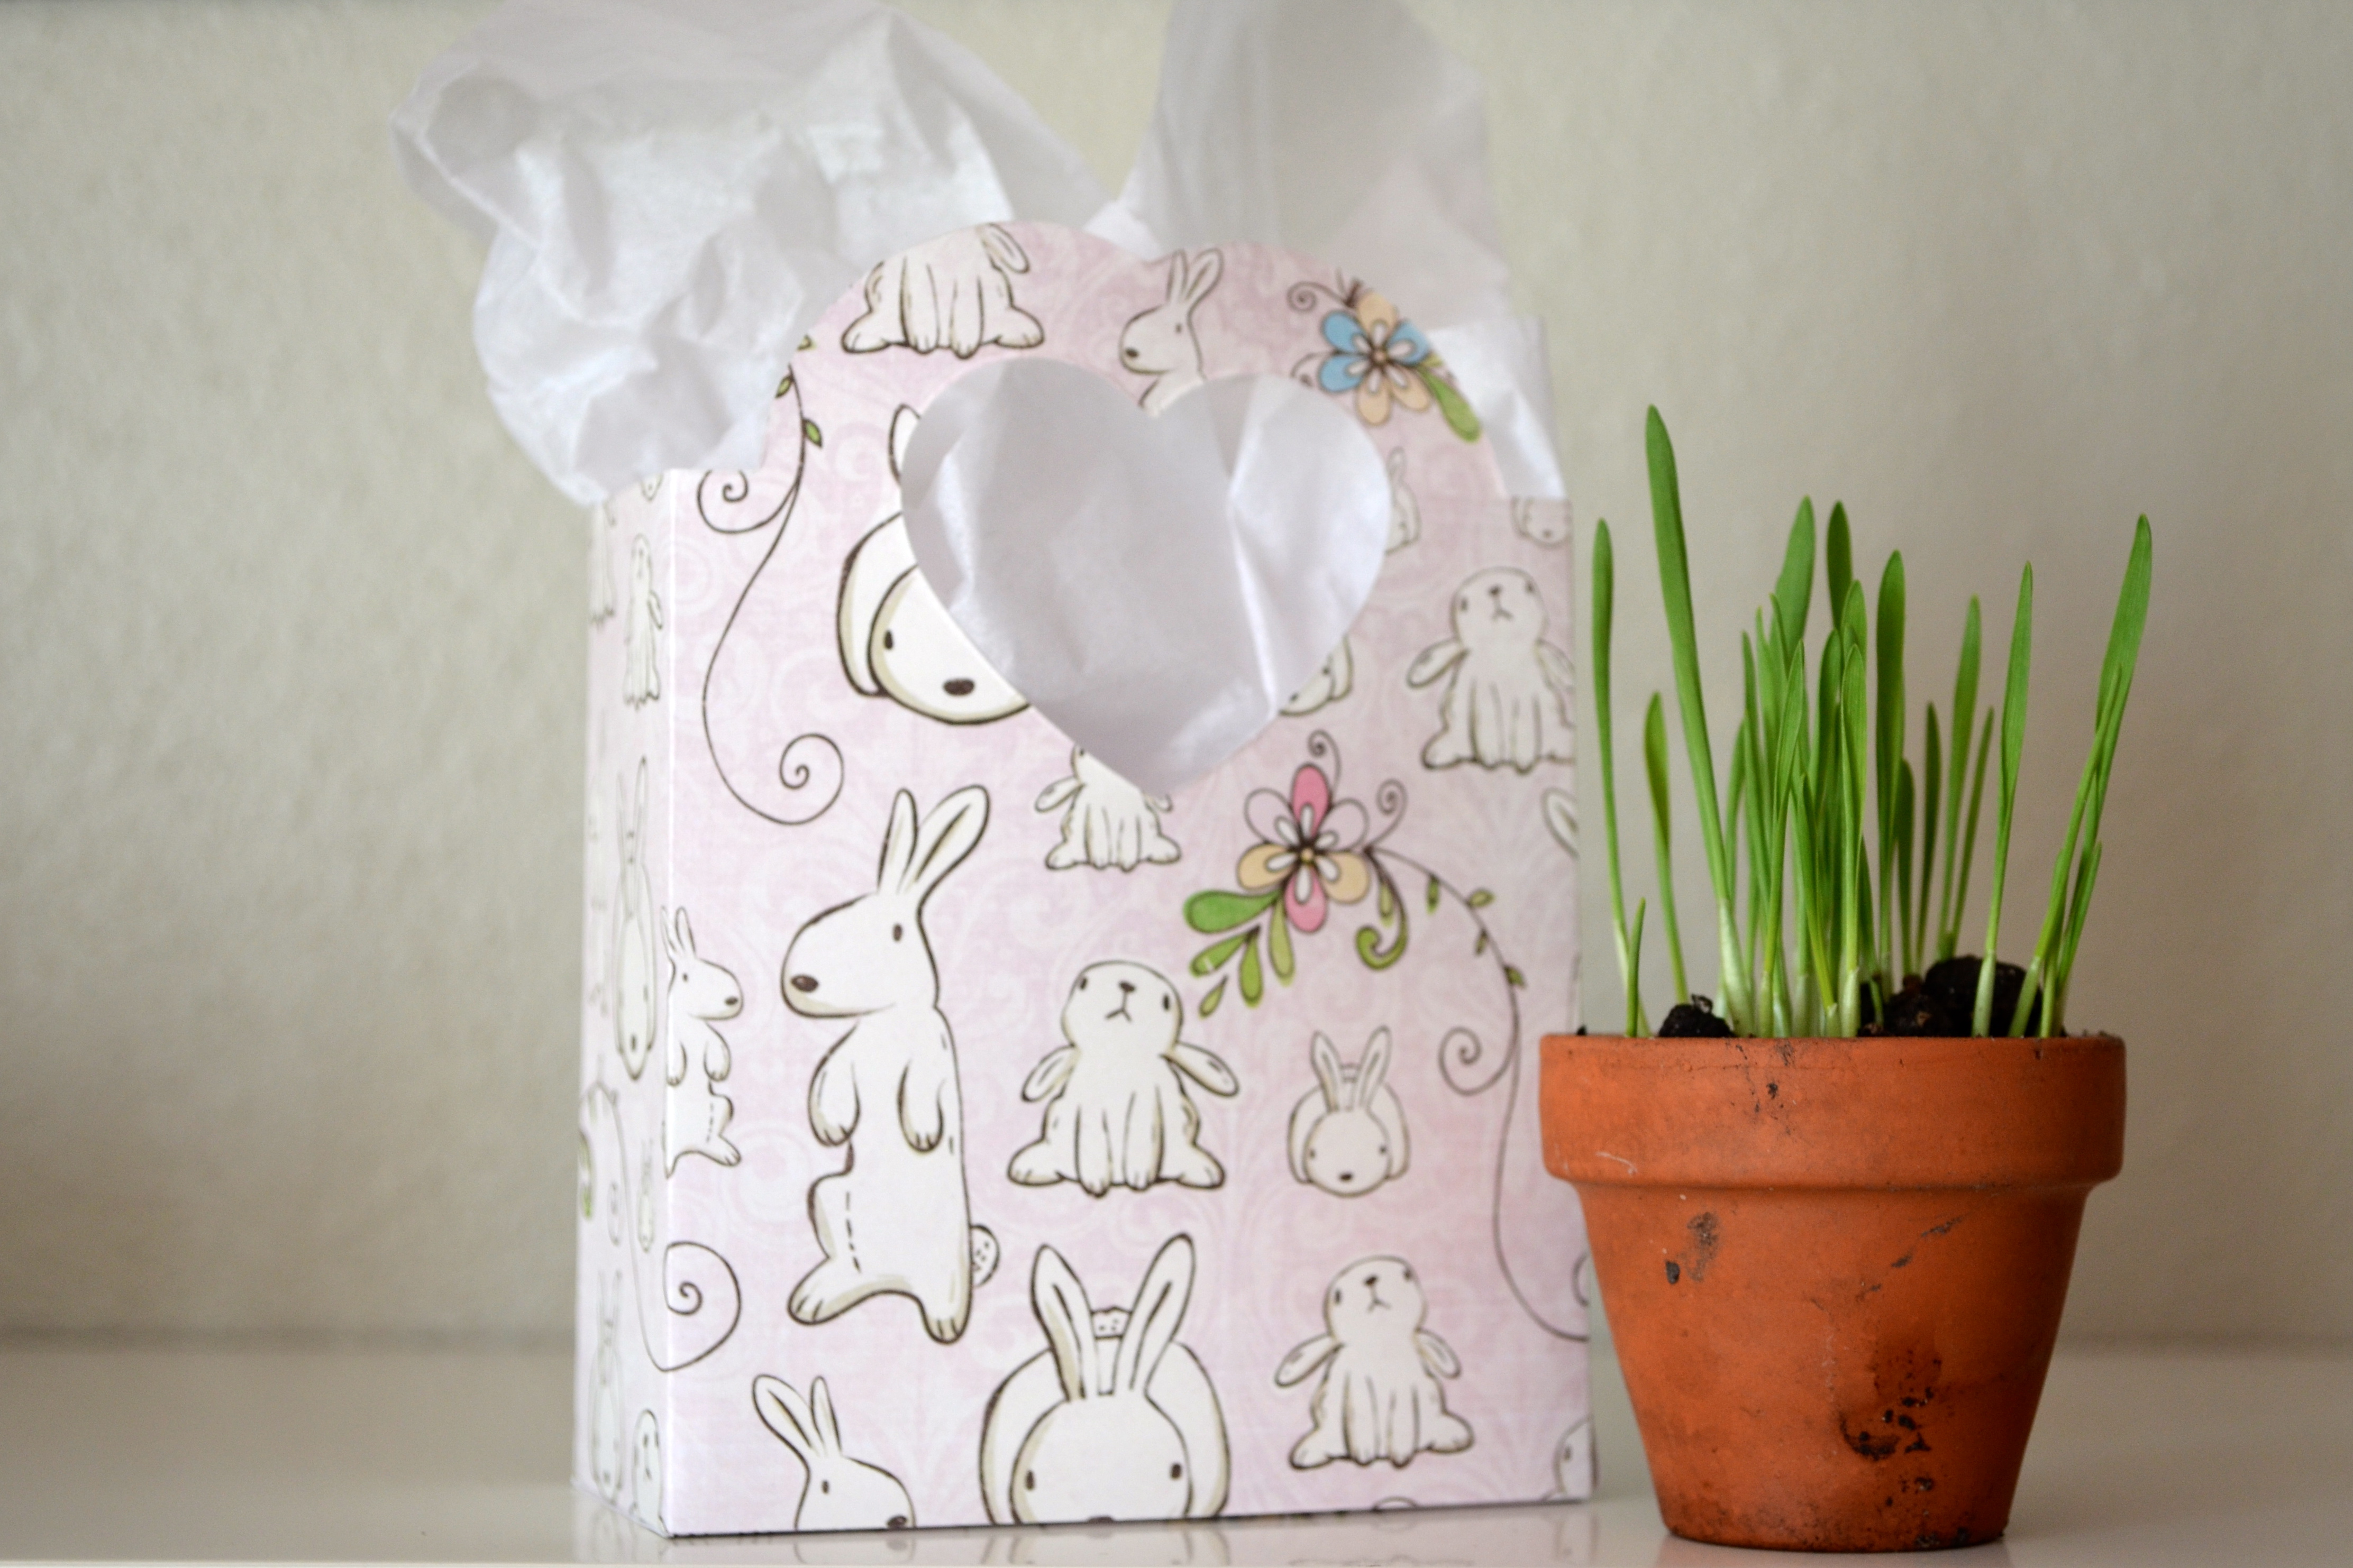
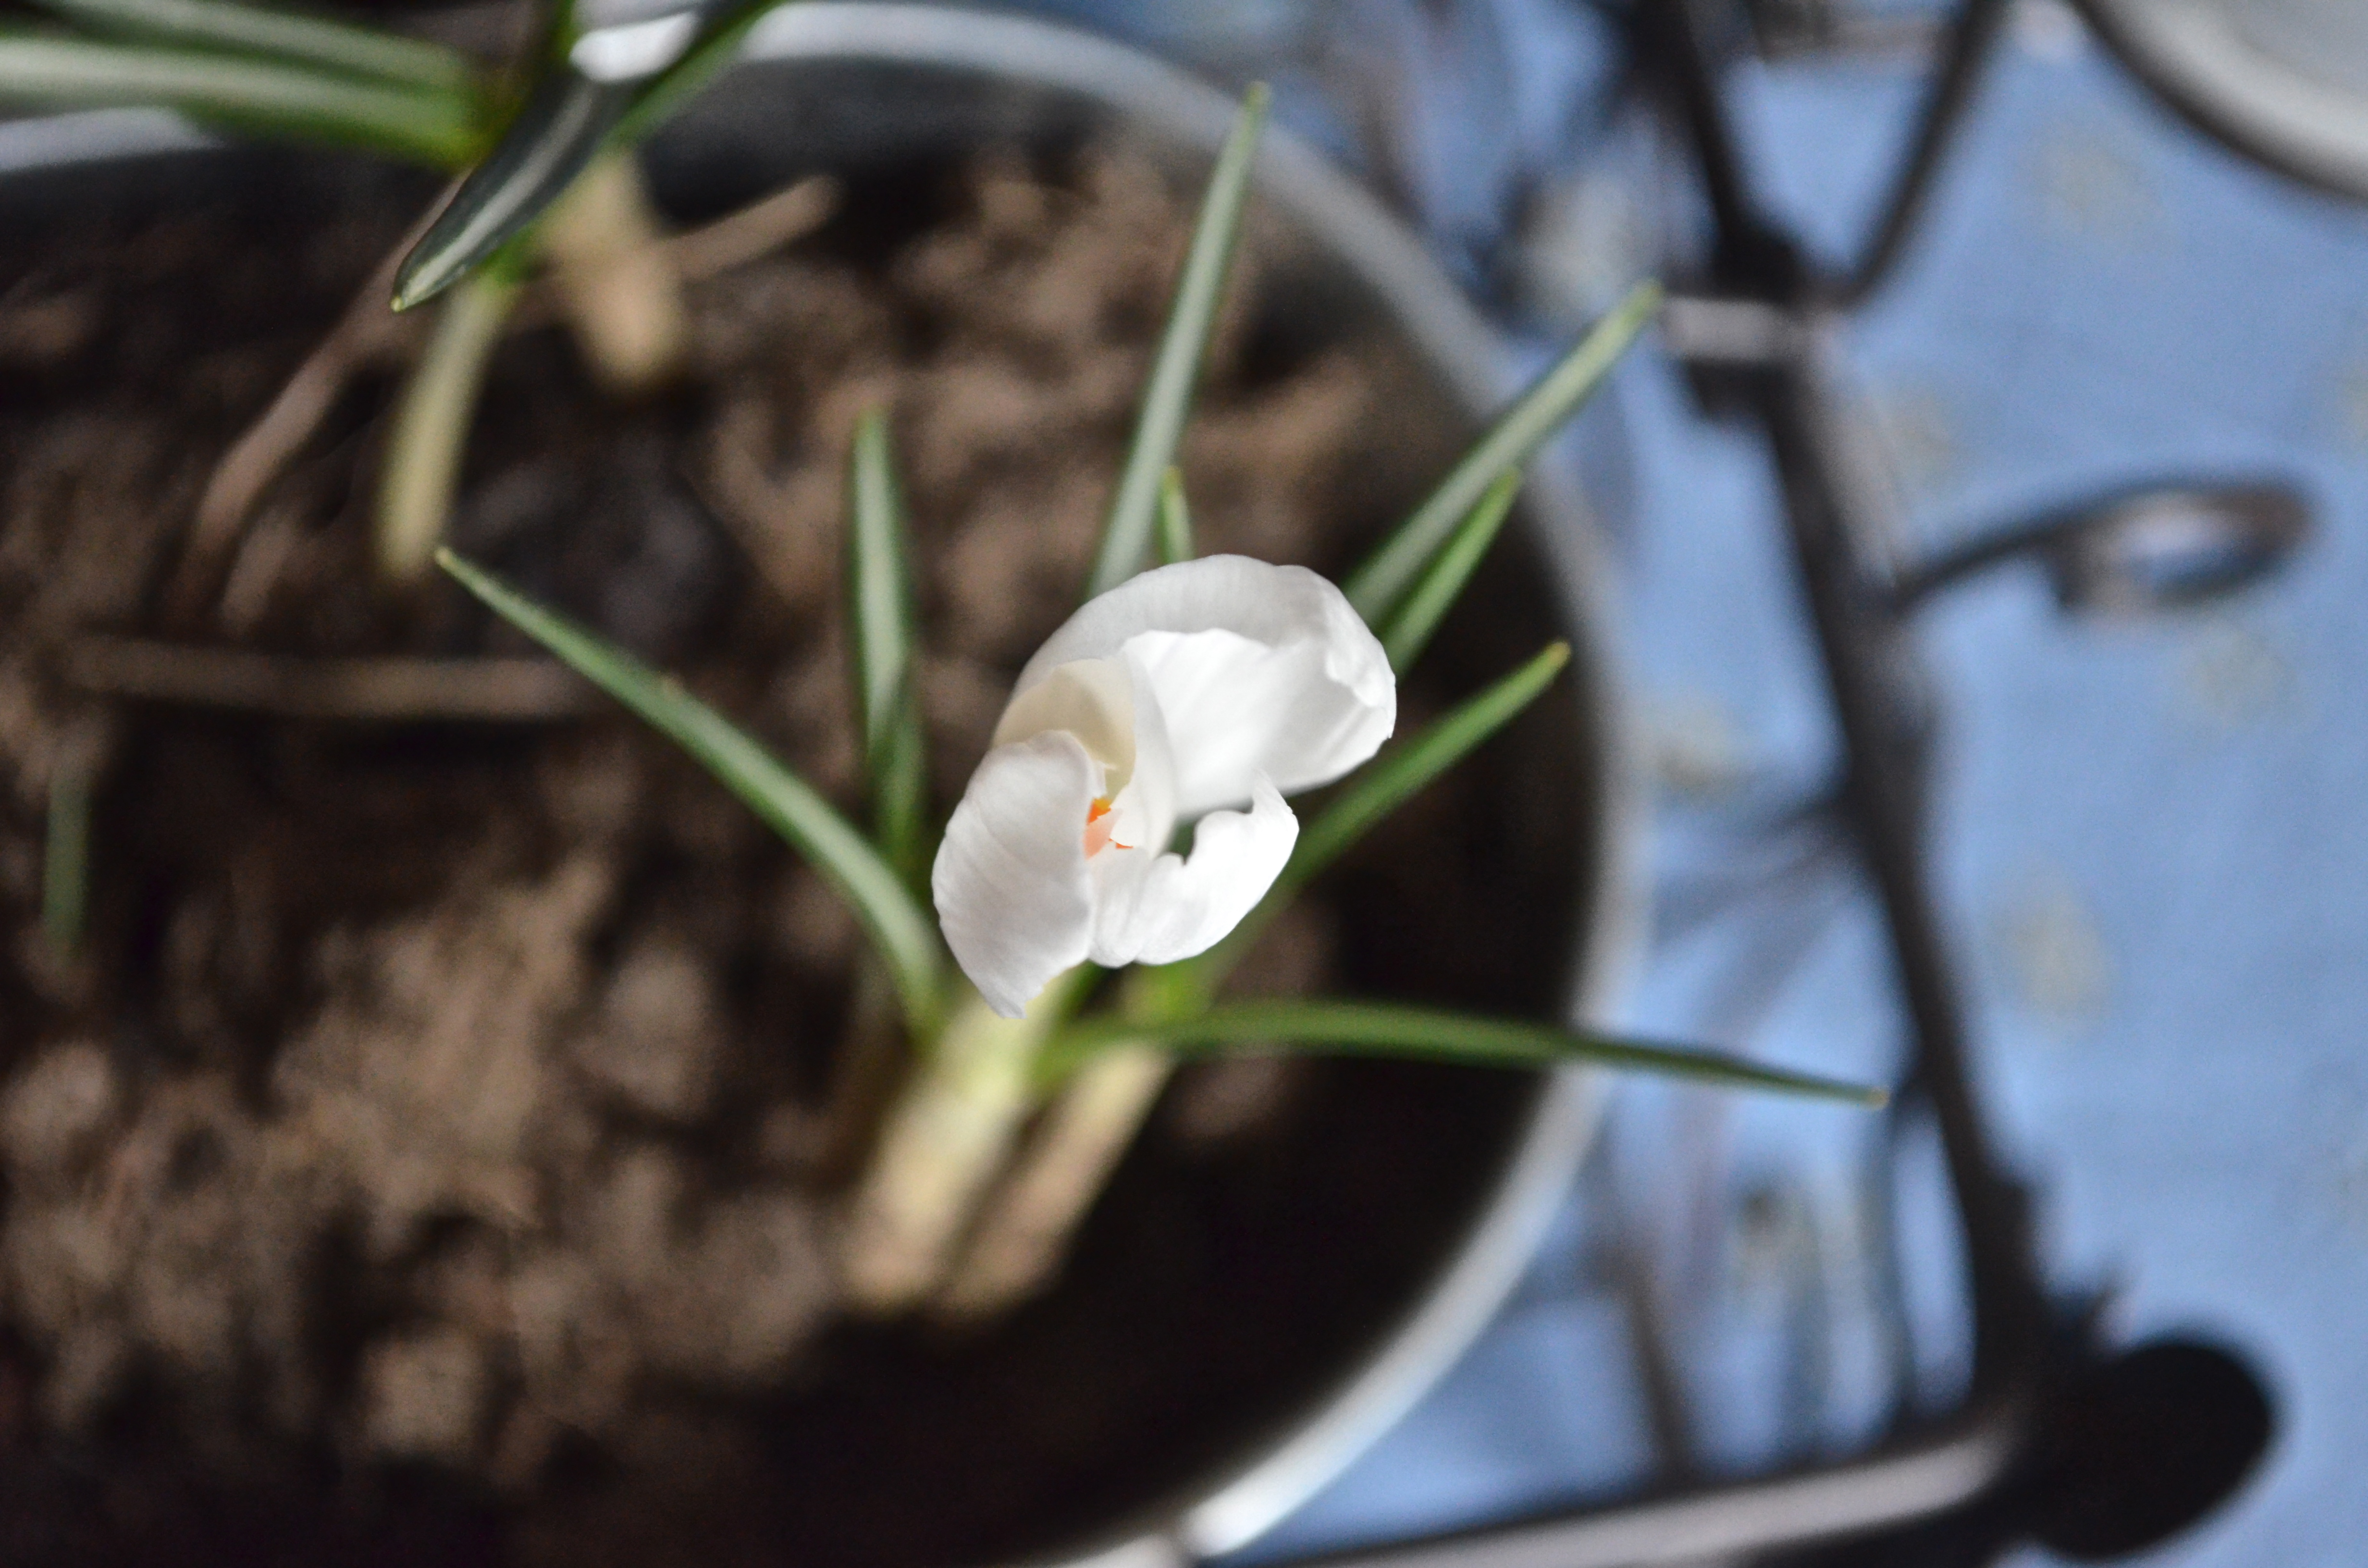
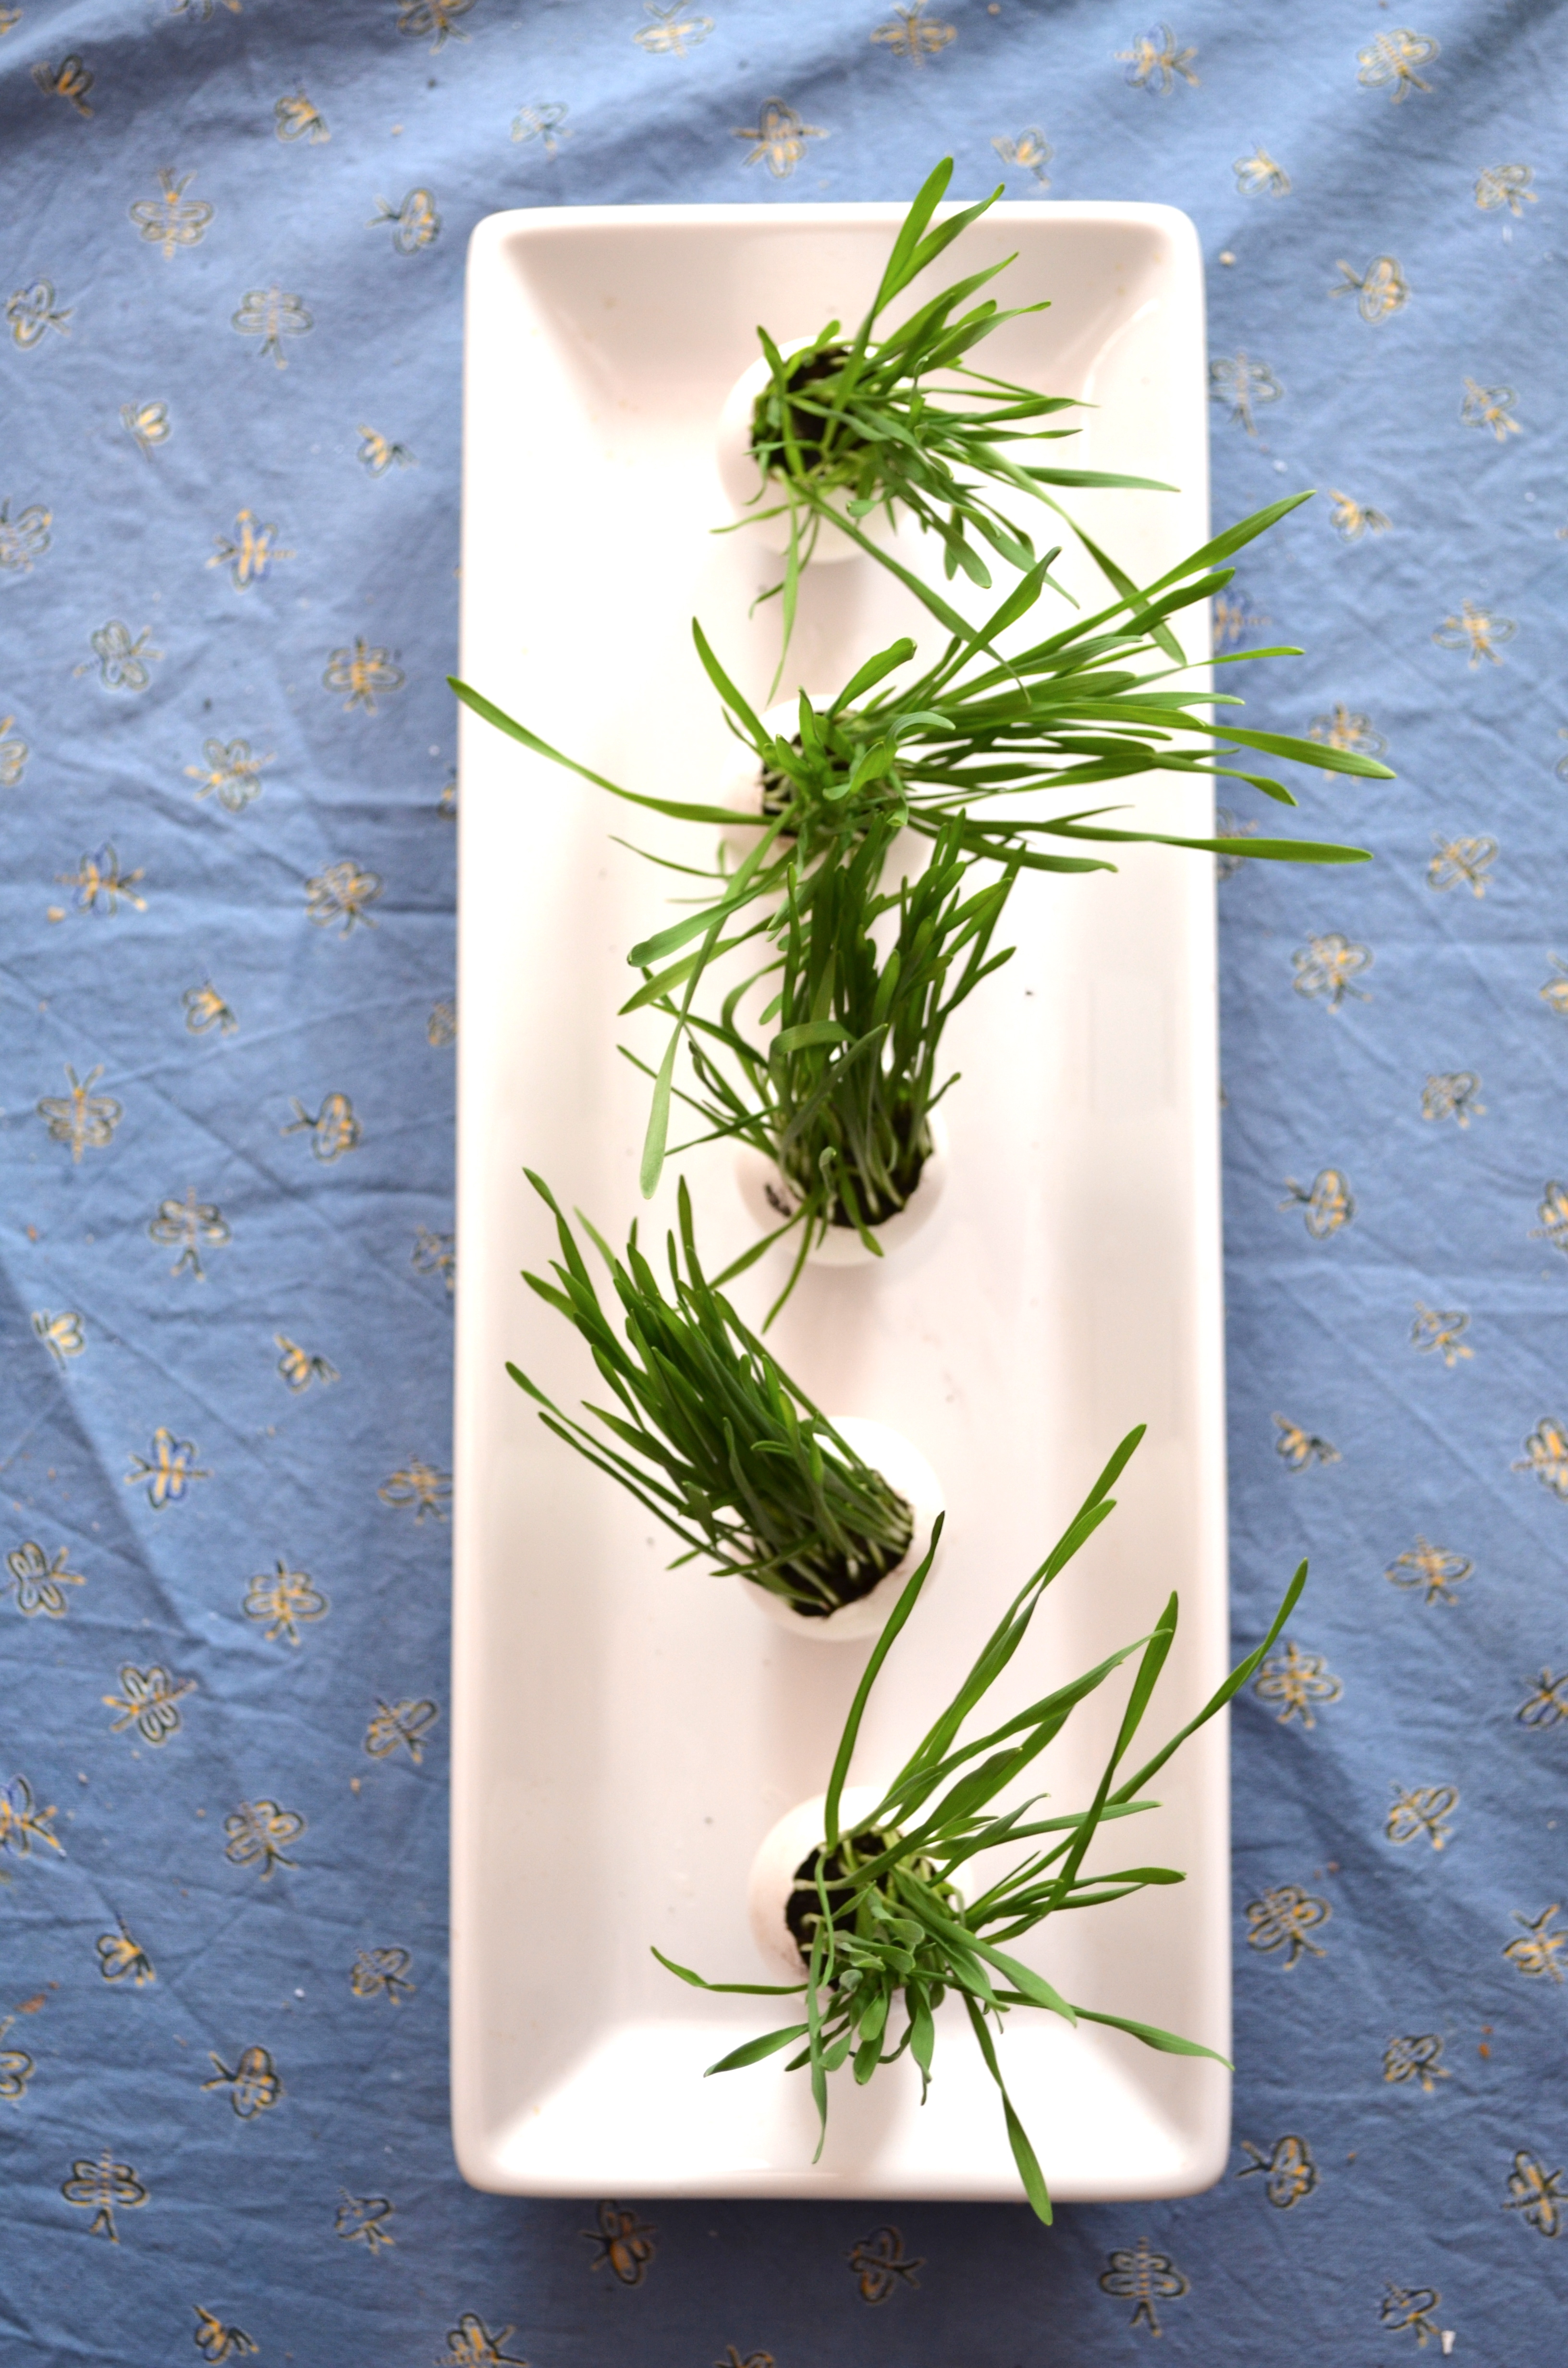
This project is perfect for all sorts of celebrations: Easter, Earth Day, baby showers or farm-themed birthdays – and if you use the eggs as vases for tiny arrangements, the list grows even more. You could even adapt these to use as mini herb pots on your kitchen windowsill!

DIY Easter Egg and Grass Centerpiece via the Path Less Traveled

The materials for this project are very simple:

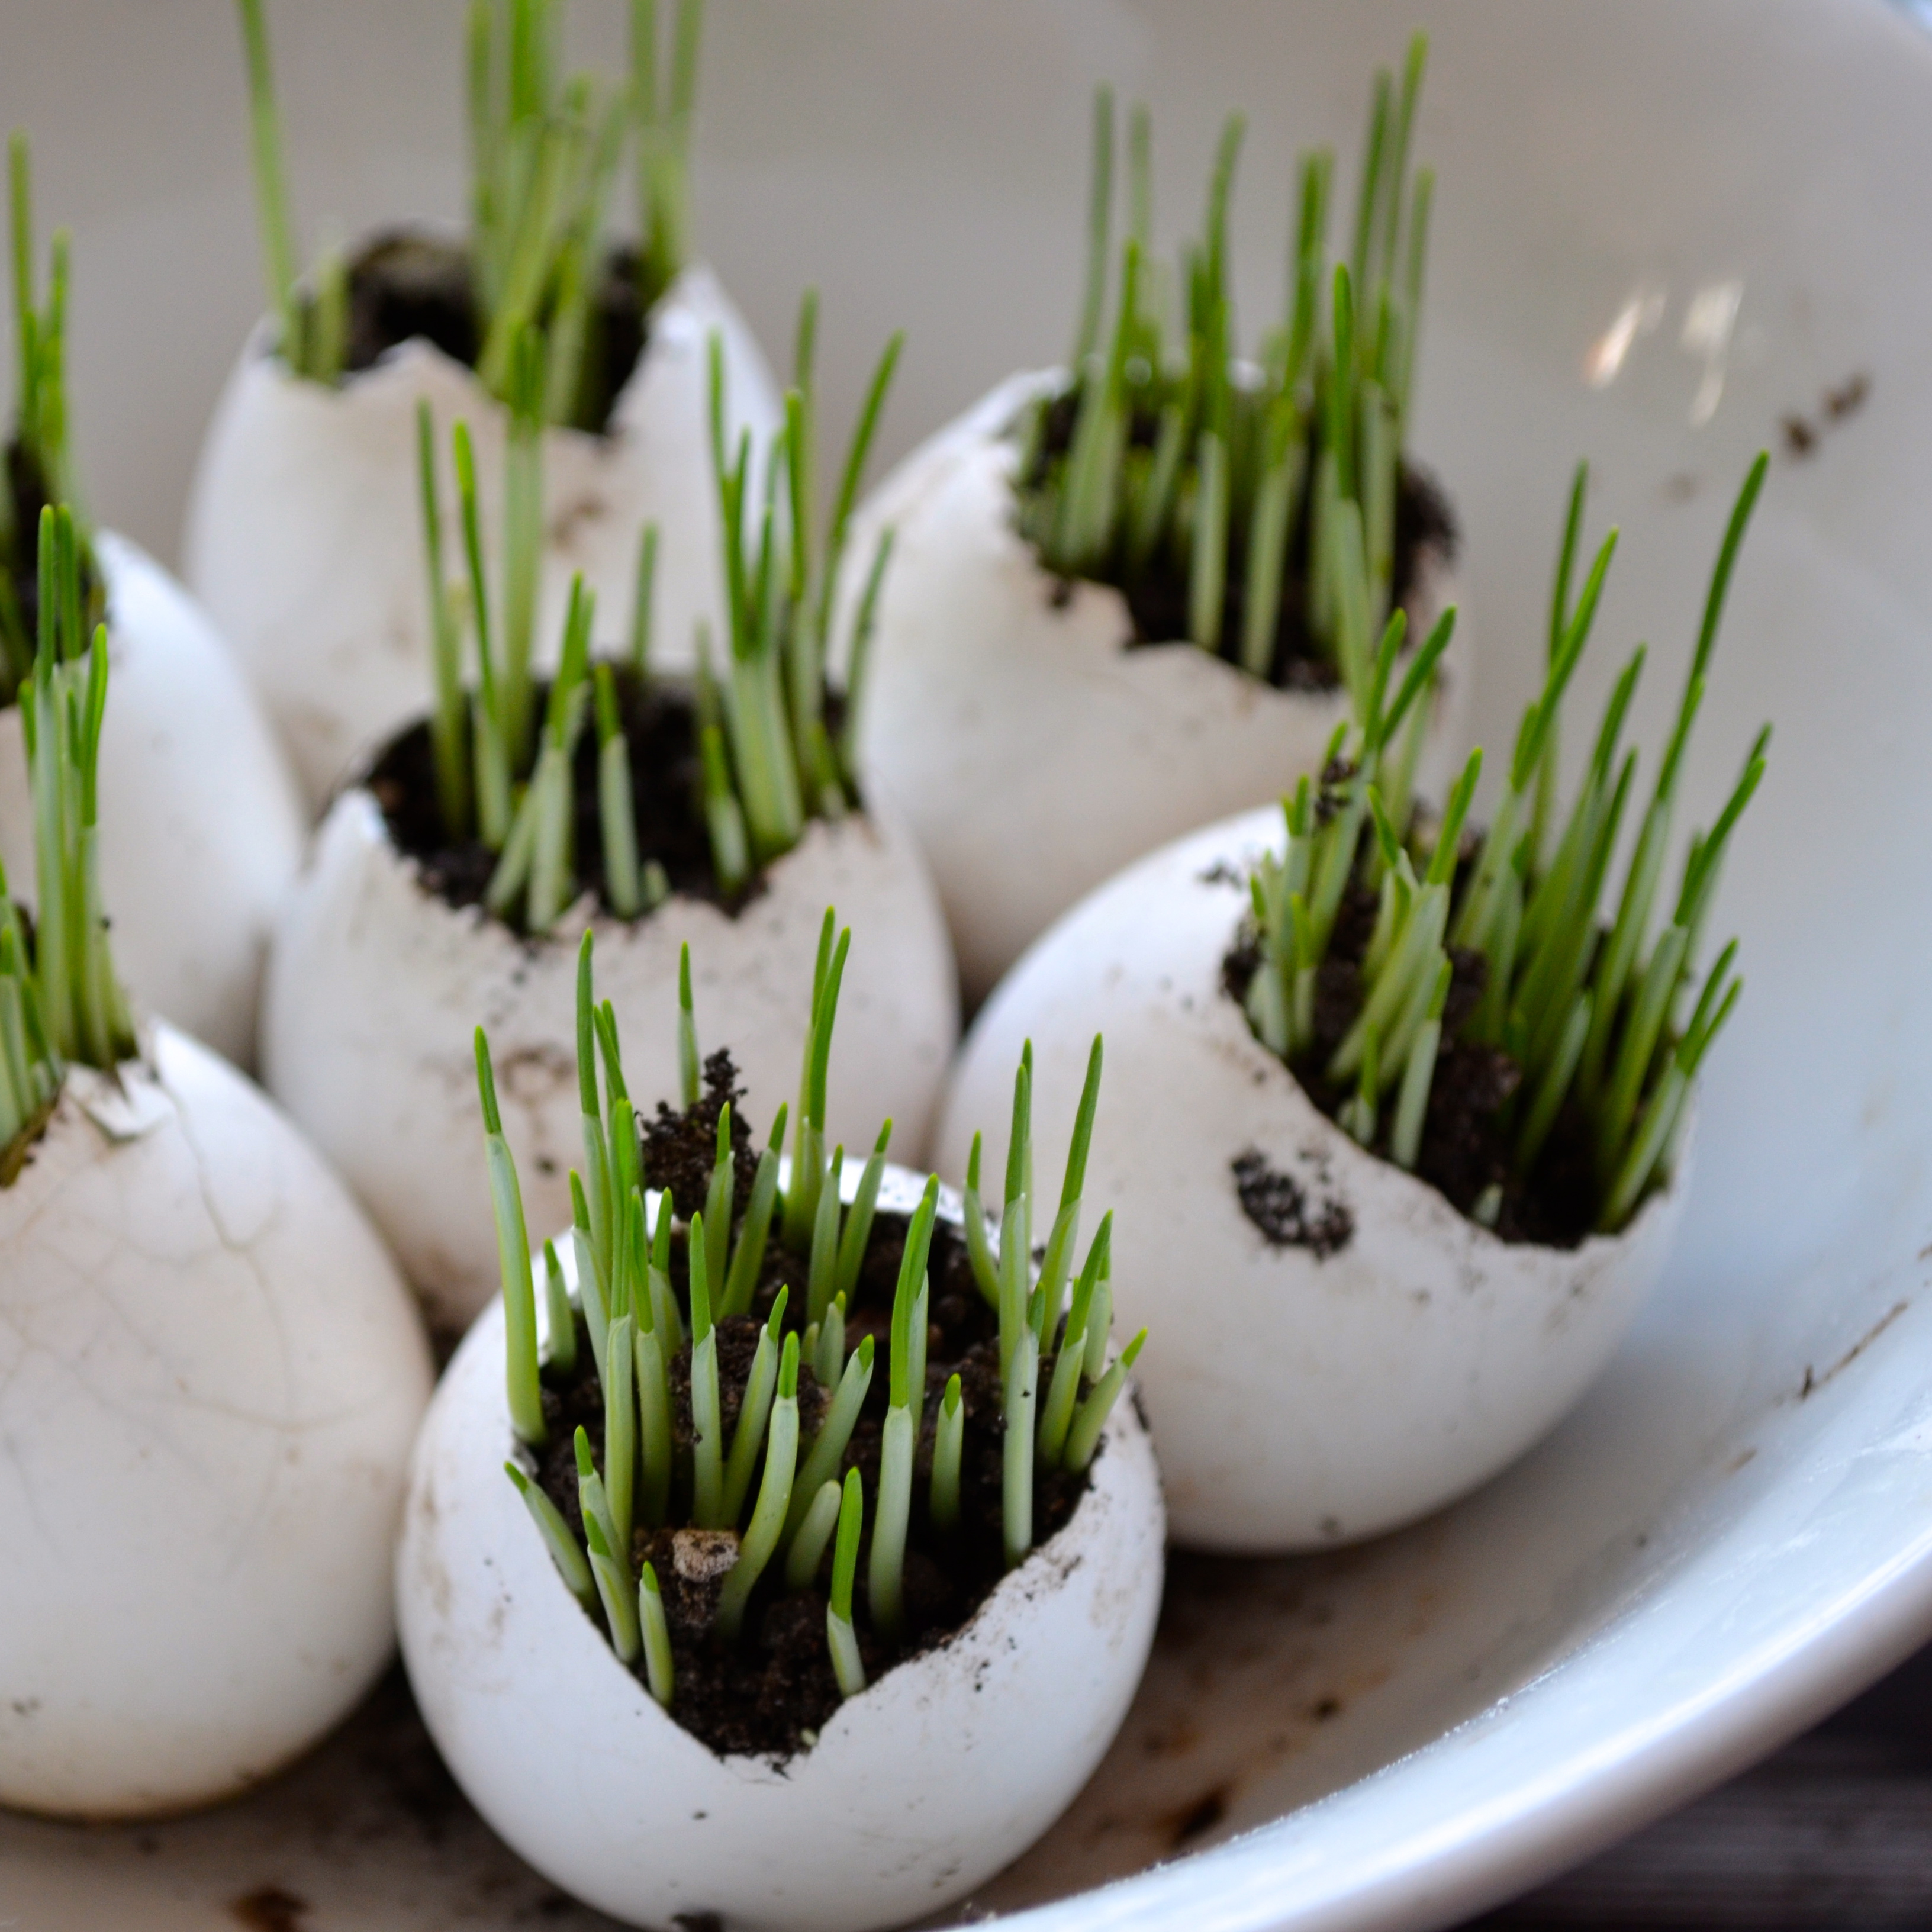
– egg shells {either empty for vases or with grass growing in them}

– a candle

– matches

– a platter {or whatever you’d like the eggs to be stood on}

DIY Easter Egg and Grass Centerpiece via the Path Less Traveled

Step one: Light your candle

DIY Easter Egg and Grass Centerpiece via the Path Less Traveled

Step two: find where you’d like your first egg to be placed and tip your candle so that the hot wax drips on the exact spot {holding your candle at a slightly upside down angle – 100-110 % works well – allows the flame to melt your candle quickly so that you can work before your pool hardens. Experiment a bit and find the method that works for you :)}

DIY Easter Egg and Grass Centerpiece via the Path Less Traveled

Step three: Quickly press an egg in the center of this puddle, holding it upright for a few seconds until the wax hardens.DIY Easter Egg and Grass Centerpiece via the Path Less Traveled

Repeat step three until you’ve completed your arrangement, and then step back to admire. :)

DIY Easter Egg and Grass Centerpiece via the Path Less TraveledEnjoy! I’d love to hear how yours turn out. :)


<3


How Tuesday: Faux Gilded Easter Eggs

How Tuesday: Faux Gilded Easter Eggs

Have you been noticing the gilded trend lately? I’m not sure about you, but I’m loving it. There’s real gilding and there’s faux, and they’re both really lovely.

There are tutorials on the web for real gilding, and, if using gold leaf isn’t your thing or scares you, you can even find some really lovely gold {or silver, or bronze} paint that is quite convincing. Or, if you’re at home and don’t want to venture out in the snow just to get some gilding materials, you can also use in ink pad. Yep. I know because I tried. You’re welcome. :)

This is super quick, and, if you happen to have the items already in your closet {what do ya know, I did!}, free! Or, if you don’t have them already, the paper mache eggs were originally 50% off of $0.34 each at Hobby Lobby, and the ink pads were $1-ish at Michael’s, so …. pretty cheap. :) Of course, you could also use real eggs, which would be quite lovely too. Maybe tomorrow I’ll try it with real ones – and then hang them from the ceiling, like {this}.

DIY faux gilded Easter eggs via the Path Less Traveled

materials needed: ink and eggs

DIY faux gilded Easter eggs via the Path Less Traveled

step one: press your egg onto the ink, rolling it around a bit. Repeat on each side until the egg is covered. Depending on the quality of your ink pad, you might need to give it a few coats.

DIY faux gilded Easter eggs via the Path Less Traveled

Chances are your fingers will look like this by now. Totally normal. :)

DIY faux gilded Easter eggs via the Path Less Traveled

Repeat step one with each of the eggs.

Step two: Find a clear vase to display them in. Admire them. And see if the shimmer washes off of your hands. :)

DIY faux gilded Easter eggs via the Path Less Traveled

That’s it! One of the lovely things about using an ink pad instead of gold leaf or paint is that dry time is non existent and clean up is a breeze – not even any brushes to wash!

Imagine how you could use this trick in other projects – maybe “gild” the edge of some invitations, or, using a color instead of shimmer, add a splash of color to some disposable flatware?

Have you been doing any projects to add to your decor this spring? If so, I’d love to see them! Just add a link in the comments section. :)


XO

Friday again?

Friday again?

How can it be Friday again already?

And Easter is almost here! Having it early this year means that’s it’s kind of catching me off guard {making the girls matching Easter dresses? um, might not happen …}. Are you finding the same thing true for you?

Each pick is made using rabbits cut from 5 different colors of cardstock: pink, yellow, light blue, light green and purple. Each is double sided so there isn't front or back - they look cute from every angle! Each little bunny is about 1/2" tall. The set includes: 3 yellow 3 pink 2 green 2 blue 2 purple

 Easter Rabbit cupcake toppers

Speaking of catching me off guard, I just realized that I haven’t done a very good job of moving most of my Easter items over from my Etsy shop to this site – whoops! So if you’re looking for the super cute things that I’ve been making {and trust me, there are some REALLY cute new things in my shop!} you’ll need to look there this year. Oh well ….

Anyway, here’s some of the cuteness:

Easter Bunny Bag from the Path Less Traveled

 Easter Bunny Bags {I’m in LOVE with this paper!}

Easter Egg Doily Garlands from the Path Less Traveled

 Easter Egg Doily Garlands

Pastel Bunny Dessert Topper from the Path Less Traveled

 Easter Bunny Mini Cake Bunting

Spring Doily Garland from the Path Less Traveled

 Spring Doily Garland

and those are only a few! I’m hoping to get them all posted here for you, too, but we’ll see how that goes. :) I’ll let you know!

For those of you who follow me on Instagram, you saw that I mentioned shipping deadlines for Easter delivery: the deadline for guaranteed delivery with standard shipping is Monday, March 25 and Priority shipping is Wednesday, March 28. If you need rush shipping, let me know and I’d be happy to help!

Hope you all have a lovely, lovely weekend {we are expecting snow …} and I’ll be back soon :)

XO

How Tuesday: growing Easter grass

How Tuesday: growing Easter grass

Have you seen how some people  {Design Mom has a few sweet posts on it} have grown their own Easter grass? No? It’s a super sweet idea, and this year I decided to give it a try! It’s a simple but meaningful way to add a special touch to your Easter celebrations. It’s a great object lesson for children about new life and putting something “dead” into the ground and watching God make it come to life. Kind of a nice segue into talking about the Resurrection :)

note: If you do this NOW you’ll have some darling little pots of real grass for Easter. Or, you know, if you start the wheatgrass growing in the next few days …. :) {if you’re like me, it works better to tell yourself that it needs to be done NOW – that way it will actually get done, maybe not “now”, but at least soon}

growing wheatgrass via the Path Less Traveled

It turns out that growing wheatgrass is really easy. All you need is some wheat, some water and some dirt {and maybe a container to put the dirt in}. Yep, really easy.

Step one: soak your wheat berries/seeds for a few hours or over night. This isn’t truly needed, but does speed up the sprouting process.

growing wheatgrass via the Path Less Traveled

Step two: gather your containers and dirt. I chose to use some egg shells for some of the containers – when the grass is a little taller I’m going to make a centerpiece for our table like this one {you should click over – it’ soooo pretty! I wish it was my idea first :)}

growing wheatgrass via the Path Less Traveled

If you choose to use egg shells, simply tap your egg all the way around near one end instead of in the middle as you’re cracking it, and rinse out the shell after you’ve dumped out the white and yolk.

growing wheatgrass via the Path Less Traveled

Step three: fill your containers with soil. If you’re using a pot without a drain hole, place small rocks or packing peanuts in the bottom to provide some drainage and keep the seeds from rooting.

growing wheatgrass via the Path Less Traveled

Step four: place your wheat berries on top of the soil, covering the surface with an even layer, and then cover the wheat with more soil.

growing wheatgrass via the Path Less Traveled

Step five: water and wait. The seedlings should emerge in about 48 hours or so. Continue watering every day as it grows, and enjoy the bit of green!

growing wheatgrass via the Path Less Traveled

These are the eggs five days after planting – by the time Easter is here, they may need a trim! I’ll clean up the shells in a few days once the sprouts are a bit sturdier and use some wax to create the centerpiece I mentioned. Maybe I’ll post a photo when it’s done!

Let me know if you try it!


<3


almost here

almost here

Almost here. Spring is almost here. Almost.

spring is almost here via the Path Less Traveled

This is the sight that greeted me when I came downstairs this morning – our first crocus bloom.

spring is almost here via the Path Less Traveled

I know that I just said that I love snow, but seeing this little flower made me so happy this morning that I almost cried {part of that was due to only getting 3 hours sleep (sick babies!), but still … it made me really happy :)}.

spring is almost here via the Path Less Traveled

 So, do you love Winter? Are you sad to see it loosen it’s grip? Or are you eagerly embracing signs of Spring? Or both?

Don’t forget – tomorrow is the shipping deadline for St. Patrick’s Day! And it’s also the expiration date for the 20% off St. Patty’s Day items coupon {enter “lucky” when checking out to claim it}!


XO

p.s. how did I on earth manage to write this while signed in as my husband again?! Whoops!

happy weekend! (and a coupon)

happy weekend! (and a coupon)

We’ve come to the end of another week – happy weekend to all you lovelies!

winter woods from the Path Less Traveled

This week we had our what might be our last gorgeous snow of the winter – I loved it. It made me think that maybe I’d enjoy living further north, where sights like this are a bit more common? Of course, I’d also like to live within walking distance of the beach … :)

Anyway … Spring is coming – in fact, tonight we’re already springing ahead with daylight savings! {something I could do without by the way, but no one asked me – seriously, who needs it to stay light until 10pm?! But I digress…}

And St. Patrick’s Day is right around the corner {with Easter close behind it – wow, this year is going fast!}! Did you see that I posted a shipping deadline for it on the facebook page? Yep, if you want something from the shop to add to your celebration, you need to order by March 12. And I have a little goody for you sweet blog friends – you can use the coupon “lucky” for 20% off of anything in the St. Patrick’s Day section of the shop! It’s good until the shipping deadline {March 12} and you can use it as many times as you want {or share with your friends?}!

Heart Handled Gift Bag - its a boy

Also, this week we’ve added some more things to the shop! Baby things in abundance and some super cute New York Subway Map cupcake toppers, and there are even more coming :)

New York City Subway Heart Cupcake Toppers

Don’t forget, Mona from Birds & Honey will be here later this month with a guest post – I’m so excited to see what she brings! I hope you all have a lovely, lovely weekend and am looking forward to seeing you Monday,


XOXO


p.s. what’s the weather like where you are?