Are you looking for the perfect finish to your Valentine meal, a way to set your wedding dessert table apart from the rest, or remind your spouse of your love?
Just add a little LOVE to the top!Our Monogram Syle Dessert Toppers can be ordered in any configuration of letters to spell whatever word your heart desires (perhaps “WE DO”? or “MARRY ME”?), and we were smitten with the idea of a customer to spell out LOVE – just so perfect! What would you use them to spell? A special name? A word? We’d “love” to hear!
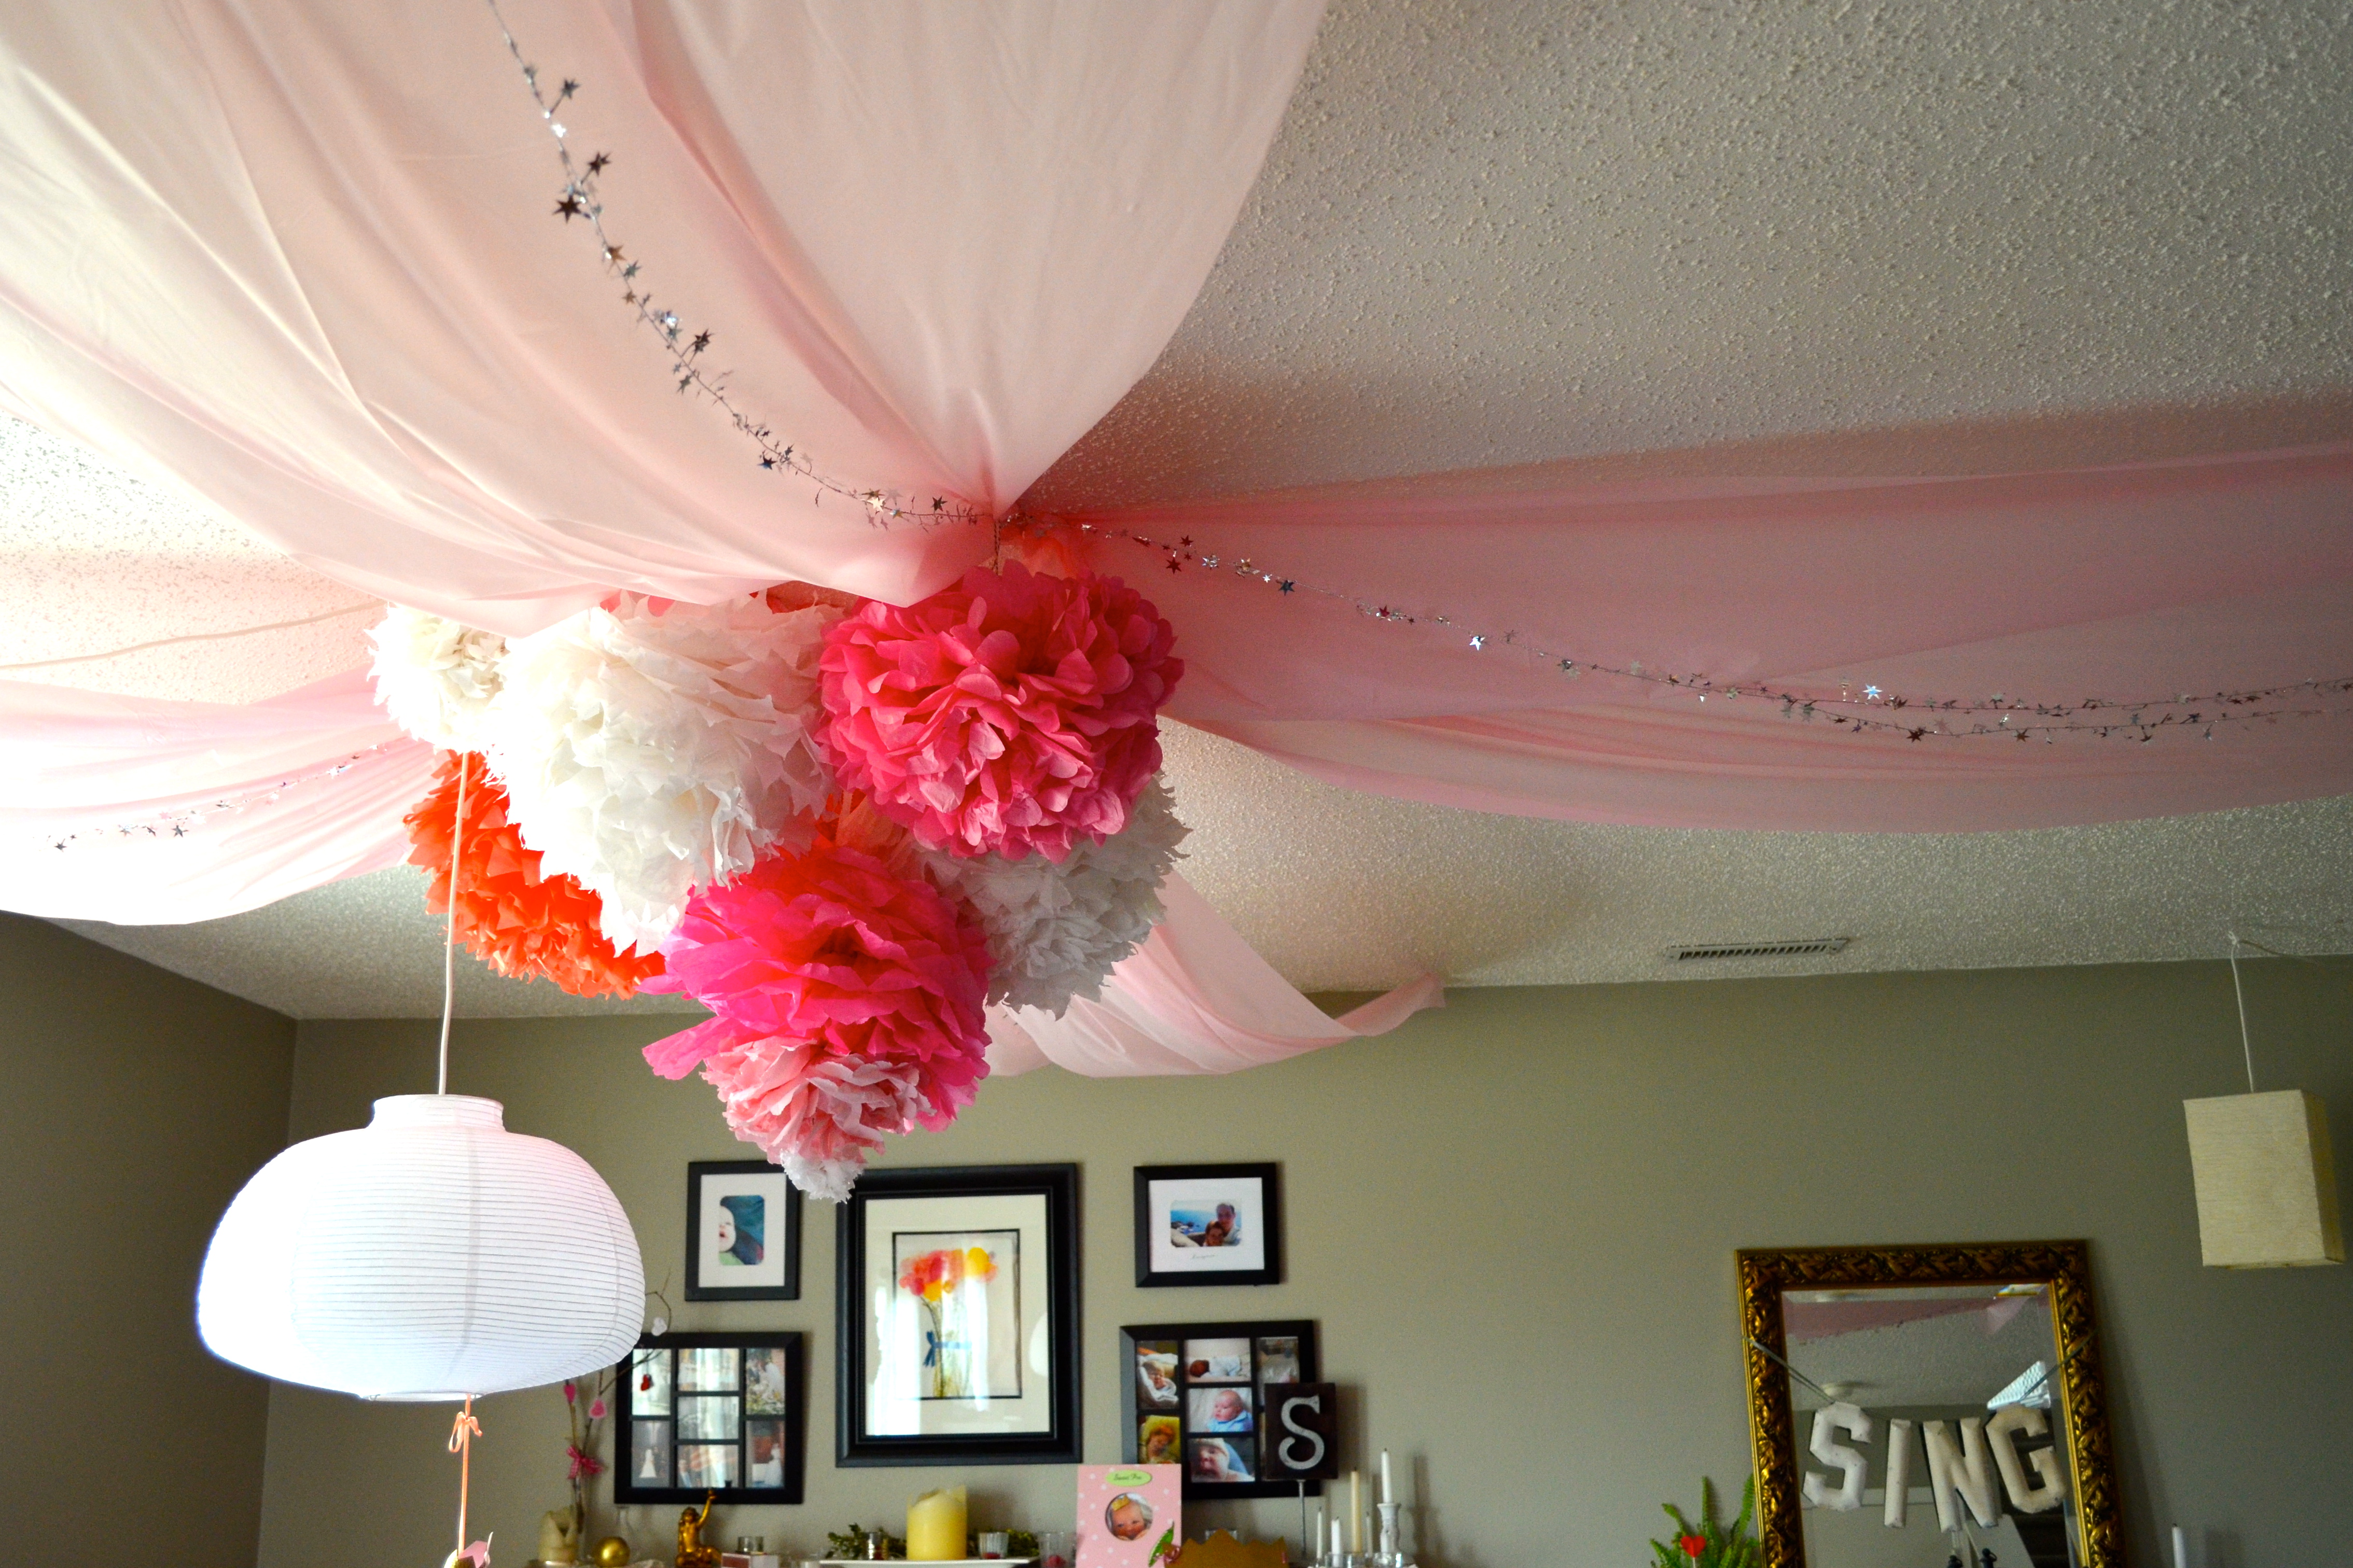
There has to be a better name for it, but for now I’m calling it “Party Ceiling Pouf” {really, any of you have suggestions? Let me know!}
image via Lindsay Meinhart on Pinterest
I found this photo on Pinterest a while back, and when we started working on the pink princess party, I knew it would have to happen. Of course, when I was making it I just winged it and didn’t click through to see if there was a tutorial for it. :) After I was finished I found out that wasn’t a tutorial {yay for figuring things out on your own!} but one of the commenters suggested cutting the table covers in half the long way to double your “streamers” – even so, I think it turned out really sweet!
I picked up all the materials {except for the tissue poms which I borrowed from the kids’ bedroom :)} at the Dollar Tree, and the entire project came to $5 – a huge impact for a small price!
materials: plastic table cloth, wire star garland and thumb tacks {all pictured} tissue poms or balloons and twine or fishing line {not pictured}
step one: remove the table cloths from the packaging and gather half of one end in your hand.
step two: find where you want the “center” to be, climb up on a step stool and tack it up …
… like this.
step three: Gather and tack up the other side of the end, then do the same with the opposite end.
Repeat with the other three table cloths, making a “+” shape on the ceiling.
Once you’ve used all four table cloths, you can stop there or continue on like I did and add a touch of whimsy and sparkle {which, it turns out, thrills little 4-year old girls!} by adding strands of the star garland along the underside of the draped cloths.
step four: gather your tissue pons {or balloons} and, using twine or fishing line, hang them in a bunch in the center to provide a focal point and hide the bunching :)
step five: step back and admire your work :)
that’s it! Super simple with a huge impact – and a great way to make your celebration special.
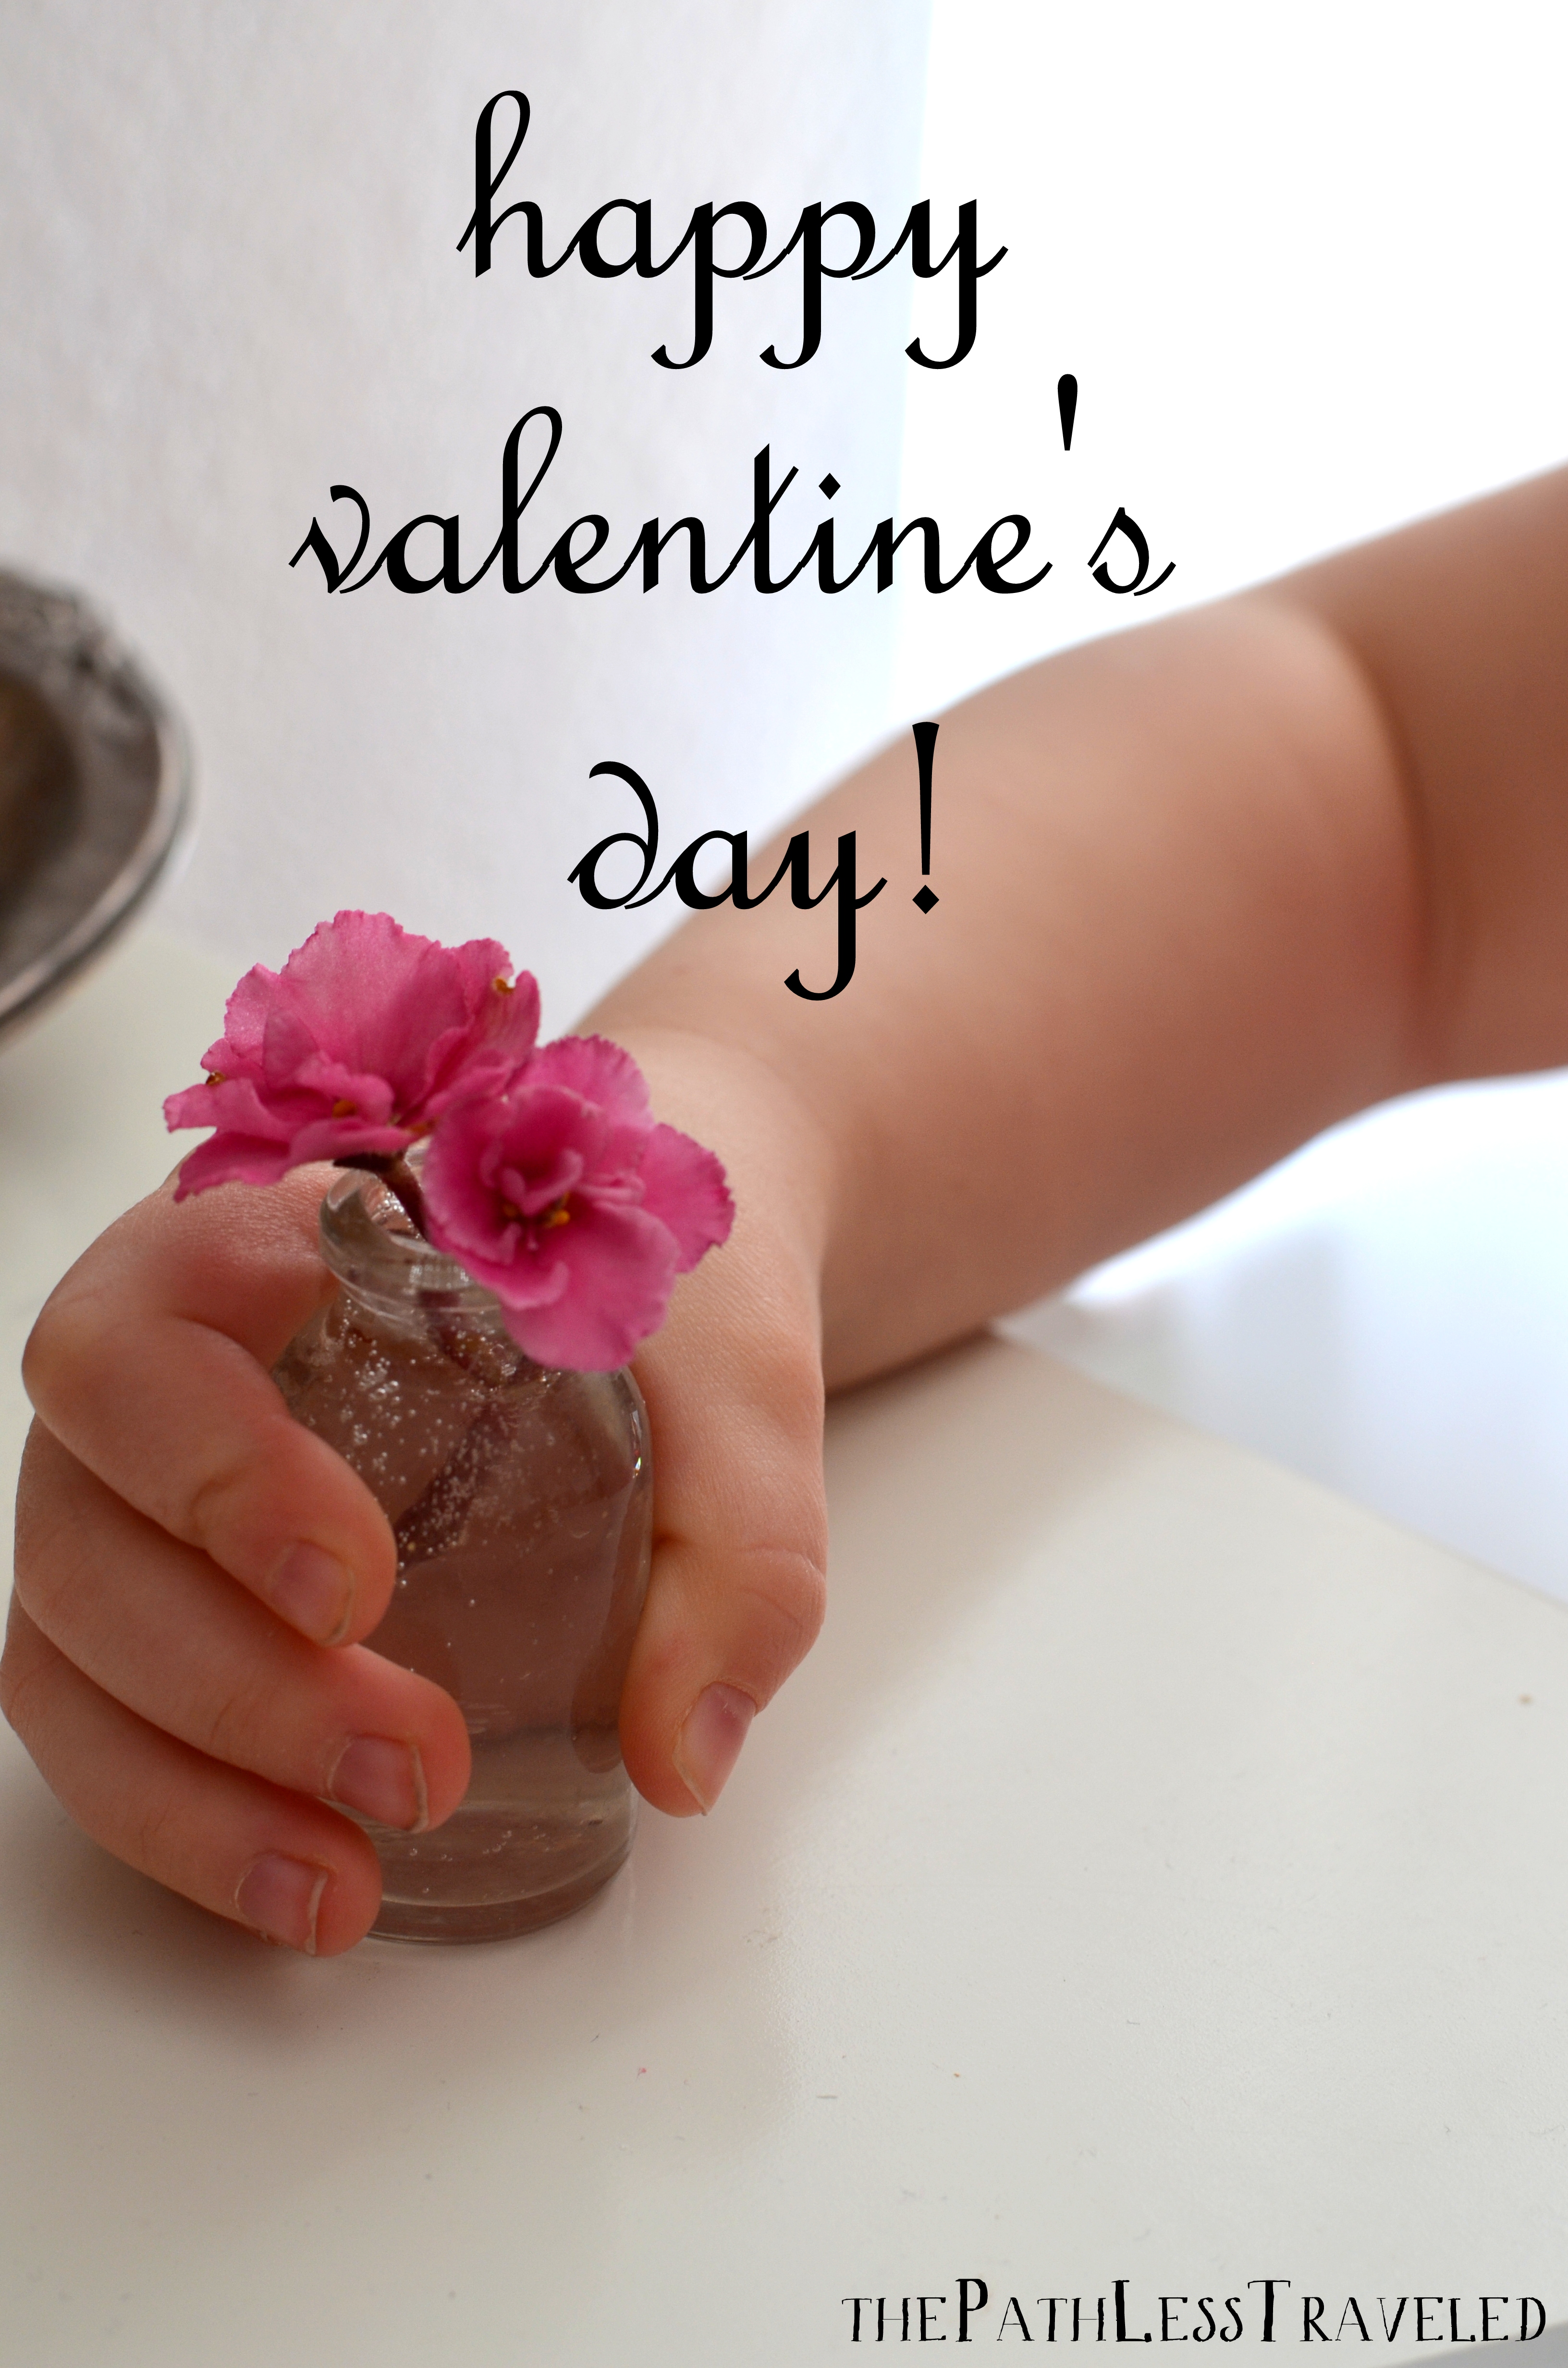
Happy Valentine’s day, lovelies! I hope that you’re enjoying it, whether you are celebrating with loved ones or on your own :)
Just a couple little reminders – the coupon code for 15% off of your entire order from the shop (BeMine) expires tonight and the question/giveaway ends tonight as well. Take advantage of them while you can!
Have a lovely day! And I’ll be popping back in tomorrow with some gorgeous images and a shop update :)
<3 xo
p.s. I noticed last night that the last few posts say that my husband John wrote them – doh! I was signed in under his account without realizing it and now can’t change the author name … ah well, live and learn, right? :)
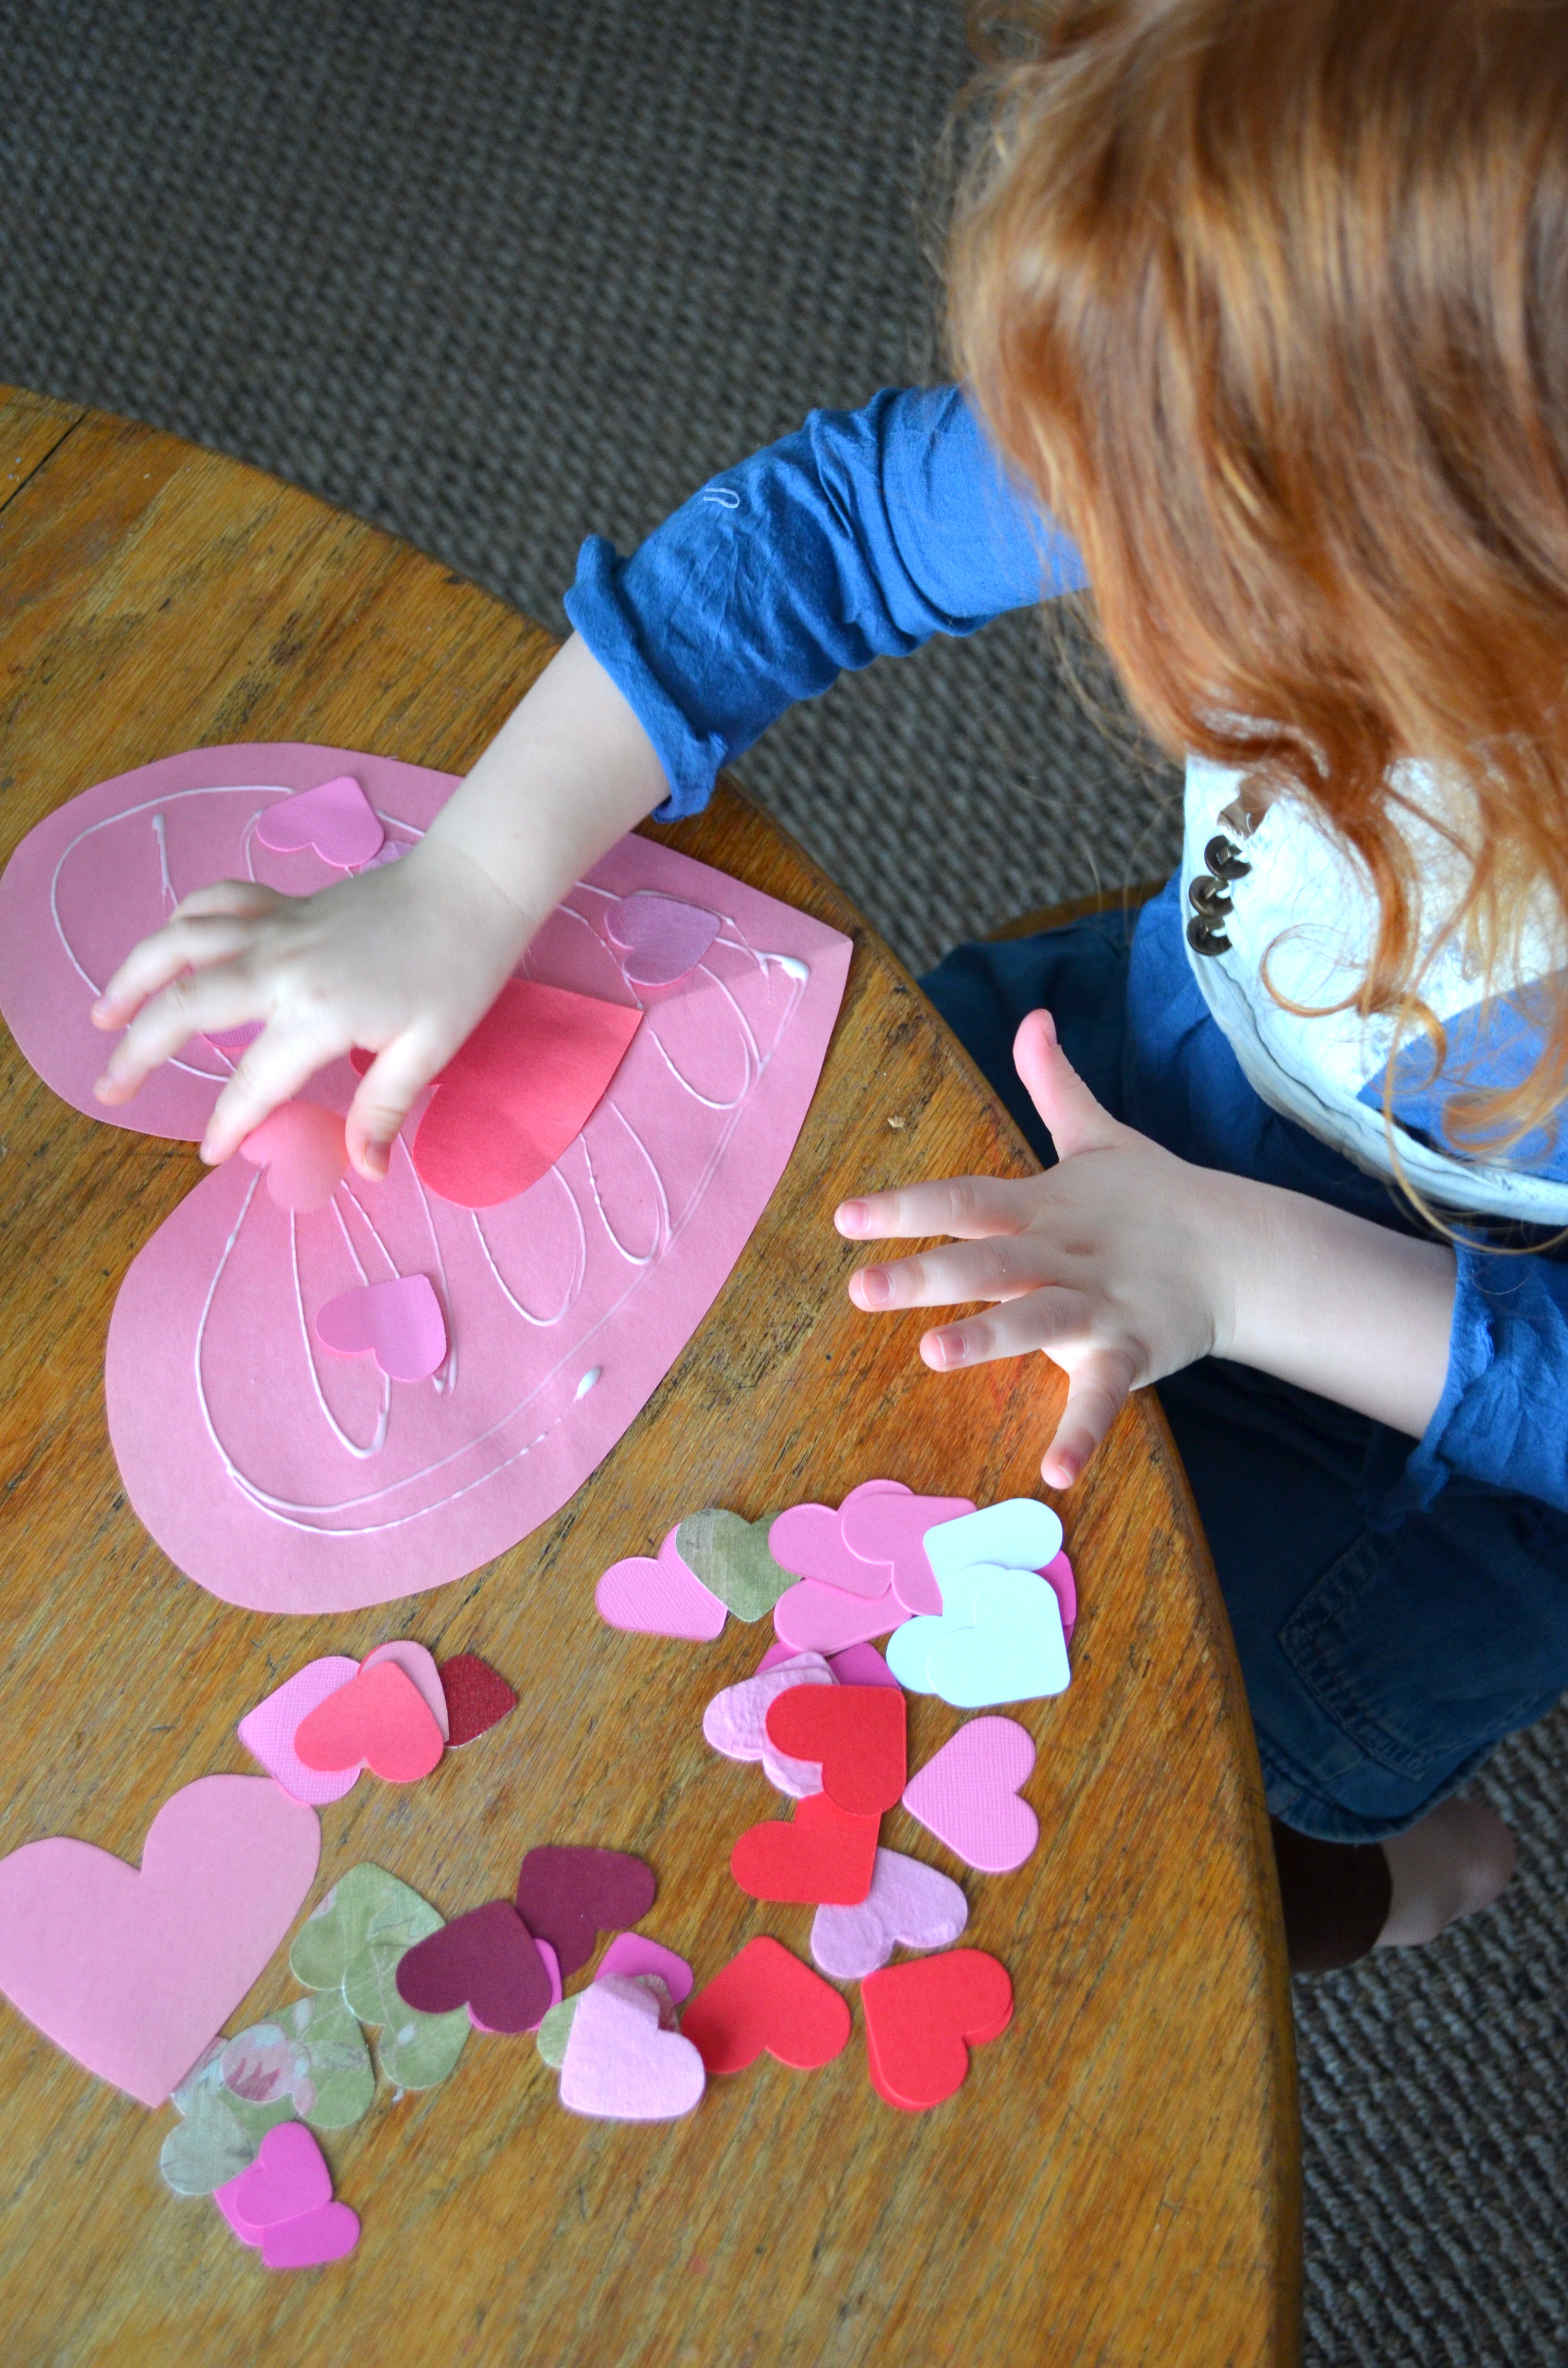
Well, the picture in my head for this post and how it actually turned out are a little different, mostly due to me deciding to actually have my children make the Child-made Valentines {novel idea, I know ….} on their own. It turned out so different that I was thinking of skipping the post this week, but then thought that you’d enjoy seeing it anyway, so here it is for your enjoyment!
Step one: get really brave and allow your child to squeeze their own glue :)
Step two: watch your child choose their own supplies from the array you’ve provided – the ones of choice for this project were: large construction paper hearts, paper doilies and small colored hearts
step three: watch the child enjoy pouring out their love and creativity
and then, step four, sit back and admire them :) And plan who they’re going to give them to! Grampa? Mimi? Daddy? Baby Sister?
All in all, this was quite a sweet project. The finished products weren’t really what I had envisioned {think lace, glitter, etc.}, but they were even sweeter because of the originality that the little ones brought. And I know that all their loved ones will adore them! :)
The real “how-Tuesday” today, I think, is learning how to release your child to create however they choose – even though I deeply desire them to create on their own and love the creative process, somehow I have a hard time letting them. Do any of you find this for yourselves?
I hope you’re having a lovely Valentine week!
<3
p.s. don’t forget! the shop coupon code for 15% off of your entire purchase {BeMine} expires midnight on the 14th
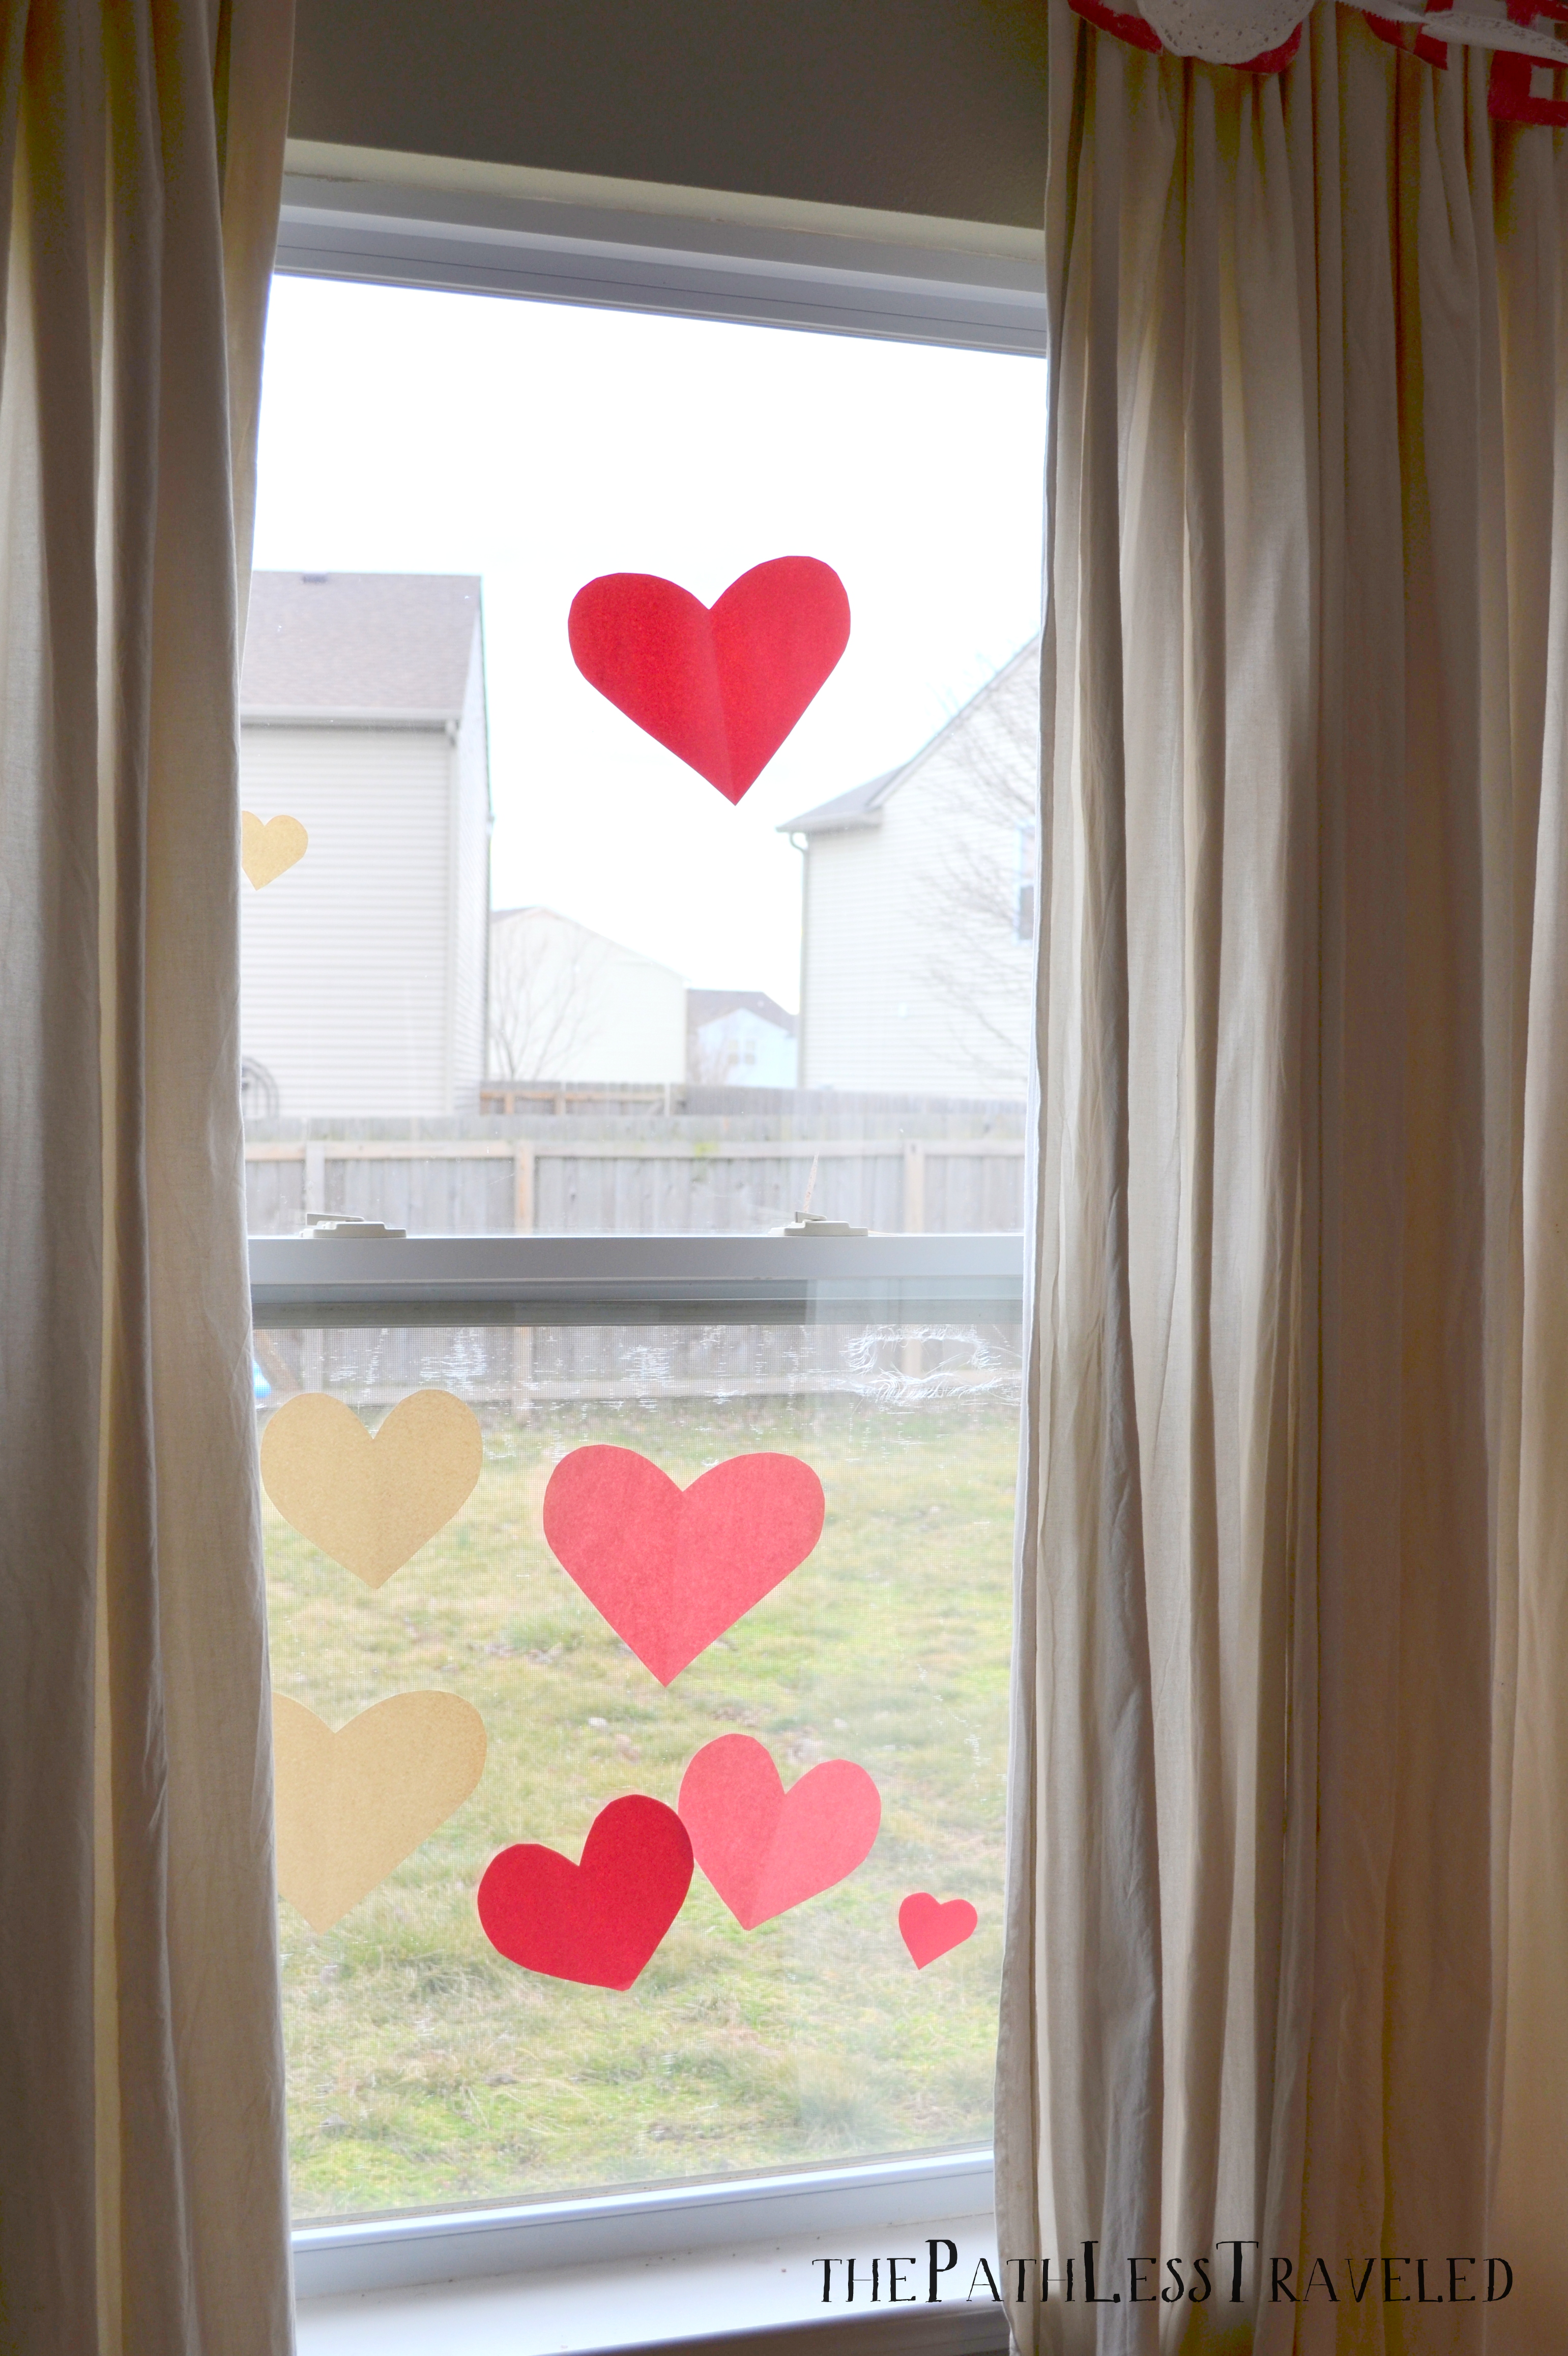
Today I thought I’d share a few photos of our home, which has {apparently} been subjected to an explosion of little red {and pink} hearts for Valentine’s Day <3 {warning: you are about to see a ton of photos!}
These little red hearts are showing up everywhere, from the clock by the front door …
…to the shelf next to it …
{the heart wands in the vase can be found here and the “this is love” printable (free!) here}
Last, but certainly not least, there’s even one on the door in from the garage to welcome my Sweetie when he gets home from work <3
There you have it! Hearts everywhere. You can get a similar result with just some tape, hearts and maybe a few doilies <3
p.s. I’m still looking for ideas to make this Valentine’s Day special for John and me – do you have any ideas you’d like to share? We’ll be staying home with the little ones, and other than decorating for it, I’m coming up dry!
So, perhaps you noticed that this How-Tuesday is on a Wednesday? Yes, it’s taken me a few days to get back up to speed after coming back from the wedding. But, even though it’s Wednesday and not Tuesday, I still wanted to post this for you {Valentine’s Day is coming! And you’ll want to start this as far ahead of the special day as possible, I imagine, so I didn’t want to wait until next week :)}.
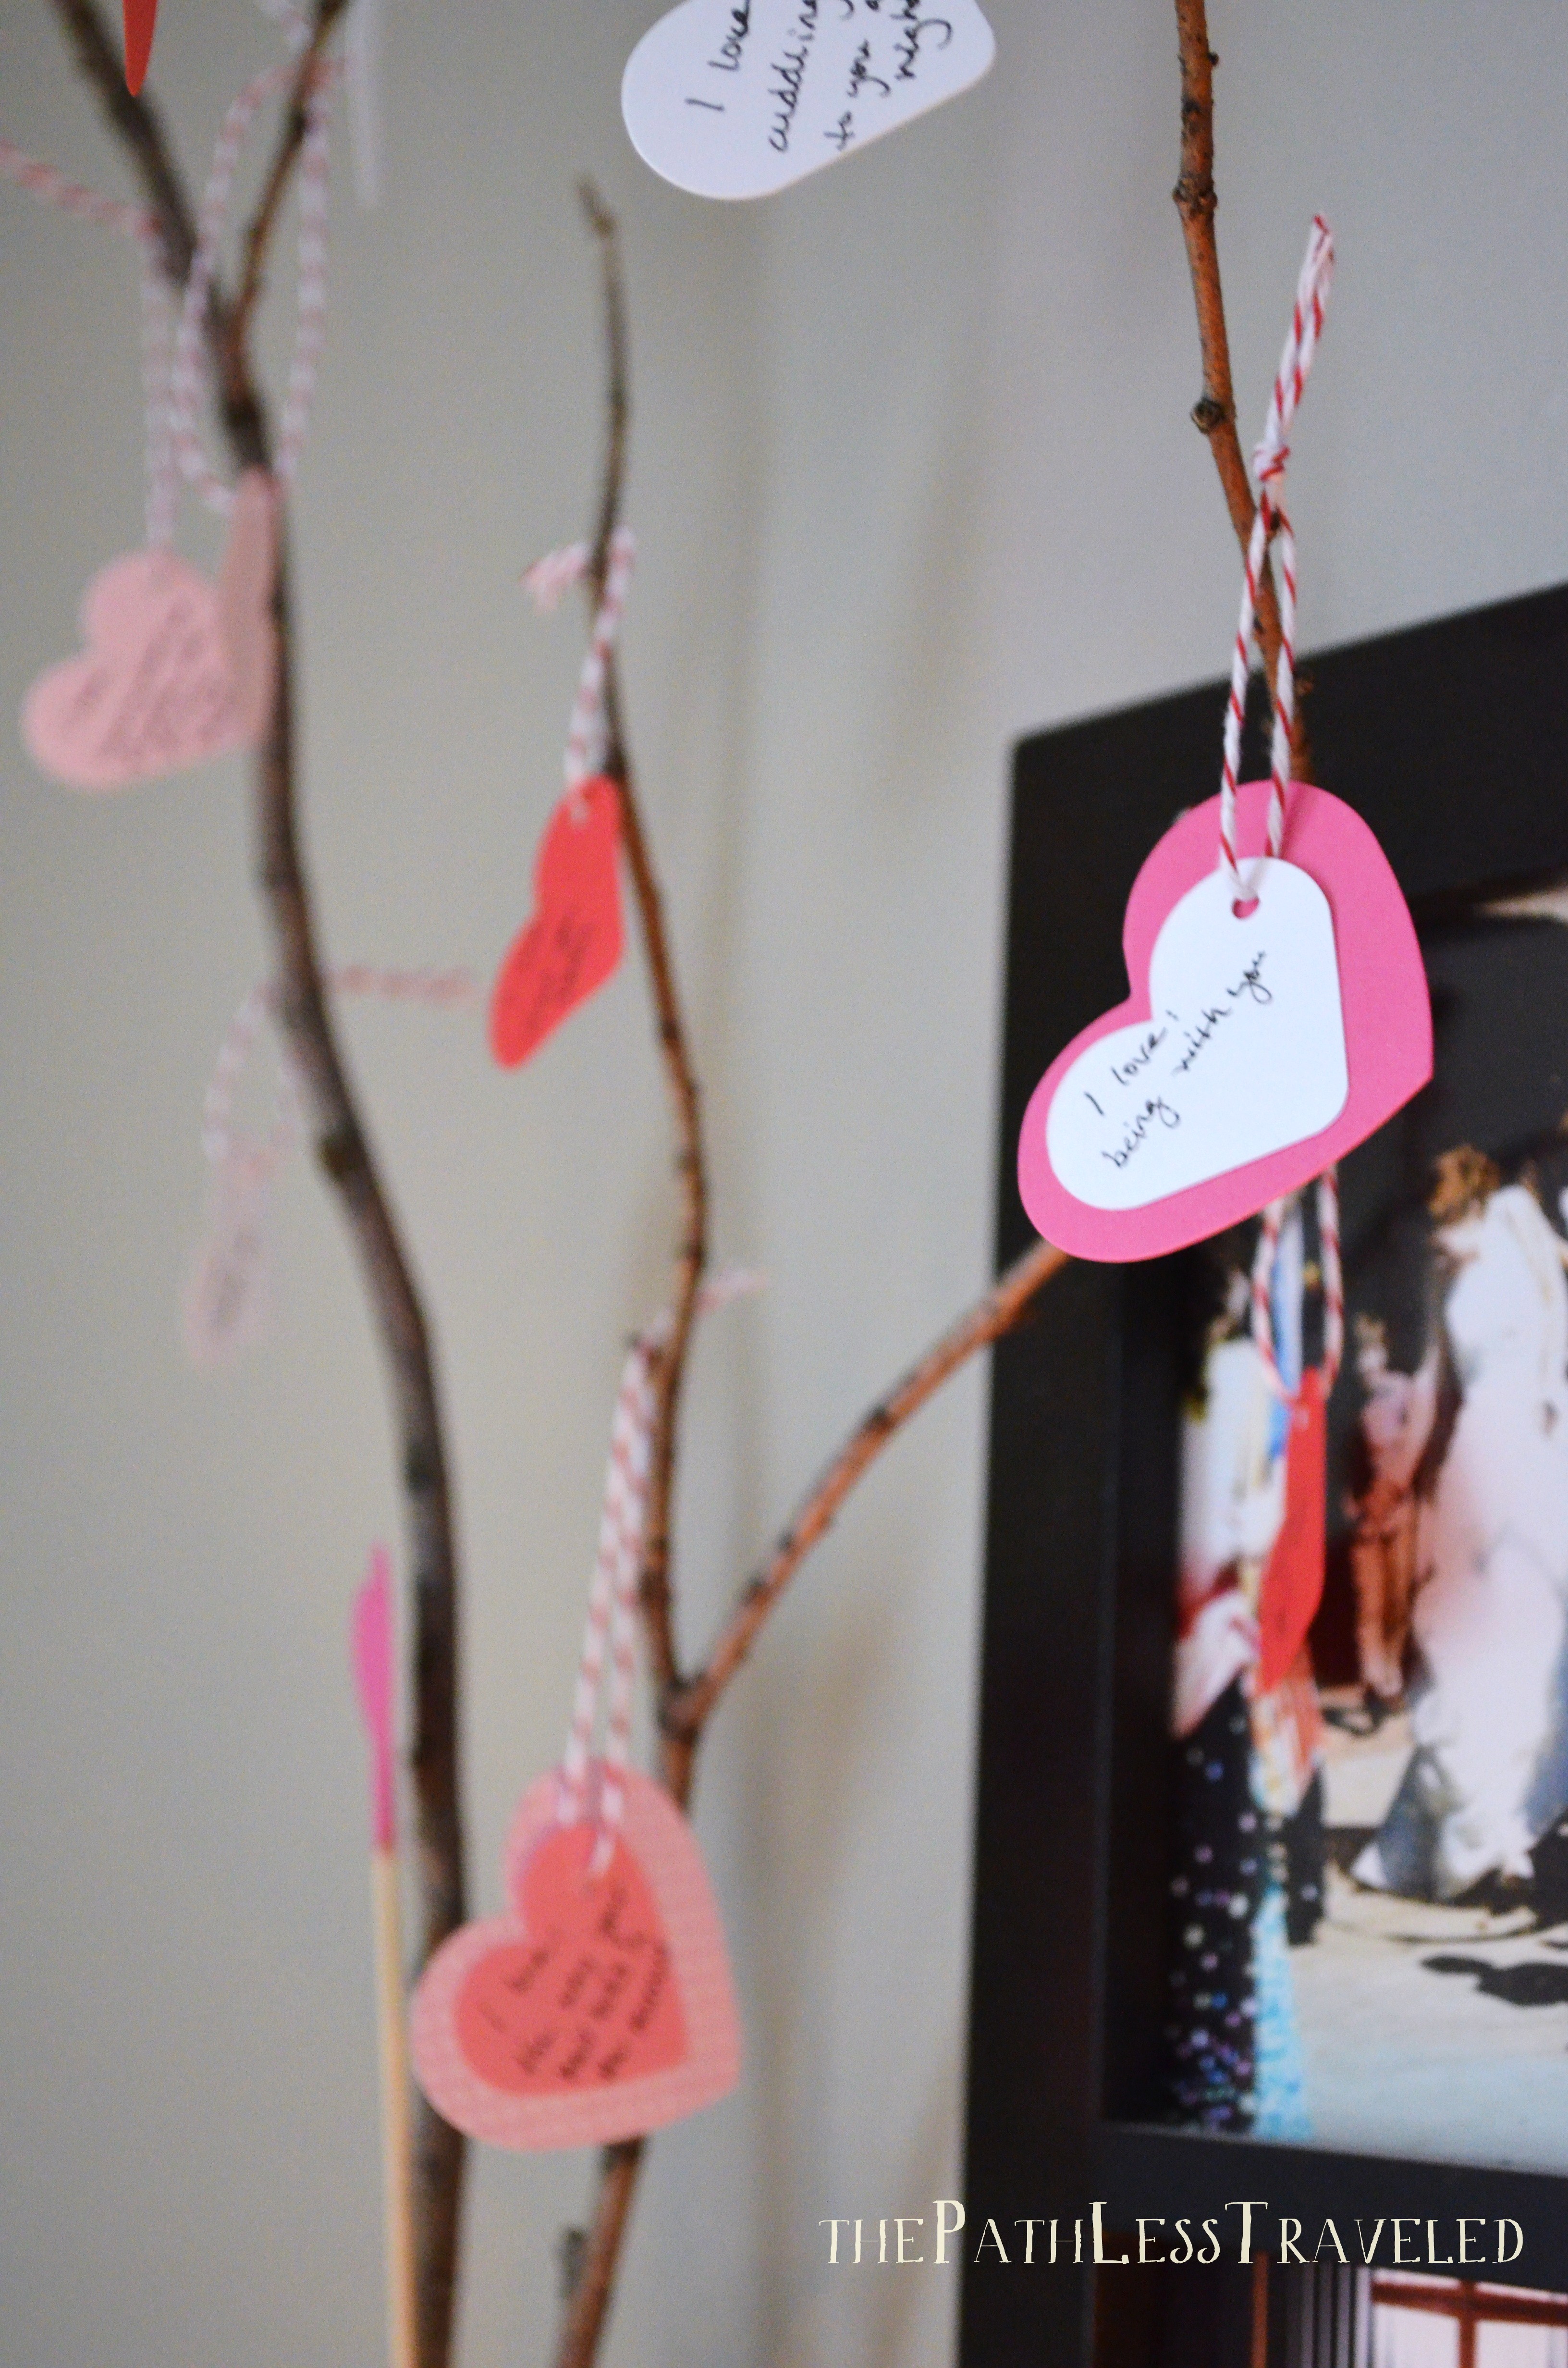
Kind of inspired by Emily in this post, this is a “Love Note Tree” that, as each day goes by, will get another heart added with a little note telling your love what it is about them that you adore.
materials needed: 14 paper hearts, hole punch, twine {or ribbon} and scissors, and a pen
step one: punch holes in your hearts
step two: write “I love:” on your hearts, filling in the things/reasons as you hang them on your “tree” {in my case, a branch}
step three: cut the twine in 4-6″ lengths, thread them through the hearts and tie step four: hang them on your “tree”
So there you have it! By the time Valentine’s Day is here, this little branch will be full of hearts. <3 And each one will have another thing about John that I love, written on it for him to read.
Do you have any little projects that you’re doing for your love? Or, if you have kiddos, that you’re helping them to do? I’d love to hear about them!

 Just add a little LOVE to the top!
 Our Monogram Syle Dessert Toppers can be ordered in any configuration of letters to spell whatever word your heart desires (perhaps “WE DO”? or “MARRY ME”?), and we were smitten with the idea of a customer to spell out LOVE – just so perfect!
 What would you use them to spell? A special name? A word? We’d “love” to hear!