Browsed by
Tag: baby shower

a storybook themed baby shower, part 1

a storybook themed baby shower, part 1

A while back we had the privilege of welcoming a new nephew into the family, and we celebrated with a storybook themed baby shower! His mama loves reading, so we thought a party filled with children’s books would be a perfect way to welcome the little man to the world.
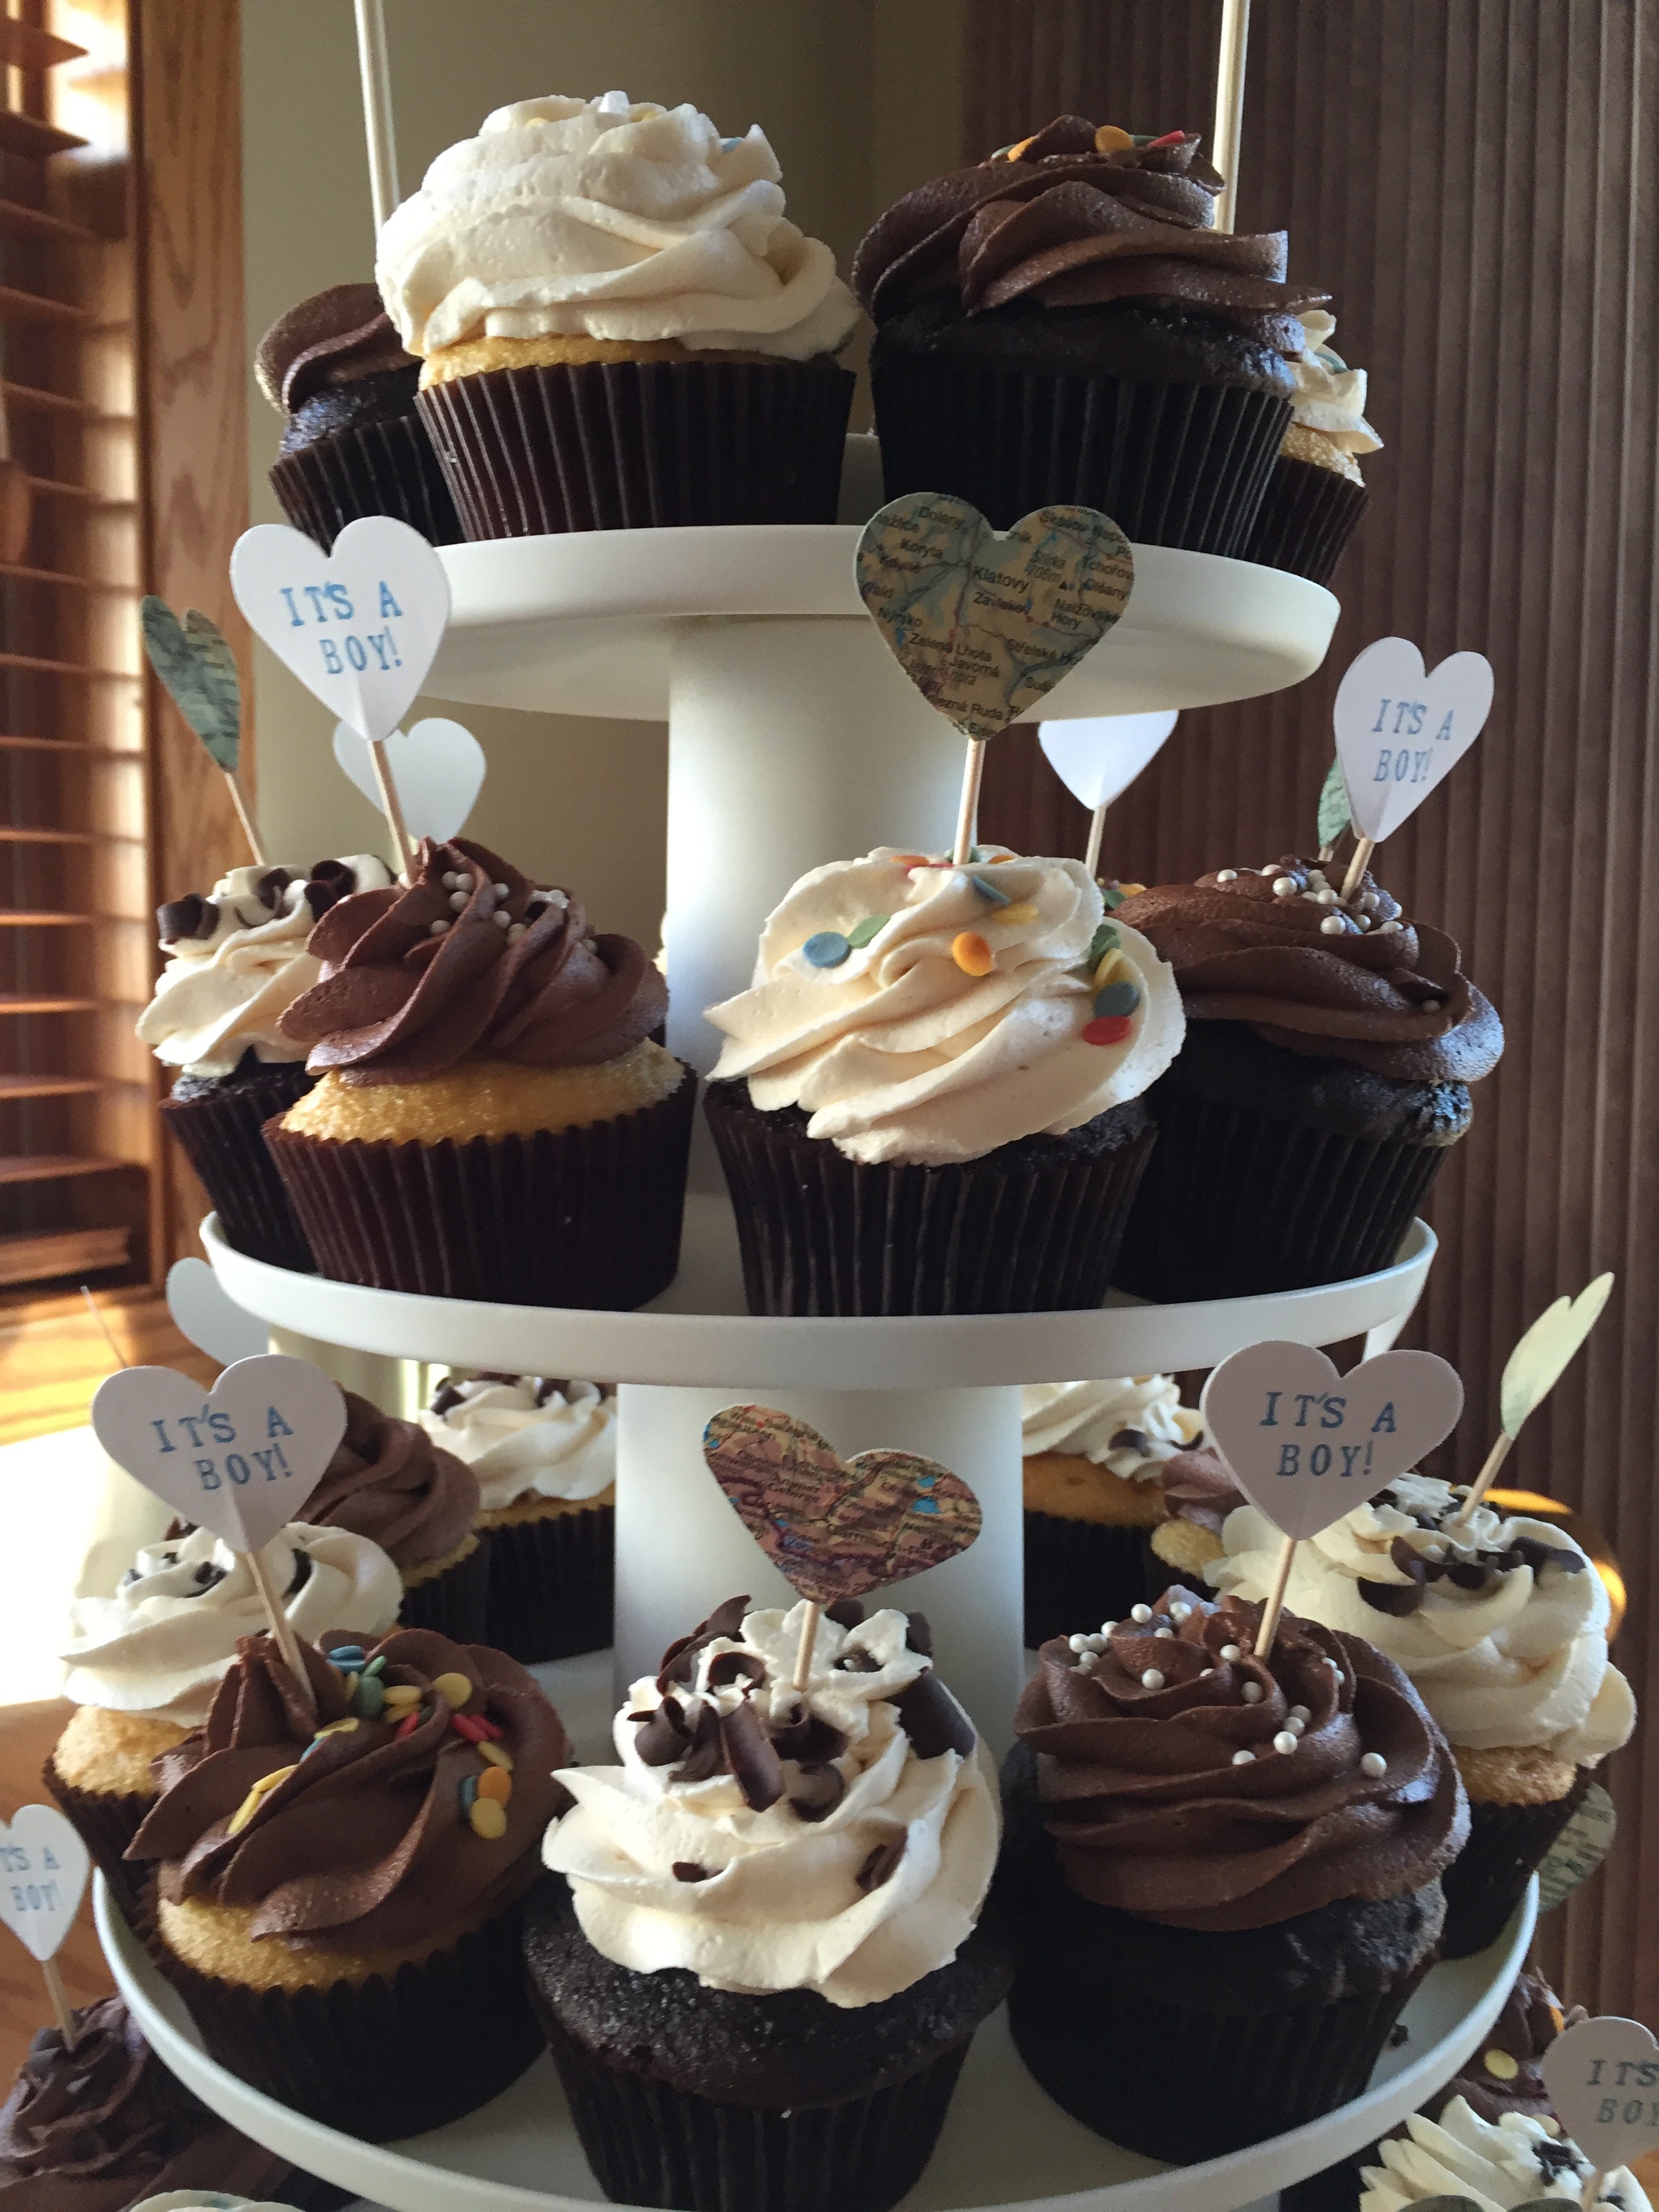
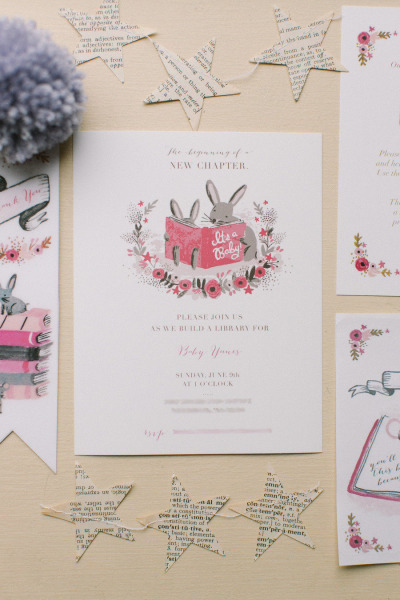
Babies and books – love them both! Since this was a storybook themed baby shower was for a baby boy, I used lots of neutrals (“vintagey” colors), whites and blues, and scattered stars and vintage books about liberally – and I think it all came together beautifully.DSC_0002We split up the hostessing duties a bit – I got to hostess at our home and provide the decor and drinks, my mother-in-law and sisters-in-law took care of the food.
A shower for a baby boy - with a storybook theme! 
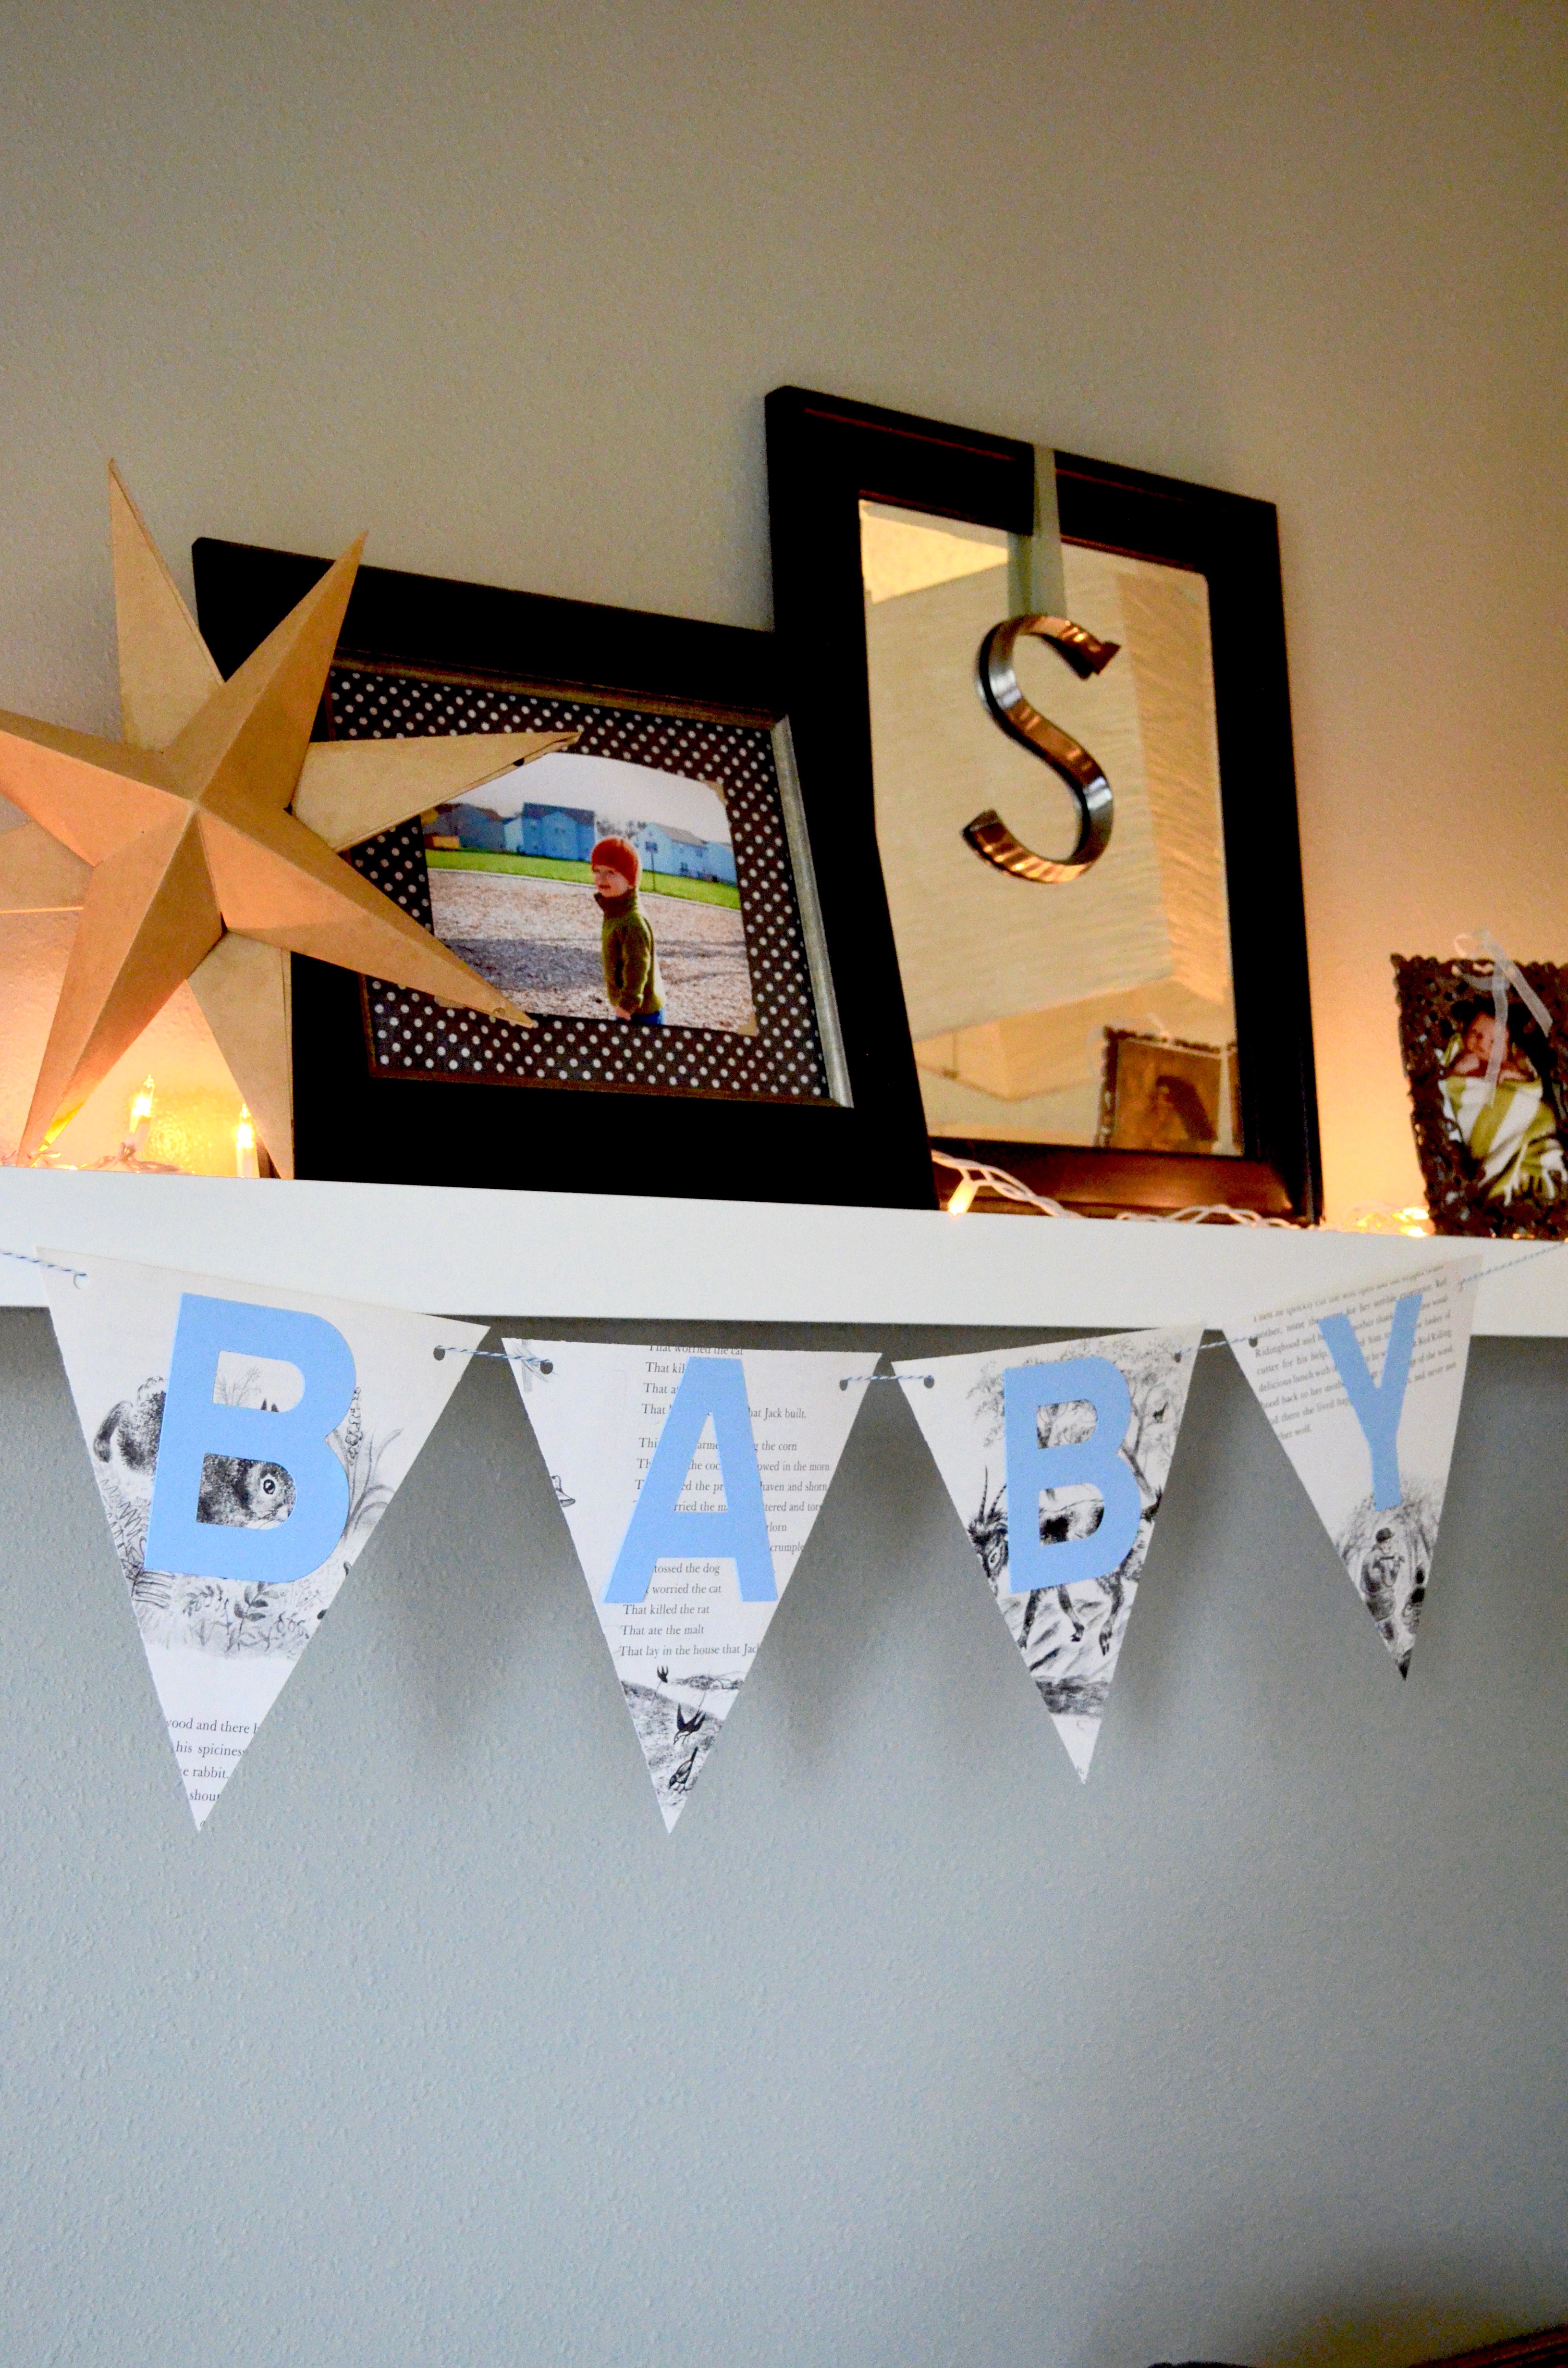
Most of the decor were things that I either already had, we had in the shop and tweaked a little, free printable from Pinterest or that I made just for the occasion {children’s book page pinwheels and pennant “BABY” banner! And an adorable table runner from vintage children’s book pages, too – so cute.}A shower for a baby boy - with a storybook theme!
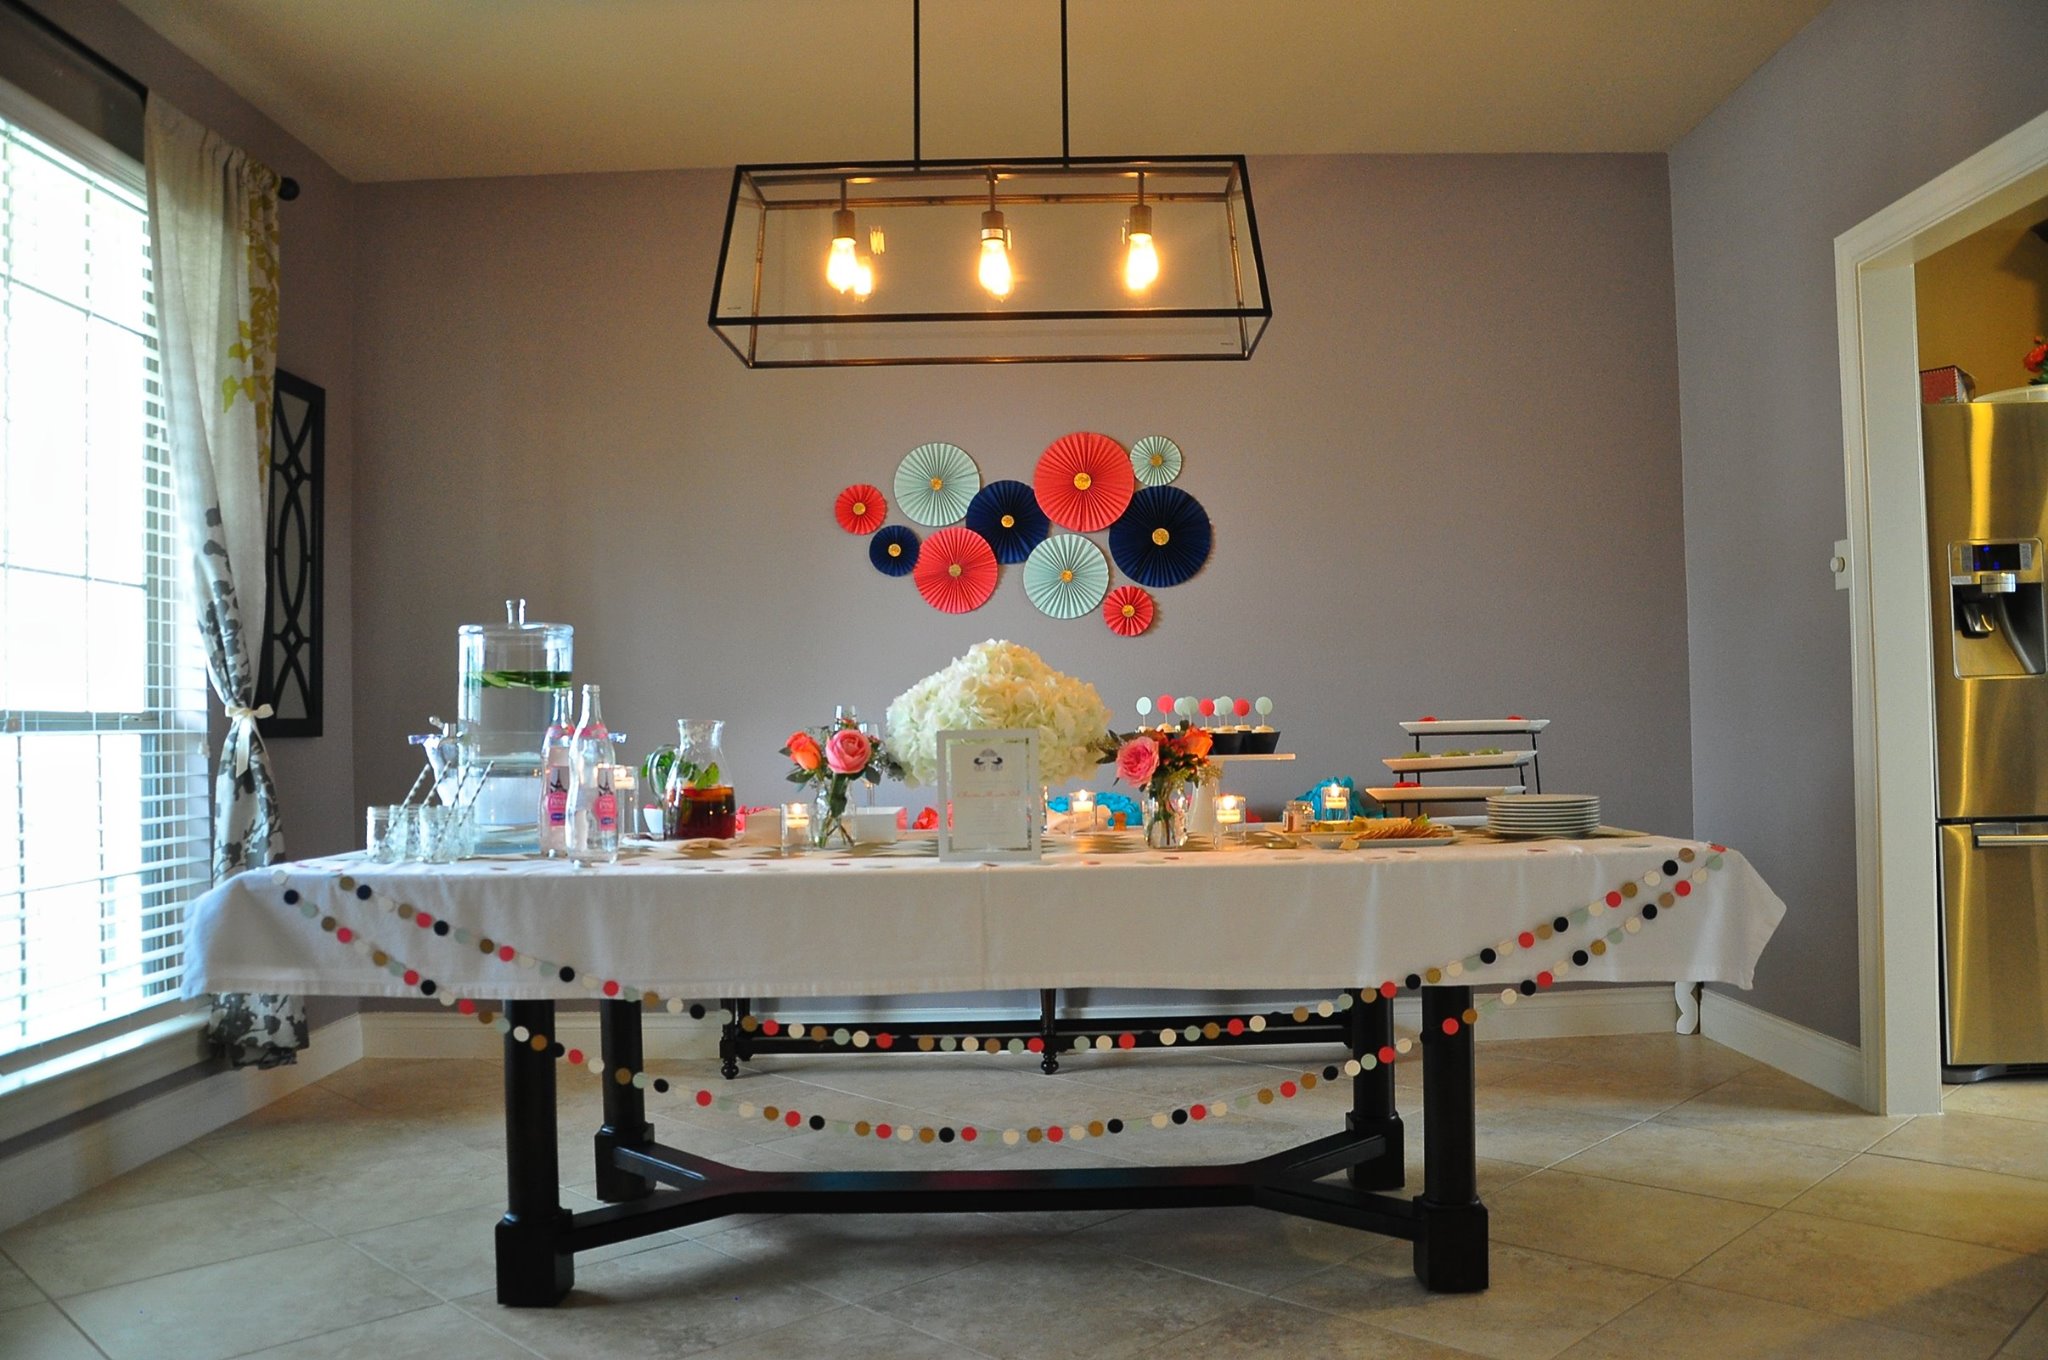
We went with a simple color scheme – white, light {and a little dark} blue, kraft brown and vintage papers. The colors were a perfect backdrop for the children’s books, and played well together. :) I used a mix of vintage and new(er) linens, a variety of mixed metals and some wild grasses instead of of flowers. Stacks of vintage books (of course!) in brown and blues came into play, too.
A shower for a baby boy - with a storybook theme! I was delighted with how my table runner turned out! My mom has a knack for finding gorgeous old children’s books, some of which are sadly too worn to be enjoyed by our children. I used the pages with colored illustrations, arranged the pages a few times until I was happy with how the colors looked together, and secured them in placed with some double-sided tape. Super cute! (it was inspired by this table runner)A shower for a baby boy - with a storybook theme! | the Path Les TraveledFramed quotes from children's books were a perfect touch at this storybook themed baby shower. | the Path Less Traveled
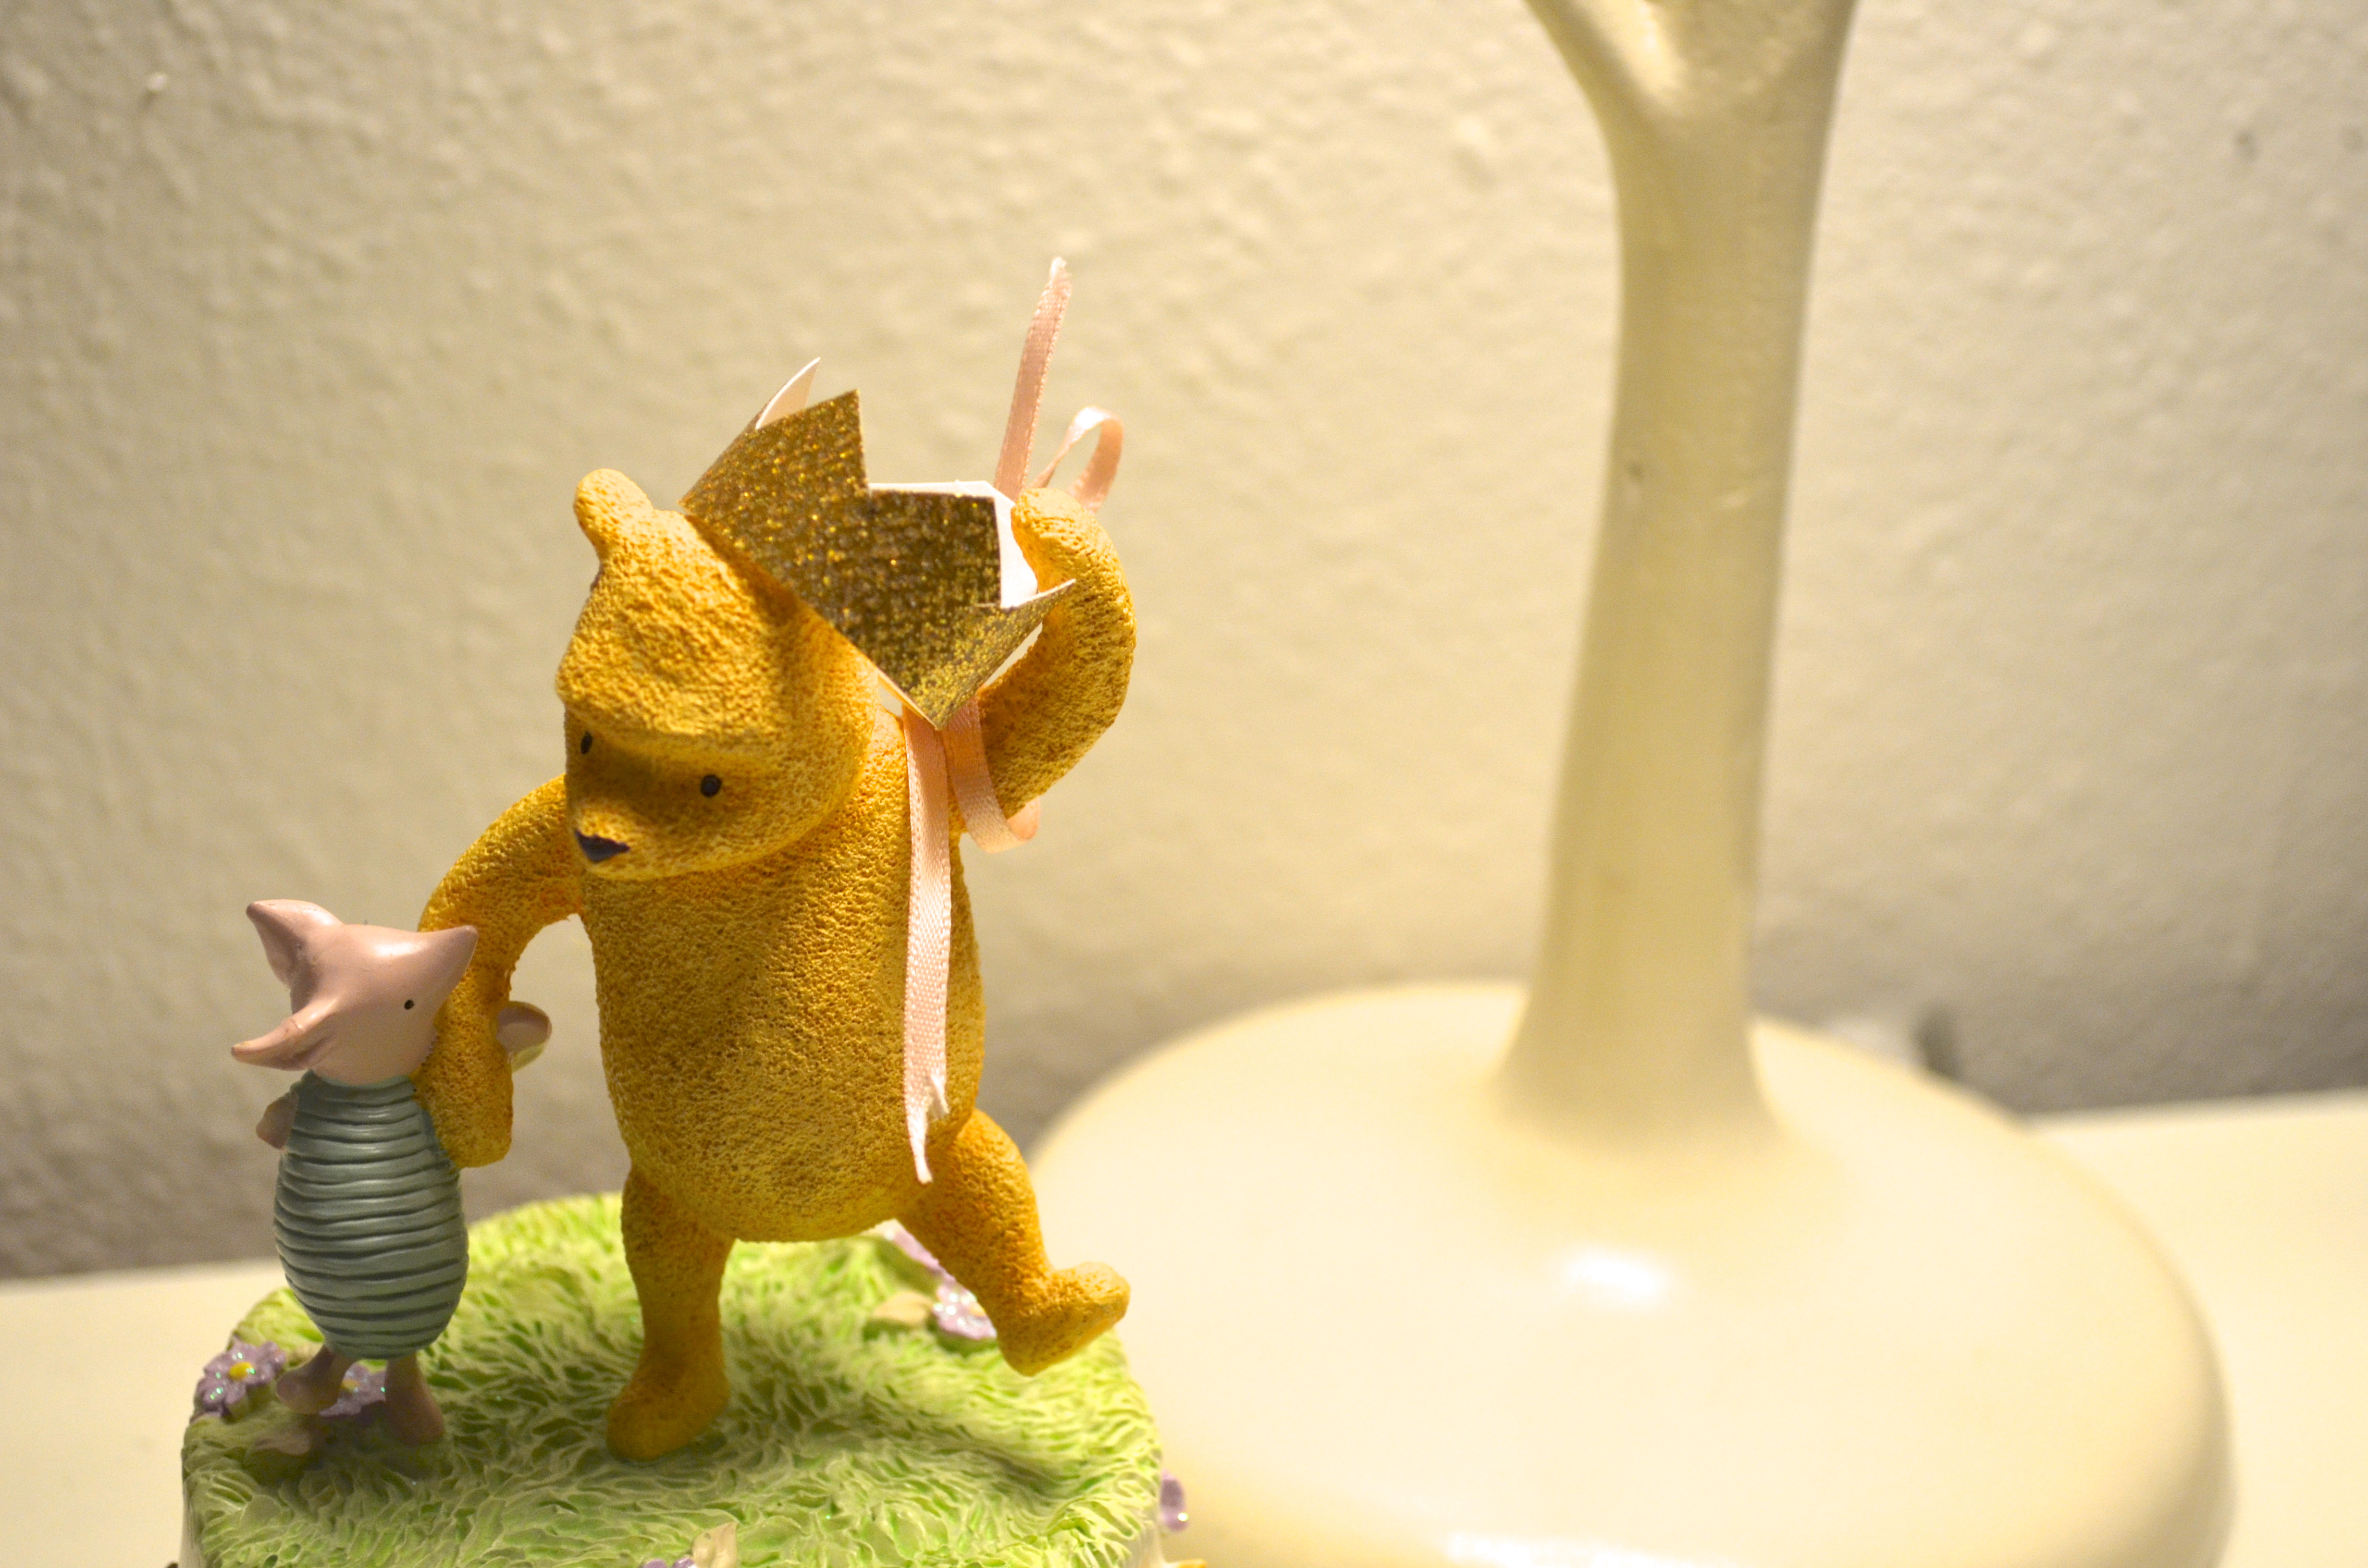
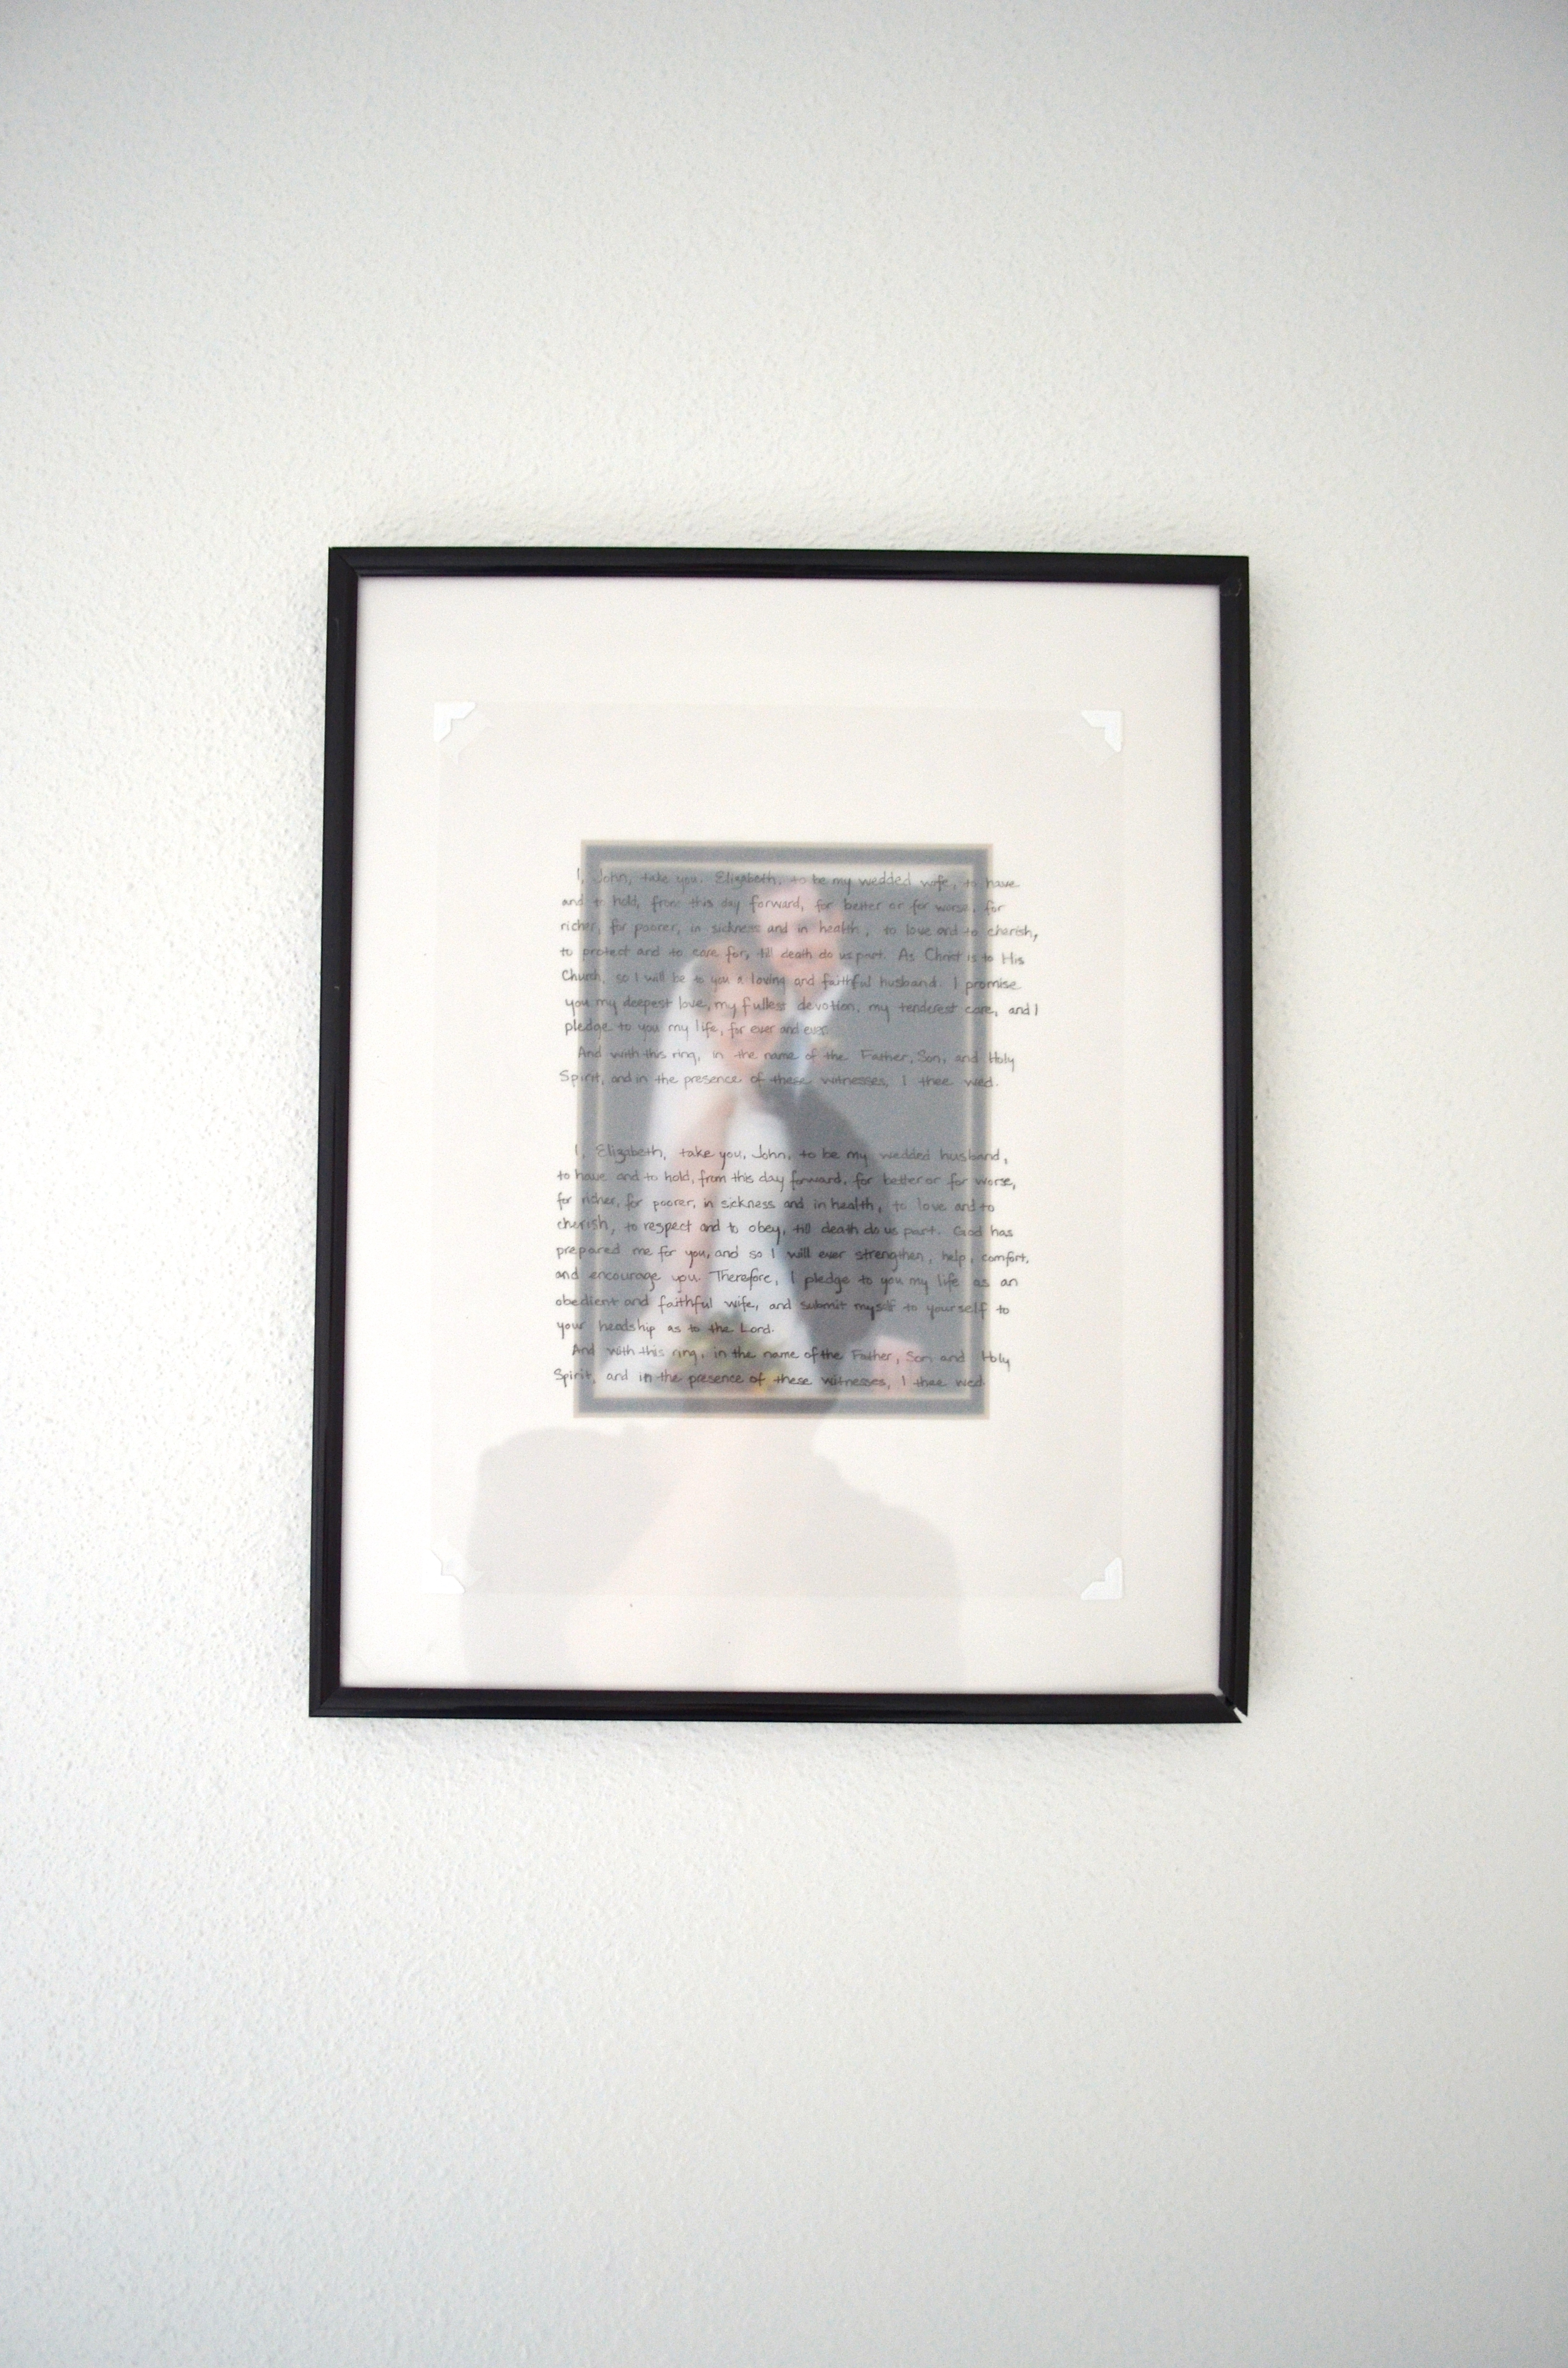
One of the details I loved adding to this party were the framed storybook quotes and artwork. I found several through Pinterest, and a few through a basic web search – all were free, and when placed in frames I already had, made a fun addition to the shower. And the new mama enjoyed keeping a few for the little guy, too!Framed book quotes for a shower for a baby boy - with a storybook theme! | the Path Less Traveled


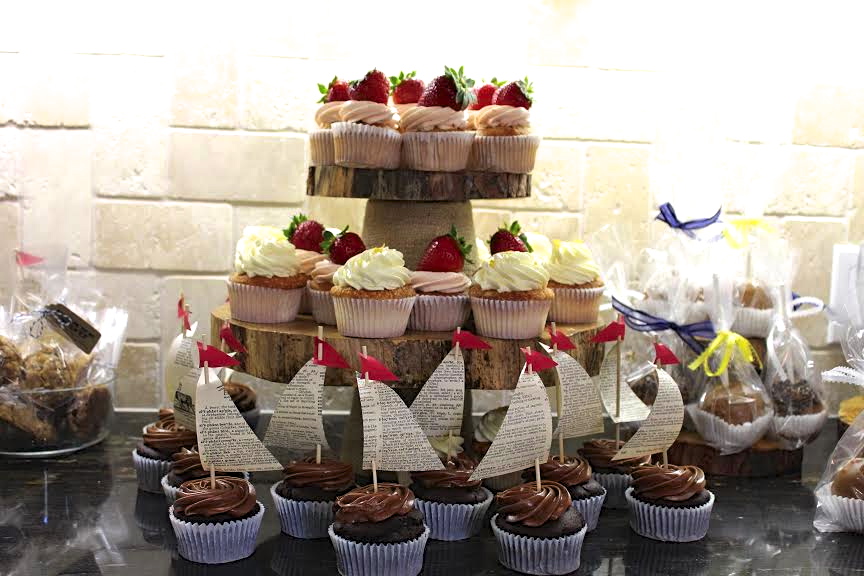
Stay tuned for more party photos, including more decor, the super darling and delicious food (all storybook themed!) and the guest of honor!

shop items featured:

customer love: travel themed baby shower

customer love: travel themed baby shower

Customer love time again! Erin just sent us these photos of the dessert display at the travel themed shower for a baby boy she put together a few weeks ago, and they look great!Travel Theme Baby Shower | the Path Less Traveled Erin combined our Vintage Map Heart Toppers with our “It’s A Boy!” toppers – pretty sweet! Travel Theme Baby Shower | the Path Less Traveled Travel Theme Baby Shower | the Path Less TraveledFor the cake topper {which was stuck in a pair of cupcakes :D}, she asked for a customized version of our original Vintage Map Heart Mini Cake Banner. We placed a handstamped heart in the center, and the result was perfect!

Thank you so much for sharing these with us, Erin!

Do you have photos that you’d like to share? If so, you can either email them to me at elizabeth@pltmarket.com or tag them with #thepathlesstraveledmarket or #thepathlesstraveledevents on Instagram {as long as you have a public profile :)} – we’d all love to see your ideas! Also, I often send “thank you” coupons to the lovelies who let me share their photos with you – so if you’re looking for a coupon for your next order, sharing photos is a great way to get a discount!

<3

crafting for a baby

crafting for a baby

Crafting for a sweet new baby is always a joy! A few weeks ago I had the privilege of making this entirely custom, delicate name banner for my precious new niece, and I had so much fun. Her mama is decorating the baby Cora’s new space in blush and glittery gold, so I even got to use some of my current favorite papers. :)a personalized name banner for a baby - perfect for both a baby shower and a birthday party! | the Path Less Traveled

Her mama is decorating the nursery for this babe in gold and pink, so I had a ton of fun making a sweet, girly and glittery name banner for baby Cora using some of my favorite papers and ribbons. I went with scalloped circles in a vintage rose print for the background and gold glitter for the letters, all strung on a light rose satin ribbon. So feminine, and suitable for both a baby and a growing girl.

I am experimenting in making our the name banners in our shop in this double-layered look, and enjoyed doing the same for little Miss Cora, giving her special garland an extra bit of style and texture. The glitter gold played so beautifully off of the vintage rose print!
crafting a glitter and rose name banner for a baby | the Path Less Traveled

These multilayered banners are something I love making, and there are so many options!!! We are planning to add a variety of them to the shop in the next little while, and are just having a bit of trouble deciding exactly which options to offer {there are soooooo many!}. If you have something in mind that you’d like to see, we’d love to hear about it. :)

What do you think? Would you like to see more of this rich, layered look in our pieces? I’d love to hear!


<3

customer love: winter baby shower

customer love: winter baby shower

Customer love time again! I love seeing all these fun ideas, don’t you? For today’s customer love edition, I have some photos that a customer{who happens to be an event planner} sent to share with you! Paula chose a variety of our snowflake items, and used them as part of this gorgeous winter- themed “Baby It’s Cold Outside” baby shower:Baby It's Cold Outside themed baby shower | the Path Less Traveled Advice for the new parents pinboard at a Baby It's Cold Outside themed baby shower | the Path Less TraveledAdvice for the new parents pinboard at a Baby It's Cold Outside themed baby shower | the Path Less Traveled Snowflake topped stir sticks at a Baby It's Cold Outside themed baby shower | the Path Less Traveled

The snowflake stir sticks were a custom order for Paula, and they turned out so amazingly that we are planning to add them to our shop soon!

Paula shared more photos of this amazing shower here on Facebook – I love it!

Do you have photos that you’d like to share? If so, you can either email them to me at elizabeth@pltmarket.com or tag them with #thepathlesstraveledmarket on Instagram {as long as you have a public profile :)} – we’d all love to see your ideas! Also, I often send “thank you” coupons to the lovelies who let me share their photos with you – so if you’re looking for a coupon for your next order, sharing photos is a great way to get a discount!


Snowflake Stir Sticks from The Path Less Traveled

edit: we have added the stir sticks to our shop! You can now find them here.

customer love – a gorgeous baby shower for twins!

customer love – a gorgeous baby shower for twins!

A few months back I was contacted by a woman who was throwing a baby shower for her friend who was having twins {a boy and a girl!}. She wanted the colors to be gender neutral {but not boring}, and our Navy, Mint, Coral, Cream and Gold Confetti Garland caught her eye. She loved the colors, and had a few ideas of other things to add to round out the decor she had in mind. But first Andrea had one important request – the decorations had to be in Texas by the following Saturday. Wow-ee! I was in love with the idea, though, and we made it happen. :)Navy, Mint, Coral and Gold Pinwheels on the Path Less Traveled Andrea wanted a bunch of paper pinwheels in a variety of sizes, and in colors to coordinate with the garland. I had been wanting to make some for a while {have you seen the pins of some of the lovely pinwheels floating around Pinterest? Soooo gorgeous!} and was delighted to have a good excuse to learn how!Navy, Mint, Coral and Gold Pinwheels on the Path Less Traveled Navy, Mint, Coral and Gold Pinwheels on the Path Less Traveled Navy, Mint, Coral and Gold Pinwheels on the Path Less Traveled Navy, Coral and Gold Pinwheels on the Path Less Traveled Navy, Coral and Gold Pinwheels on the Path Less Traveled Mint, Coral and Gold Pinwheels on the Path Less Traveled Everything got made up quickly and shipped in time to arrive with a day or two to spare {I love FedEx!!!!}. Afterward the tea party, Andrea sent me these photos of how everything came together:A modern baby shower for twins (and boy and girl!) on the Path Less Traveled She threw a gorgeous affair, didn’t she? The baby shower had a tea party theme, and the food she served looks amazing.A gorgeous gender neutral shower for boy and girl twins on the Path Less Traveled

I love how Andrea used the garland as a front drape for the buffet table – it added such a classic, elegant feel to the party!delightful cupcake with a modern twistShe requested some custom cupcake toppers in mint and coral, and once they arrived she paired them with these lovely navy blue cupcake wrappers for a clean and elegant look. {if you’d like to achieve a similar look for an event, we have since added cupcake wrappers to our shop!}a cream tea baby shower in vibrant modern colors - perfect for boy and girl twins!a shower for boy and girl twins


Andrea, the party was absolutely gorgeous. Thank you so much for allowing to share in the joy of the occasion us by sharing the photos, and blessings to the new mama and babies!

Do you have photos that you’d like to share? If so, you can either email them to me at elizabeth@pltmarket.com or tag them with #thepathlesstraveledmarket on Instagram – we’d all love to see your ideas! Also, I often send “thank you” coupons to the lovelies who let me share their photos with you – so if you’re looking for a coupon for your next order, sharing photos is a great way to get a discount!

<3


products featured:

Navy, Mint, Gold or Silver and Cream Confetti Circles Garland

Custom Cupcake Toppers

Custom Confetti

Custom Paper Pinwheels


customer love – nautical baby shower edition

customer love – nautical baby shower edition

I love it when you invite me to be a part of your celebrations by creating custom pieces for you, and then send me photos of how you’ve used my creations! And every now and then I get a chance share them here on the blog { :D } – continue reading to see a darling nautical baby shower!unnamed This was a nautical themed baby shower for a baby boy in Southern California – his mama asked if I could make some little sails for the cupcakes that were going to be served, and together we came up with some pretty darling ideas! customer love - a nautical baby shower with darling vintage book paper sailboat cupcakes! | the Path Less Traveled These little boats are made of vintage book paper and red paper sails atop of some scrumptious looking chocolate cupcakes made by a local San Diego baker. Aren’t they just too cute?!a darling nautical baby shower with custom boat cupcake toppers | the Path Less Traveled

And then, even cuter, there were little Jello cups topped with these white sails in Mandarin orange “boats”!

Do you have photos that you’d like to share? If so, you can either email them to me at elizabeth@pltmarket.com or tag them with #thepathlesstraveledmarket on Instagram – we’d all love to see your ideas! Also, I often send “thank you” coupons to the lovelies who let me share their photos with you – so if you’re looking for a coupon for your next order, sharing photos is a great way to get a discount!

Follow on Bloglovin

a library inspired baby shower

a library inspired baby shower

Tonight I have something quite darling to share – a library inspired baby shower!

One of my customers {Dina of Honey & Fitz} used our Book Star Garland as part of the decor for this darling baby shower that she designed and hostessed for a dear friend – you can read her tell all about it on the sweet feature that Style Me Pretty Living did this morning :)

Photography: Ruth Eileen Photography, Design: Dina of Honey & Fitz


P.S. We have a winner for the giveaway! Congrats to Kristel P.! I’ll email you your gift card code tomorrow :) And thank you to everyone who entered! I’ll be having another very soon – we only need one more Facebook fan to reach 200, and then we’ll celebrate with something pretty and sparkly!

making mini crowns

making mini crowns

Yesterday I showed you how I made the pretty little crown for Emma Grace’s birthday {and she still keeps it in her dress-up box. After over 6 months of wear, I’m kind of impressed by how sturdy card stock can be!} and then mentioned that I had another darling little DIY tutorial up my sleeve :)

making mini crowns

One of the “crowning” touches to E. G.’s party was the little tiny tiara that I made to grace the number “4” I had made from pink paper to hang over the table. It was so cute, I couldn’t bring myself to throw it away when I took down the rest of the princess things, and now it’s sitting on top of a Winnie the Pooh figurine in the kids’ room. {It’s the little touches that make a room (and a party), you know :)}

After walking by it, day after day for months, it occurred to me that the tiny crown would be perfect for a baby shower, too. Or a first birthday, a Quinceanera, a Sweet Sixteen, gracing the top of your jewelry stand or a birthday package, um, the list goes on and on :) And these little things are so easy to make, too! Ready to see how?

materials for making mini crowns materials: scissors, ruler {optional – you can also just eyeball it}, glittery paper, hole punch, narrow ribbon {I used about 7″, but the length is up to you}making mini crowns starting with a 4″ by  3/4″ {or so} piece of paper, bring the ends together to form a circle.making mini crownsPunch two small holes where the ends overlap, thread the ribbon through these holes and tie a pretty little bow.making mini crowns Next, make the little triangles on the top of the crown with your scissors – because the crown is so small I just freehanded these, but you could measure if you want :)making mini crowns And there you have it! A darling little tiara for …. whatever you’d like!making mini crowns

I think Winnie the Pooh is enjoying wearing it, don’t you?

Tell me, what would you use this tiny darling for?

Follow on Bloglovin


I’m sharing this at the Vintage Farmhouse <3

How-Tuesday: anniversary keepsake art

How-Tuesday: anniversary keepsake art

anniversary keepsake art via the Path Less Traveled Come this Friday, my husband and I will have been married for 5 years. 5 amazing years!

To celebrate that milestone, I have a sweet anniversary keepsake that I’d like to share with you for today’s How-Tuesday – of course, it doesn’t just have to be for an anniversary. You could make a version of this for any special photo: an engaged couple, babies, graduations …. just switch out the marriage vows for a quote or poem and viola! A new piece of art to grace your wall {or to use as a gift – this would make a lovely, cherished gift!}.

anniversary keepsake art via the Path Less Traveled materials needed: your marriage vows {or whatever poem/quote that you’d like to use}, lined paper, vellum {or tracing paper}, a fine point pen, your photo, a frame

optional materials {not pictured}: photo corners, photo matanniversary keepsake art via the Path Less Traveled You’ll need to determine the area that you’d like your writing to cover – if you’d like it to go all the way across your frame or just be centered over your photo. Place your vellum over the lined paper and start writing. {or maybe, if you’re nervous, practice on some scratch paper before starting on the vellum} Take your time! anniversary keepsake art via the Path Less TraveledOnce you’ve finished writing – being careful not to smudge the ink as you go along – you can put the layers of the art together. I used an 11×14 frame with a 4×6 photo, and so of course need a mat to fill out the frame. :) The layers, as I stacked them, are: glass, vellum, mat, photo, cardboard reinforcer that came with frame and frame back.

– Because I chose to place the vellum over the mat instead of under it, I used white photo corners to anchor the corners and add another layer of texture.

Once you have the layers adjusted to your satisfaction, carefully pop them in the frame and secure it. Then either wrap it {if using as a gift} or display on your wall – you’re done!


I can hardly believe that 5 years have already gone by – being married to John has been a blessing each and every day.

This project is a great way for us to be able to see {and be reminded of} our vows on a daily basis, and it has the added effect of renewing my gratefulness for him when I see how he’s fulfilling his vows on a daily basis. God gave me a winner! The congregation at our wedding laughed as I jumped with giddy joy when I heard John say “I do”, and I love being reminded of that moment – and his continuing faithfulness – each day!


xo

Did you miss the coupon I shared yesterday? If so, you might like to click over and check it out – it’s a good one!


{I’m sharing this on the Girl Creative, Sew Can Do, A Vision To Remember, Skip To My Lou, Sew Chatty and C.R.A.F.T.}