making mini crowns
Yesterday I showed you how I made the pretty little crown for Emma Grace’s birthday {and she still keeps it in her dress-up box. After over 6 months of wear, I’m kind of impressed by how sturdy card stock can be!} and then mentioned that I had another darling little DIY tutorial up my sleeve :)

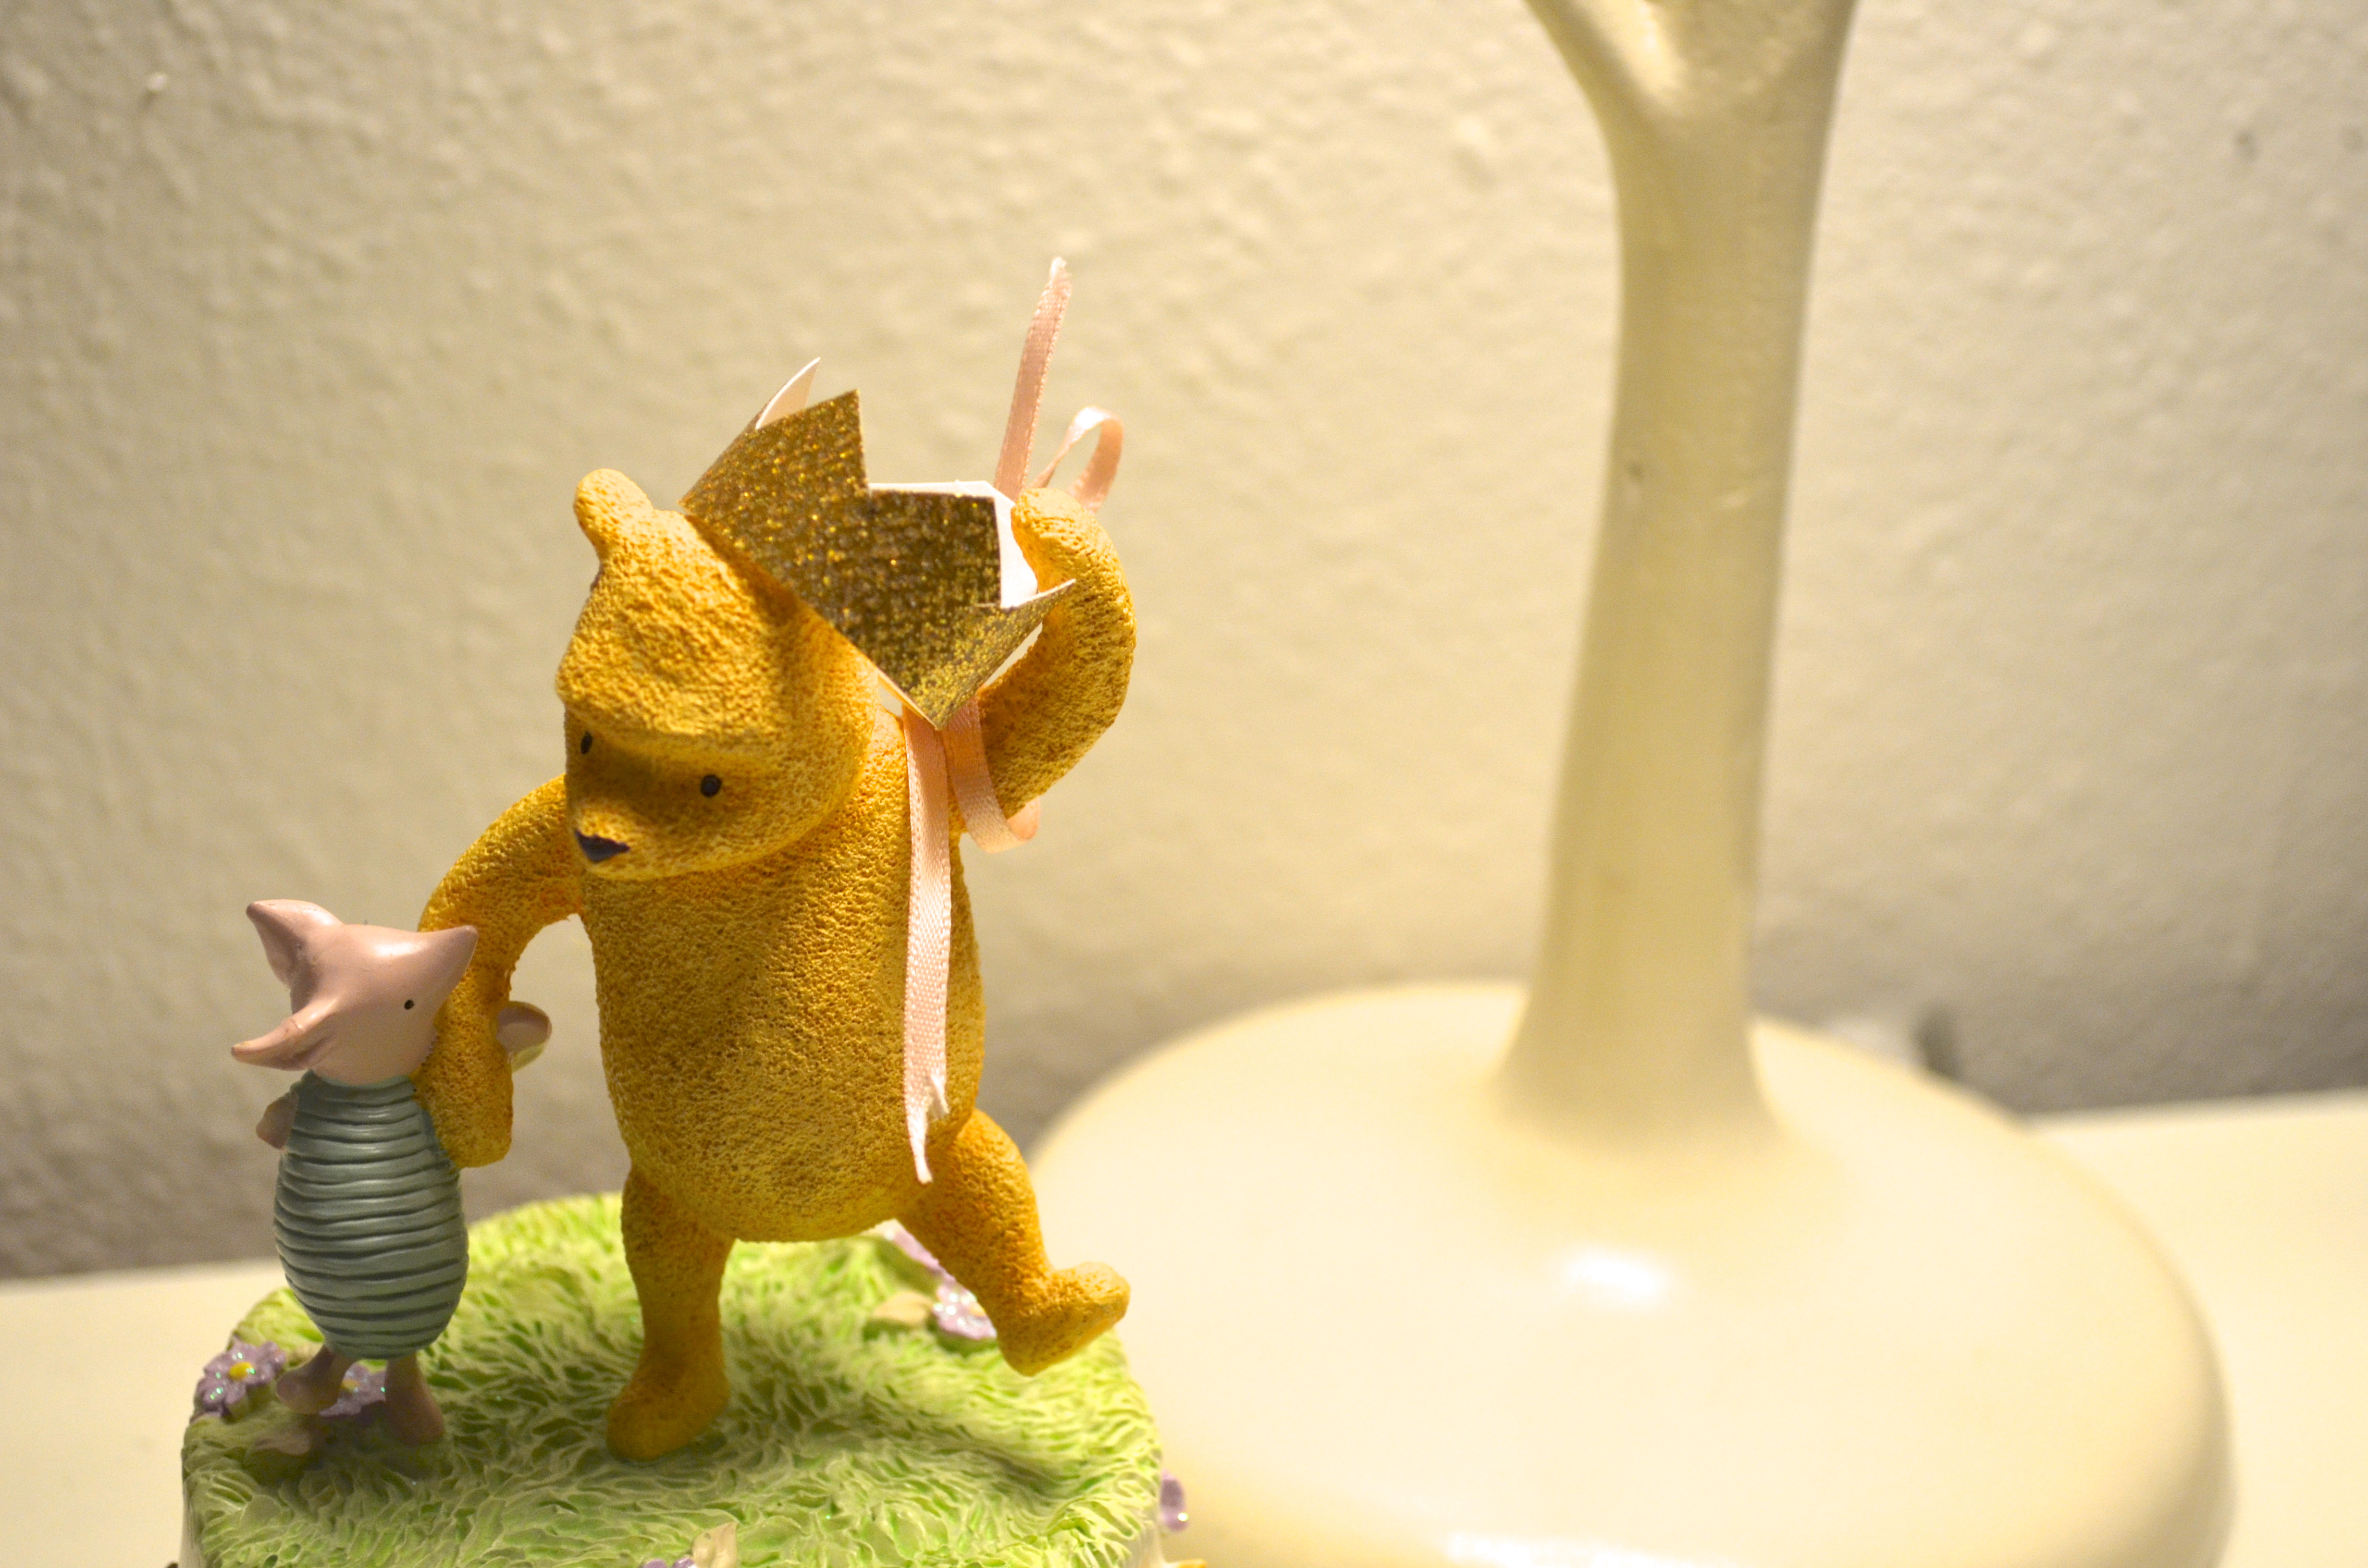
One of the “crowning” touches to E. G.’s party was the little tiny tiara that I made to grace the number “4” I had made from pink paper to hang over the table. It was so cute, I couldn’t bring myself to throw it away when I took down the rest of the princess things, and now it’s sitting on top of a Winnie the Pooh figurine in the kids’ room. {It’s the little touches that make a room (and a party), you know :)}
After walking by it, day after day for months, it occurred to me that the tiny crown would be perfect for a baby shower, too. Or a first birthday, a Quinceanera, a Sweet Sixteen, gracing the top of your jewelry stand or a birthday package, um, the list goes on and on :) And these little things are so easy to make, too! Ready to see how?
 materials: scissors, ruler {optional – you can also just eyeball it}, glittery paper, hole punch, narrow ribbon {I used about 7″, but the length is up to you}
 starting with a 4″ by 3/4″ {or so} piece of paper, bring the ends together to form a circle.
 Punch two small holes where the ends overlap, thread the ribbon through these holes and tie a pretty little bow.
 Next, make the little triangles on the top of the crown with your scissors – because the crown is so small I just freehanded these, but you could measure if you want :)
 And there you have it! A darling little tiara for …. whatever you’d like!
I think Winnie the Pooh is enjoying wearing it, don’t you?
Tell me, what would you use this tiny darling for?

I’m sharing this at the Vintage Farmhouse <3