Browsed by
Tag: gold

customer love – children’s room edition

customer love – children’s room edition

Well friends, it’s Friday again – which means that it’s customer love time, and today I have a children’s room edition to share!

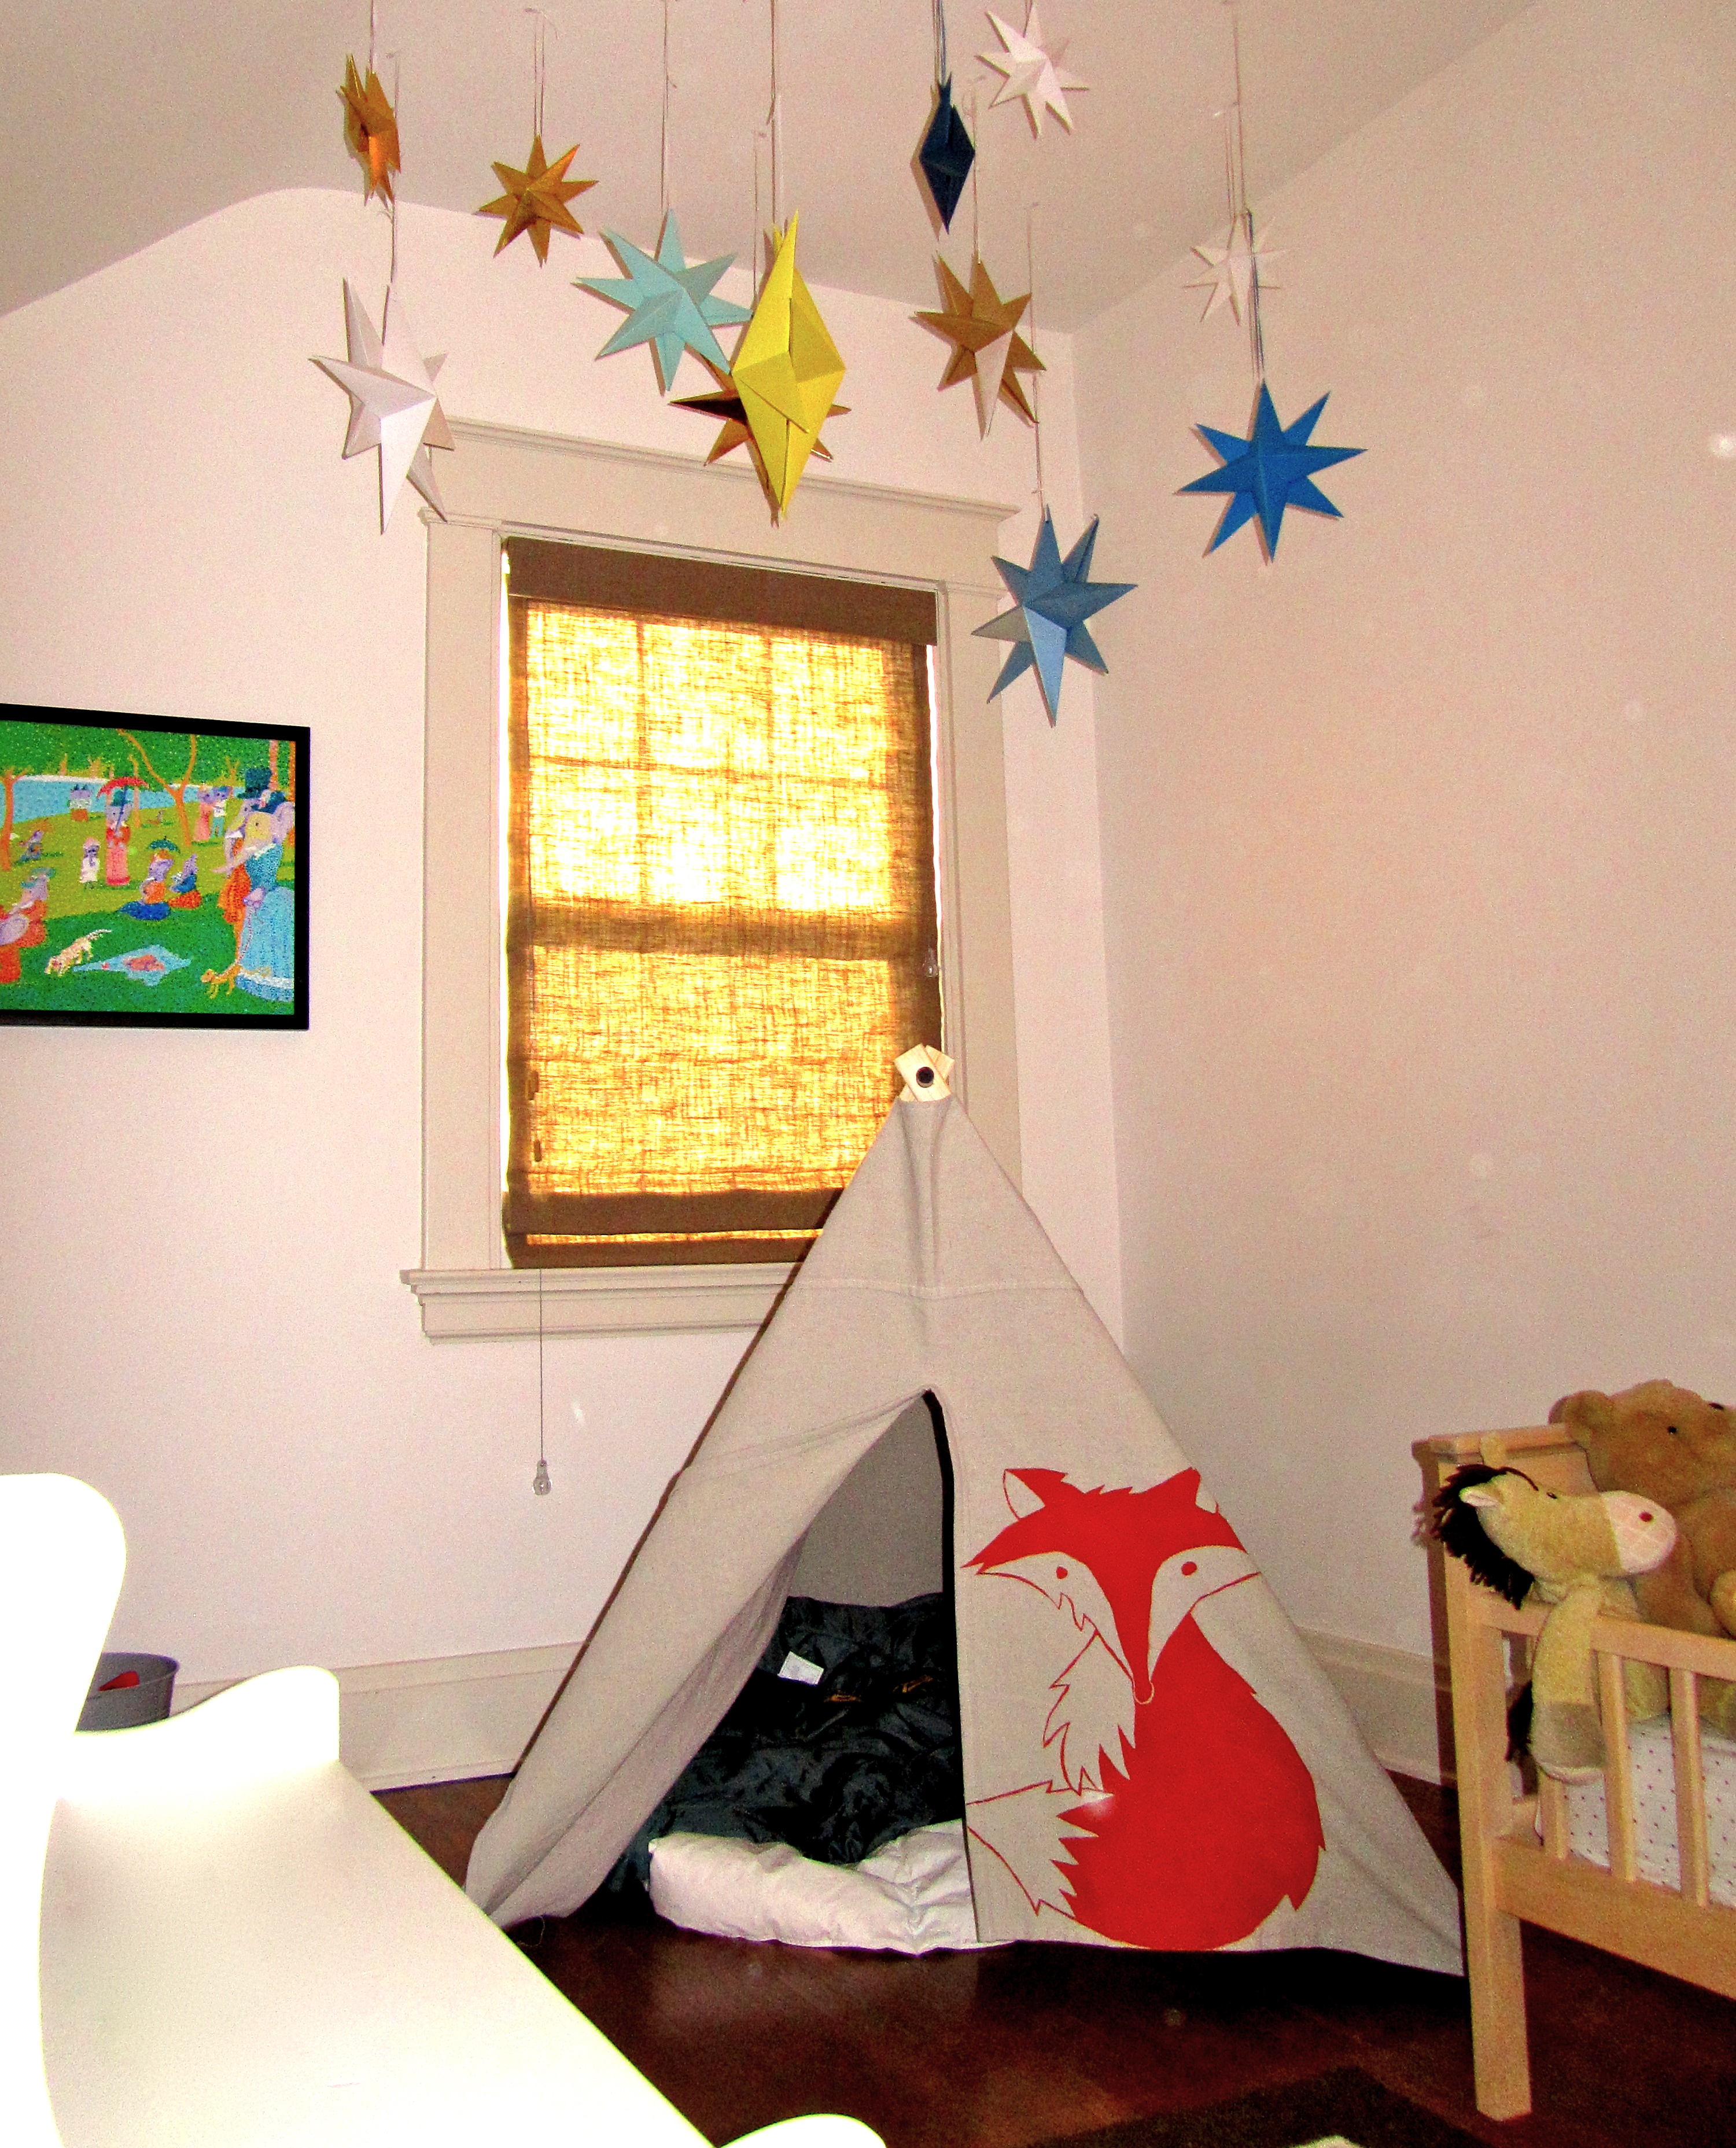
Last month a mama contacted me regarding a custom version of my new Large Hanging Stars – she was creating a whimsical woodland bedroom for her little guy, and was looking for stars in shades of white, yellow, gold, and some soft blues.

Artwork from the Wheatfield on EtsySome of the artwork in his room is from the Wheatfield, Winnie the Pooh, Babar, Good Night Moon and other art based on favorite classic children’s books by Shannon Presti and Vicki Freeman, and she was hoping to finish off the “play” corner with some sweet ceiling decor that reflects the whimsy and wonder in the pieces. After some emailing back and forth, I think we came up with a perfect fit for her growing boy:customer love - children's room edition! on the Path Less Traveledcustomer love - children's room edition! on the Path Less Traveled

And here’s how they look in his room!customer love - children's room edition! on the Path Less Traveled

Isn’t it just lovely?! I love how she played on the “starry” theme for him, bringing a feel of wonder and adventure to his room. She says that her little loves them, too, and keeps calling them “his stars” – isn’t that darling?

The playful fox fold-up play tent is from SnailCandy on Etsy, and the artwork she chose from the Wheatfield can be found here and here {I LOVE Katie’s work! In fact, if you look carefully around our home, you can spot an example in almost every room :)}. If you’d like to create something similar, you can find the large 12″ size stars in my shop here, and I’ll be adding the smaller 9″ and 6″ sizes soon. :)

Thank you so much for letting me share this, Nancy – I really love how the space turned out!!!

Do you have photos that you’d like to share? If so, you can either email them to me at elizabeth@pltmarket.com or tag them with #thepathlesstraveledmarket on Instagram – we’d all love to see your ideas! Also, I often send “thank you” coupons to the lovelies who let me share their photos with you – so if you’re looking for a coupon for your next order, sharing photos is a great way to get a discount!

Have you entered the giveaway for a gift card to the shop yet? If you haven’t, don’t delay! :)


Follow on Bloglovin


artwork images are by Katie Daisy from the Wheatfield

making mini crowns

making mini crowns

Yesterday I showed you how I made the pretty little crown for Emma Grace’s birthday {and she still keeps it in her dress-up box. After over 6 months of wear, I’m kind of impressed by how sturdy card stock can be!} and then mentioned that I had another darling little DIY tutorial up my sleeve :)

making mini crowns

One of the “crowning” touches to E. G.’s party was the little tiny tiara that I made to grace the number “4” I had made from pink paper to hang over the table. It was so cute, I couldn’t bring myself to throw it away when I took down the rest of the princess things, and now it’s sitting on top of a Winnie the Pooh figurine in the kids’ room. {It’s the little touches that make a room (and a party), you know :)}

After walking by it, day after day for months, it occurred to me that the tiny crown would be perfect for a baby shower, too. Or a first birthday, a Quinceanera, a Sweet Sixteen, gracing the top of your jewelry stand or a birthday package, um, the list goes on and on :) And these little things are so easy to make, too! Ready to see how?

materials for making mini crowns materials: scissors, ruler {optional – you can also just eyeball it}, glittery paper, hole punch, narrow ribbon {I used about 7″, but the length is up to you}making mini crowns starting with a 4″ by  3/4″ {or so} piece of paper, bring the ends together to form a circle.making mini crownsPunch two small holes where the ends overlap, thread the ribbon through these holes and tie a pretty little bow.making mini crowns Next, make the little triangles on the top of the crown with your scissors – because the crown is so small I just freehanded these, but you could measure if you want :)making mini crowns And there you have it! A darling little tiara for …. whatever you’d like!making mini crowns

I think Winnie the Pooh is enjoying wearing it, don’t you?

Tell me, what would you use this tiny darling for?

Follow on Bloglovin


I’m sharing this at the Vintage Farmhouse <3

how-Tuesday: DIY Birthday Crowns

how-Tuesday: DIY Birthday Crowns

Today’s promised how-Tuesday: DIY Birthday Crowns! Do you remember the princess party that Emma Grace requested? Well, I realized that I had never shown you how I made her darling Birthday Crown {and, since I’m kind of on a birthday theme at the moment, now is the perfect time to change that, right?}!

DIY Party CrownDIY Party CrownToo cute, isn’t it?! Now, let’s get started:DIY Prince or Princess Crown materials: mid to heavy weight card stock in size 8 1/2″x11″ or larger {I used white for these so my kiddos could color them, but you can use any color you wish! For E.G.’s birthday I used a gold glittered paper}, ruler, pencil, scissors, hole punch, ribbonDIY Prince or Princess Crown step one: with your paper in the “portrait” position {so that it’s facing the “tall” way}, draw a line down the middle {4 1/4″ from the edge} and then cut along this line. You will now have two 4 1/4″x11″ pieces.DIY Prince or Princess Crown step two: find your middle point on one long edge of the paper {at 5 1/2″} and make a small dot. Then, measuring from this same edge, measure 2″ toward the middle and lay your ruler along this 2″ line. Make a dot on this line at the 2″, 4″, 7″ and 9″ marks.

Now it gets just a bit more fun … you get to play connect the dots! Draw lines connecting the corners on the long edge with the dots you’ve just made, forming a series of …DIY Prince or Princess Crown …triangles along what is now the top edge of your crown.DIY Prince or Princess Crown Step three: cut along this line. It’s beginning to take shape!DIY Prince or Princess Birthday Party Crown step four: punch two holes on each end of the crown, about an inch apart.DIY Prince or Princess Birthday Party Crown step five: cut 2 lengths of ribbon, each about 18″ long and thread a piece through the holes of one end {like in the photo} and it to itself so that one side has a knot and the other …DIY Prince or Princess Birthday Party Crown …looks like this. Repeat for the opposite end. Now, at this point you can either be finished or you can pass it on to a child and allow them to decorate it to their heart’s content :)DIY Prince or Princess Birthday Party Crown DIY Prince or Princess Birthday Party Crown DIY Prince or Princess Birthday Party CrownDIY Prince or Princess Birthday Party CrownsThis cutie modeled her party crown again as she colored her new, custom decorated by her tiara.DIY Prince or Princess Birthday Party CrownsSo intent on her work!DIY Prince or Princess Birthday Party CrownsTada! Wouldn’t it be a sweet party activity to decorate your own crown? Maybe with feathers, glitter and sequins, too? I think a little one {or several} would be just over the moon with these!DIY Prince or Princess Birthday Party CrownsDIY Prince or Princess Birthday Party CrownsDIY Prince or Princess Birthday Party Crowns

Gah, those eyes! So, there’s your promised adorable tutorial for the day :) And I’ve got another one up my sleeve! Maybe for tomorrow? Maybe …

Until then, I’d love to hear if you try this! How would you customize them for your littles? Do you have a favorite party hat tradition?


XOXO

Follow on Bloglovin


I’m sharing this at the Vintage Farmhouse <3

Instagram bits

Instagram bits

the photos that I capture on Instagram are just little bits and pieces of our life, and it’s really interesting to see what moments I capture {and which ones I don’t} – of course, it seems as if {since I instagram from our iPad} I only capture the things that stand still. Which of course explains why Emma Grace, Ian and John don’t show up very often, but flowers, projects and Olivia do. :)

This week’s post is kind of a catch-up – so you get two weeks rolled into one. Enjoy!Mother's Day RosesMy Mother’s Day rose bush is looking so lovely <3 I’m a rose lover! Especially the soft colors – pink, white, even gray and soft purple – and the full, blowsy cottage types. :)
IMG_2416 I asked – and you answered! This storage dresser in the sewing room might be getting a do-over, and many of you chimed in with your color suggestions. Thank you!IMG_2421 A sweet color combo on the It’s A Girl! cupcake toppers – I normally stamp the girl version with pink ink onto either vintage or white paper, and this customer asked to add some pink on pink – they turned out super darling!IMG_2426 our darling baby being her sweet little self <3IMG_2431 It’s graduation season! These purple stars are the size I normally carry in the shop, and the large gold ones are coming soon!IMG_2433 a custom bouquet of “Congrats Grad!” and “Class of 2013” dessert toppersIMG_2441

John had a week of vacation, and we spent most of it at home {or with my in-laws}. We did get away for an overnight, though! Brown County is Indiana’s largest state park, and quite lovely {and quite!} this time of year. We took the kiddos to Story Inn for the night, and then for a bit of an explore in the park itself the next day. They loved being on an “adventure” so much.IMG_2443 A sweet color combo! These purple and pink butterfly toppers are on their way to a baby girl’s first birthday party :)IMG_2445 And my baby girl just keeps getting bigger! She’s a roller now, and loves to roll her way across the room. She started out on the blanket in the lower right, and made it all the  way to my stash of baker’s twine on the other side of the sewing room. :)IMG_2446

How about you – you Instagram? What do you find shows up as a recurring theme in your photos?

Also, don’t forget to use the shop’s free shipping coupon if you’re planning on stocking up on any summer party goods! It expires tomorrow night, so don’t dilly dally too long :)

<3


little Instagram pieces

little Instagram pieces

the photos that I capture on Instagram are just little pieces of our life, and it’s really interesting to see what moments I capture {and which ones I don’t} – of course, it seems as if {since I instagram from our iPad} I only capture the things that stand still. Which of course explains why Emma Grace, Ian and John don’t show up very often, but flowers, projects and Olivia do. :)

here are some of the little pieces of this last week: Monday morning loveliness on our kitchen windowsill <3

I make our black beans from scratch – both to save money and because I like knowing what is {and isn’t!} in our food. Usually I do the “quick soak” method {boil them for an hour and then rinse and cook} because  I’m usually making them when we actually need them and not ahead of time, but this week I thought ahead and let them sit overnight. I was so surprised to be greeted by these lovely purple gems when I rinsed them out the next morning! Is it just my beans that do this? Or have you experienced it, too?
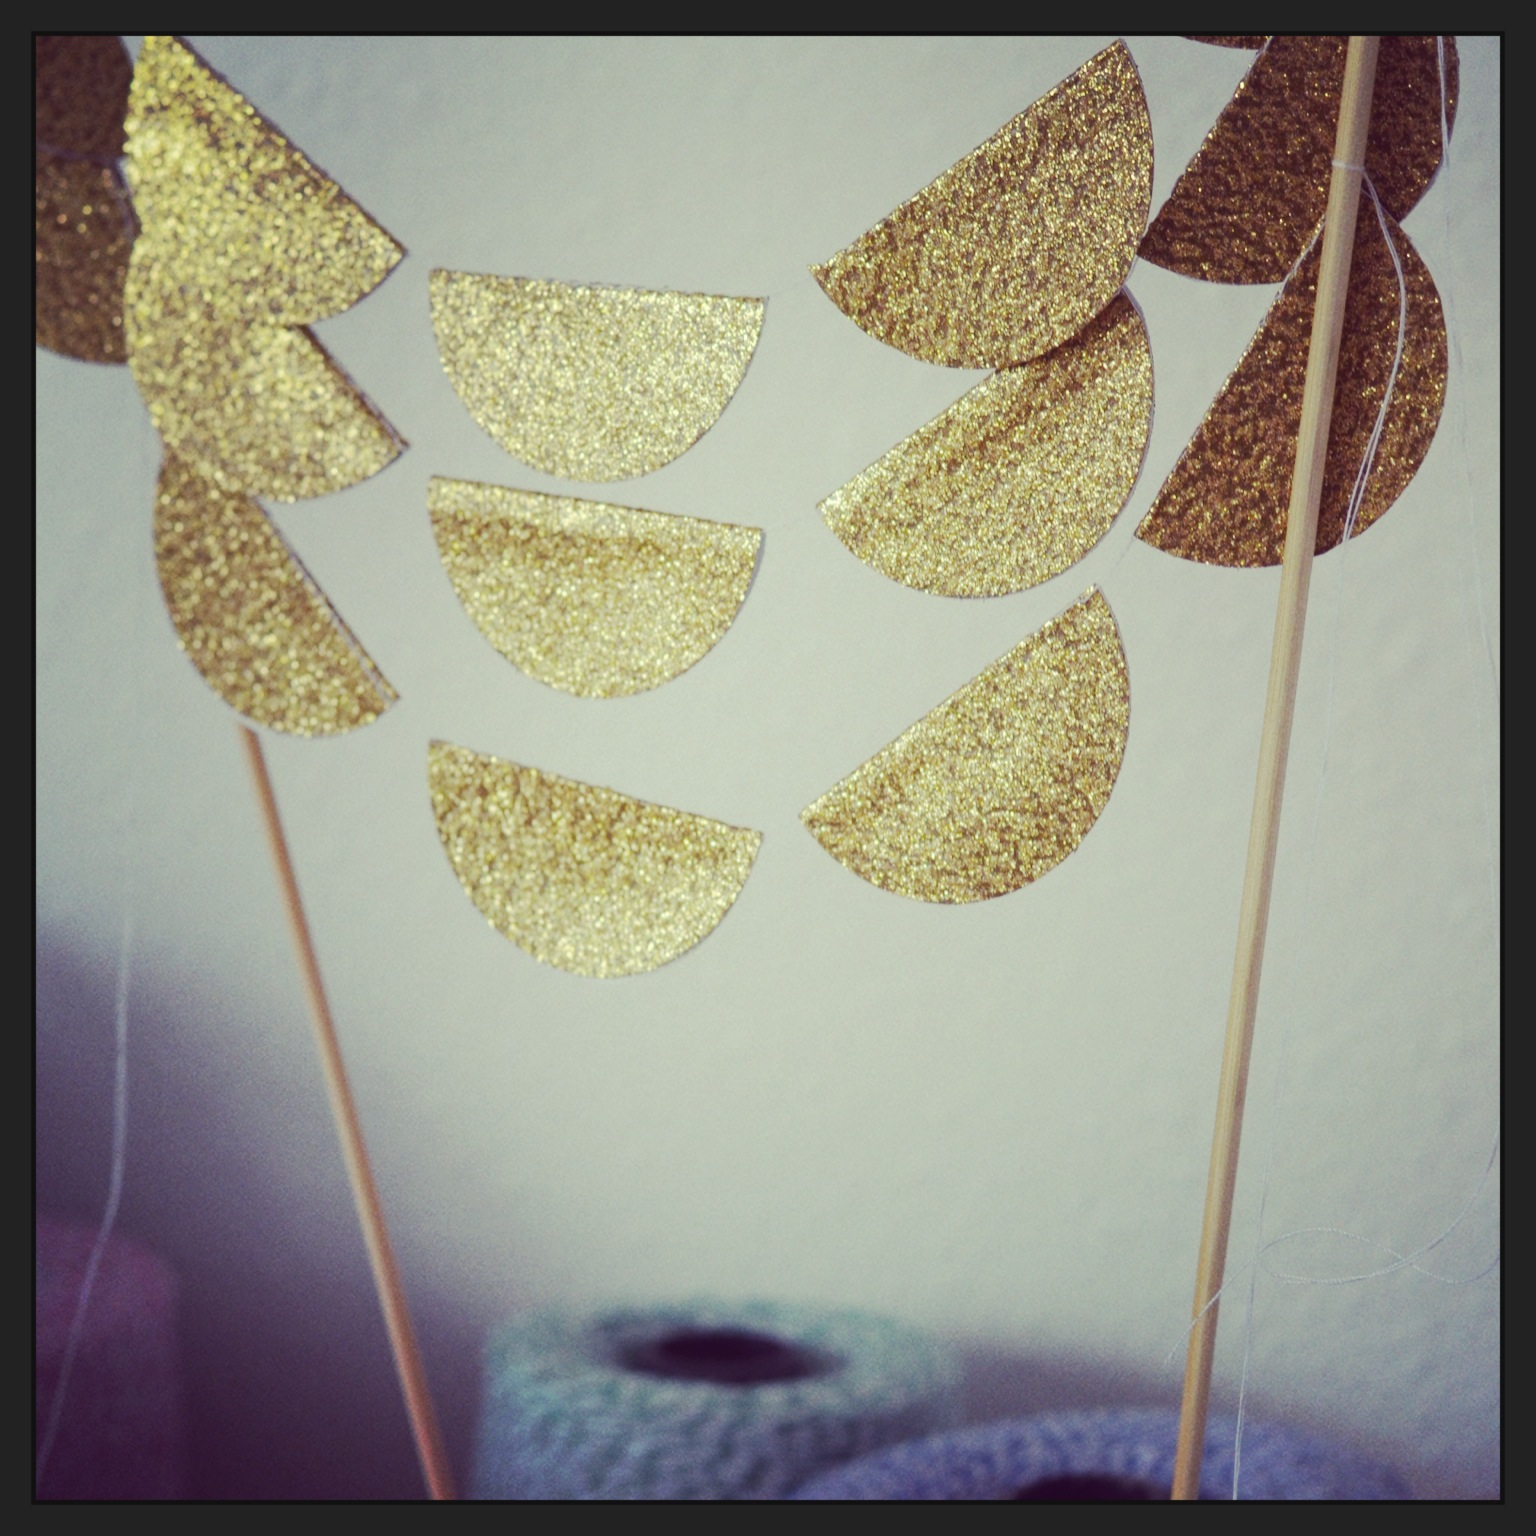
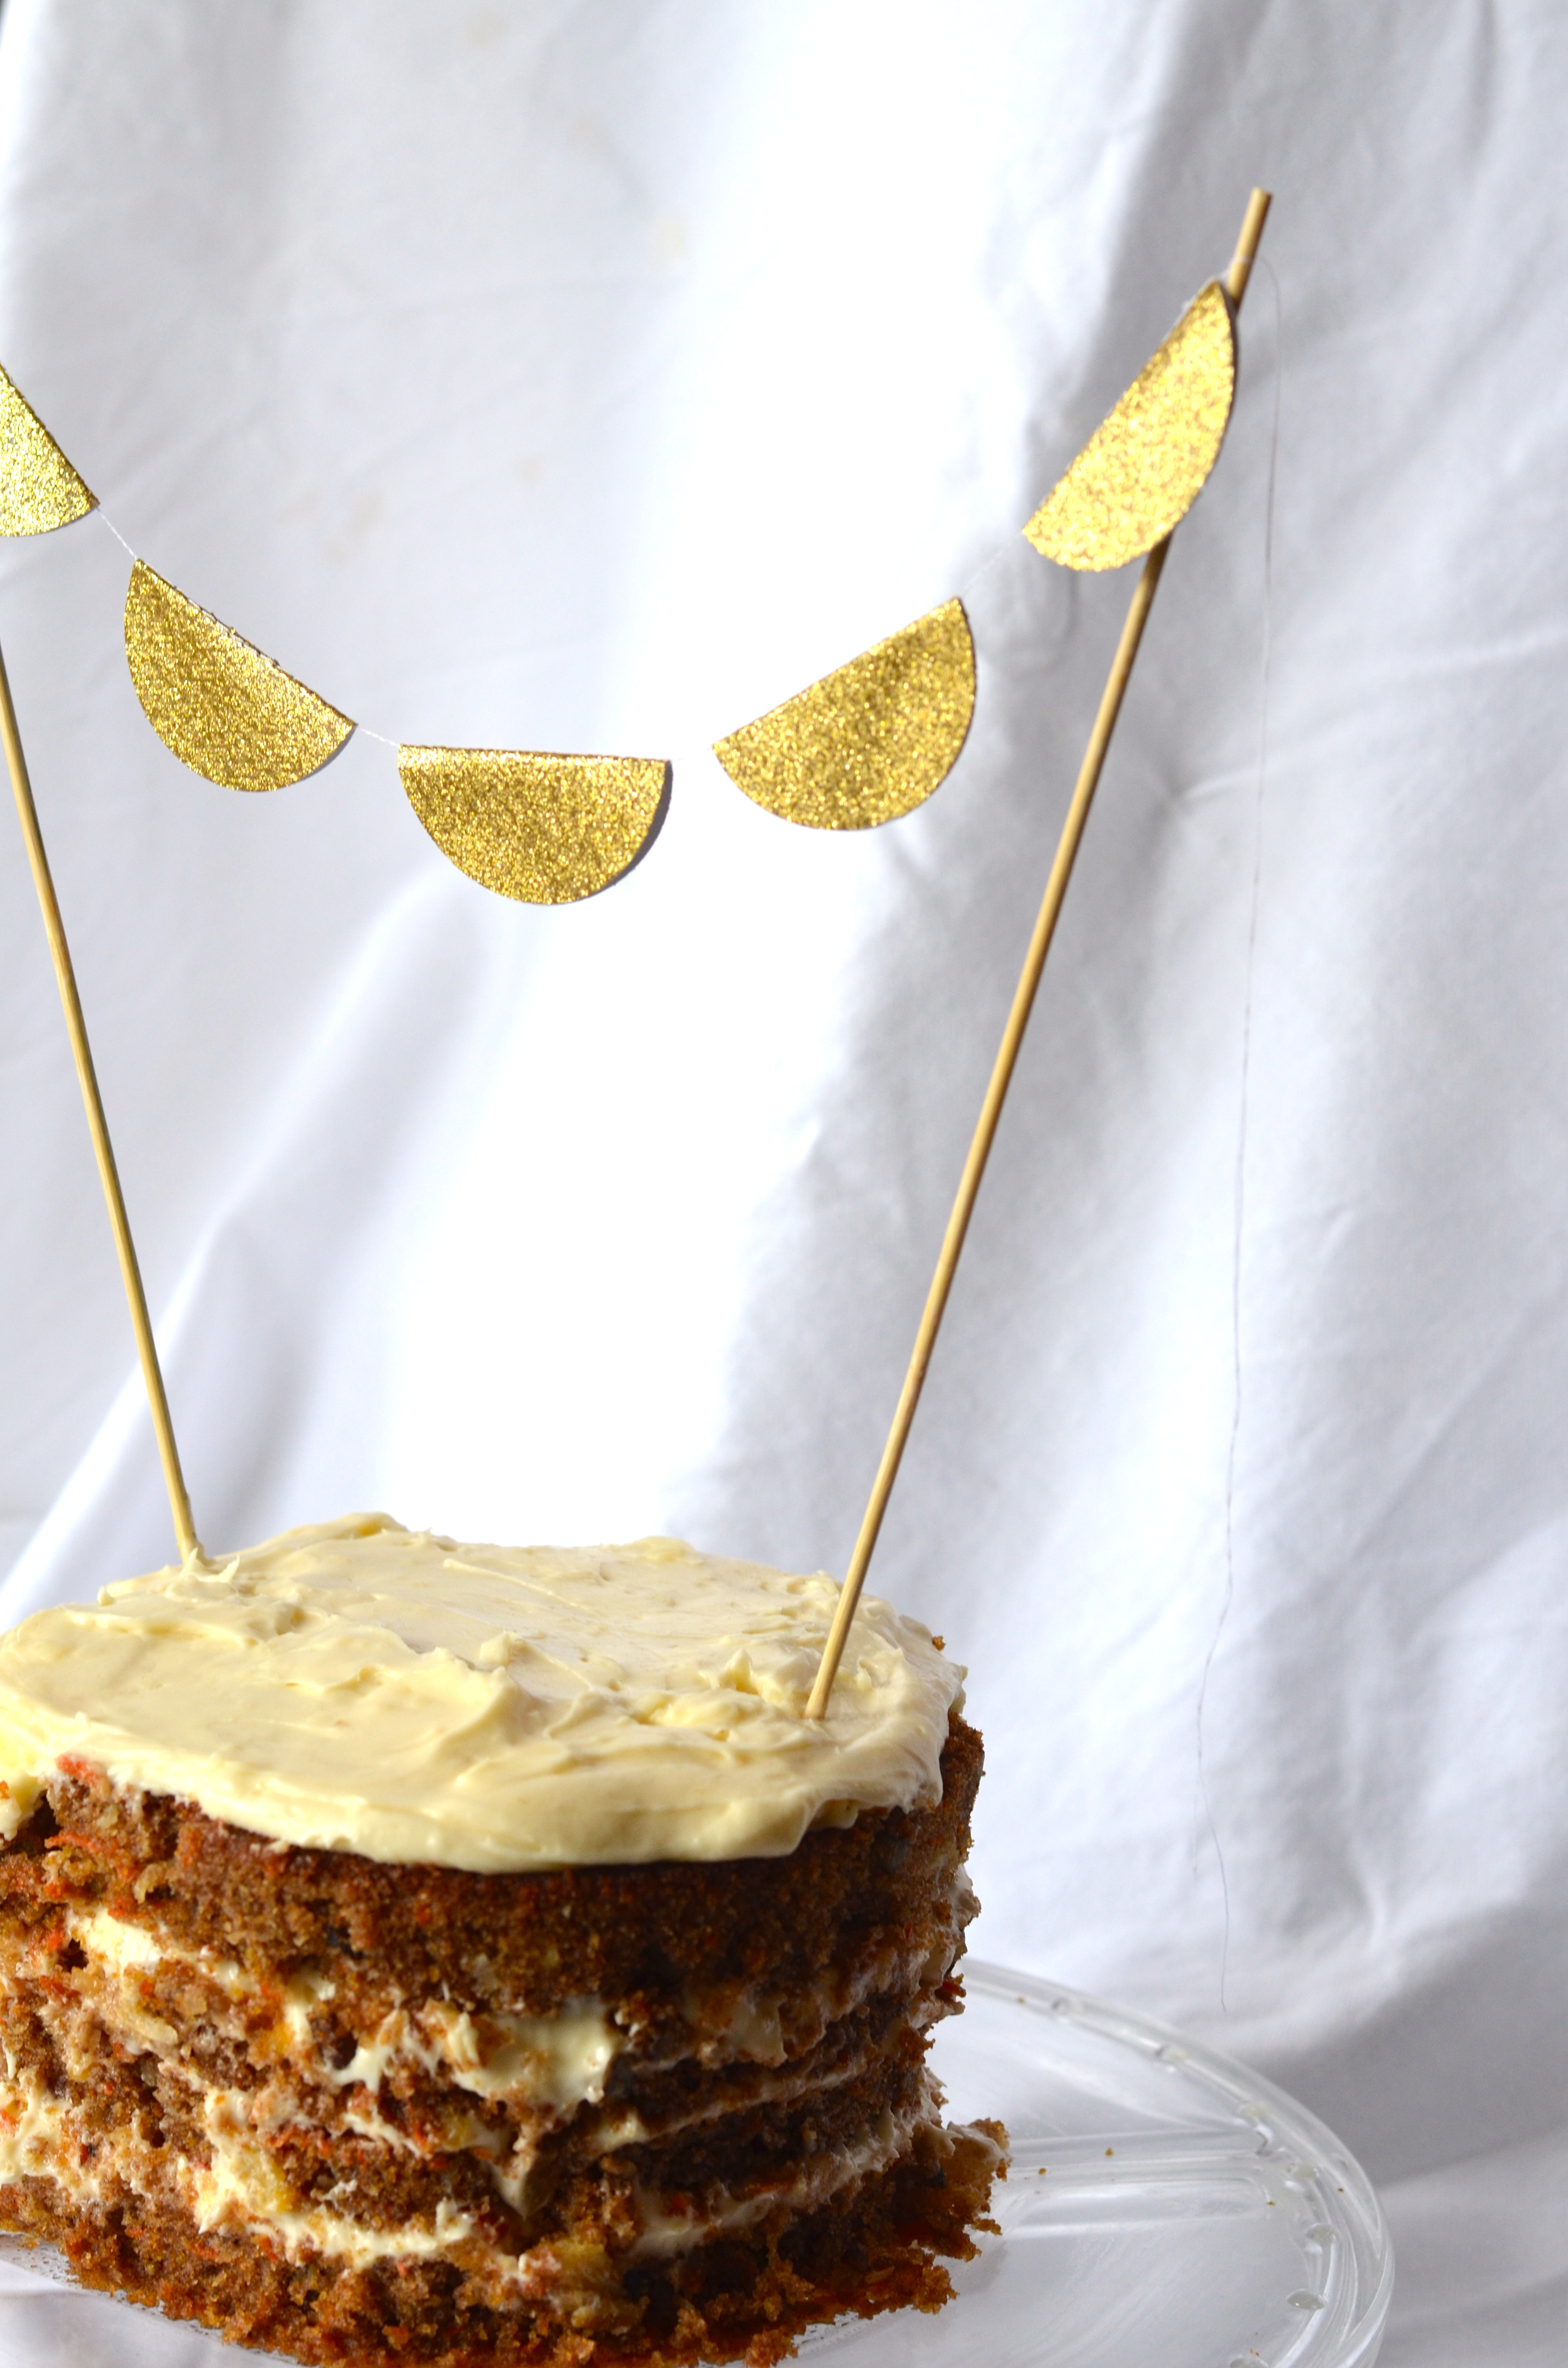
A custom cake garland order – triple layered gold scallops! It will be so lovely on her cake, don’t you think?

Emma Grace asked me to make her a braid “all the way down” so that she could be like Rapunzel – the braid reached her shoulder blades, and she decided that might be good enough :)

<3
life rearranged


little pieces

little pieces

the photos that I capture on Instagram are just little pieces of our life, and it’s really interesting to see what moments I capture {and which ones I don’t} – of course, it seems as if {since I instagram from our iPad} I only capture the things that stand still. Which of course explains why Emma Grace, Ian and John don’t show up very often, but flowers, projects and Olivia do. :)

here are some of the little pieces of this last week:

blooms in our yard – they make me soooo happy! clockwise: anemones, our new peach tree, returning tulips and sprouting veggies. If only I could keep these lovelies all year long <3IMG_2295 packing up a bunch of Atlas Heart Cupcake Toppers – they are always so lovely!IMG_2298John turned on the radio when he arrived home Monday afternoon and my heart broke – it seems as if there has been a fresh tragedy every day to add to our prayers. It makes my heart long for heaven more, but also yearn to love my darlings that much harder. “for God has not given us a spirit of fear, but of power, love and a strong mind”
frametastic-1 we introduced Dessert Garlands to the site!IMG_2304 Olivia came down with a fever on Tuesday/Wednesday and then shared it with me – we are just now catching up with everything that went undone while we did extra cuddling <3IMG_2312the sewing corner – so many, many miles of garland get sewn here, so many projects for loved ones and tiny clothes made {and mended}
IMG_2313 feeling better – yay!!!
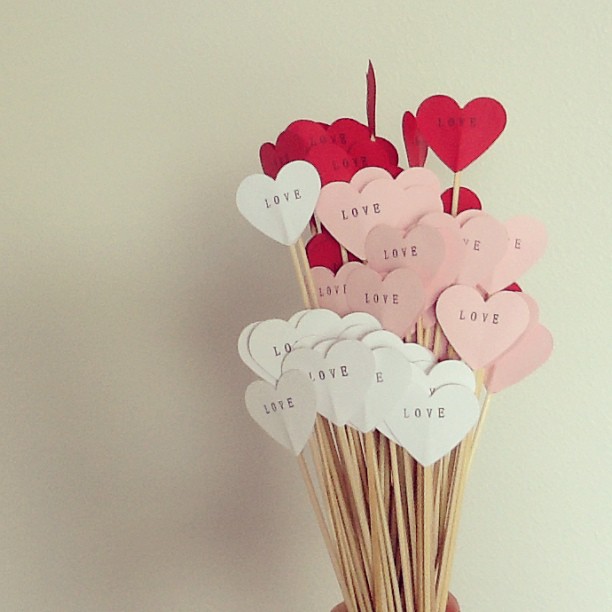
I came back to my project after getting the kiddos a snack one morning to find this: a Nerf gun, dart and little boy tools mingled with the white wedding hearts ;D4bc8af3ea9d911e284fa22000a1f9c87_7 so much love! a bundle of 75 red, pink and white heart dessert toppers, each stamped with “LOVE”IMG_2328 on Saturday I was all caught up with orders {yippee!} and took the rest of the day to catch up on cleaning – and baking. Apparently, making things with sugar rests me :) then, once the littles were in bed for the night, John and I stayed up with a movie, cheesecake AND cookies and a game of Scrabble :)IMG_2329

and last, but not least, the GIVEAWAY! if you haven’t entered yet to win one of our new Gold Glitter Scallop Dessert Garlands, you might want to head over and enter :)

see you soon! <3


life rearranged


Follow my blog with Bloglovin

new stuff – and a sweet giveaway

new stuff – and a sweet giveaway

So, I mentioned yesterday that there was a giveaway coming :) If you follow us on Facebook, you might have seen that we have added Dessert Garlands to the shop! To celebrate the new stuff, we’re having a sweet little giveaway for you {and any of your friends that you’d like to share this with ;D}!

Giveaway! Gold Scallop Cake Garland

One of the most versatile of our new cake garlands is this Glittery Gold Scallop Garland, and you can enter for a chance to win it! It would be perfect for so many occasions – birthdays, a wedding or anniversary, New Year, Christmas desserts, or even to dress up a dark corner of your home {did you see what I did to my fern for Easter?}. Here’s the description of it in the shop:

Creative and trend setting, these glittery gold scallop cake garlands will top your next cake beautifully. Each garland is carefully created to give your cake a custom look that shimmers in the light. Wedding, birthday, or just a special dessert, these cake garlands are a must! Each garland is made from 2 inch wide scallops, attached to a pair of ten inch tall bamboo skewers creating the bunting.

So, what do you think? Would you like to win one? ;D Or do you know someone who would be just tickled to see this show up in their mail box?

giveaway details: Giveaway open until April 24 at 11:59 pm EST. To enter, use the rafflecopter widget below. One unique winner will be emailed + announced on Thursday, April 25th at the top of this blog post. I can’t wait to see who wins! <3

a Rafflecopter giveaway


p.s. I’d LOVE it if you shared this with your friends – the more the merrier, right? :)

How Tuesday: Faux Gilded Easter Eggs

How Tuesday: Faux Gilded Easter Eggs

Have you been noticing the gilded trend lately? I’m not sure about you, but I’m loving it. There’s real gilding and there’s faux, and they’re both really lovely.

There are tutorials on the web for real gilding, and, if using gold leaf isn’t your thing or scares you, you can even find some really lovely gold {or silver, or bronze} paint that is quite convincing. Or, if you’re at home and don’t want to venture out in the snow just to get some gilding materials, you can also use in ink pad. Yep. I know because I tried. You’re welcome. :)

This is super quick, and, if you happen to have the items already in your closet {what do ya know, I did!}, free! Or, if you don’t have them already, the paper mache eggs were originally 50% off of $0.34 each at Hobby Lobby, and the ink pads were $1-ish at Michael’s, so …. pretty cheap. :) Of course, you could also use real eggs, which would be quite lovely too. Maybe tomorrow I’ll try it with real ones – and then hang them from the ceiling, like {this}.

DIY faux gilded Easter eggs via the Path Less Traveled

materials needed: ink and eggs

DIY faux gilded Easter eggs via the Path Less Traveled

step one: press your egg onto the ink, rolling it around a bit. Repeat on each side until the egg is covered. Depending on the quality of your ink pad, you might need to give it a few coats.

DIY faux gilded Easter eggs via the Path Less Traveled

Chances are your fingers will look like this by now. Totally normal. :)

DIY faux gilded Easter eggs via the Path Less Traveled

Repeat step one with each of the eggs.

Step two: Find a clear vase to display them in. Admire them. And see if the shimmer washes off of your hands. :)

DIY faux gilded Easter eggs via the Path Less Traveled

That’s it! One of the lovely things about using an ink pad instead of gold leaf or paint is that dry time is non existent and clean up is a breeze – not even any brushes to wash!

Imagine how you could use this trick in other projects – maybe “gild” the edge of some invitations, or, using a color instead of shimmer, add a splash of color to some disposable flatware?

Have you been doing any projects to add to your decor this spring? If so, I’d love to see them! Just add a link in the comments section. :)


XO