Ah, little girls. When they love something, the LOVE it, all the way. And our little princess Emma Grace LOVES pink and princesses and parties. {when asked who her favorite princess is she has no answer – they’re all her favorite!} She doesn’t really care if they’re Disney or otherwise, but if it’s a princess or pink, she is in LOVE. :) The only thing better is when it’s a pink princess – Sleeping Beauty? Score! Arielle, who wears a pink dress and has “orange hair like me!” is quite wonderful, too :)
And so, when we started talking about her birthday a few months ago, just about the first thing out of her mouth was “princess! pink princesses” {and none of us were surprised :)}

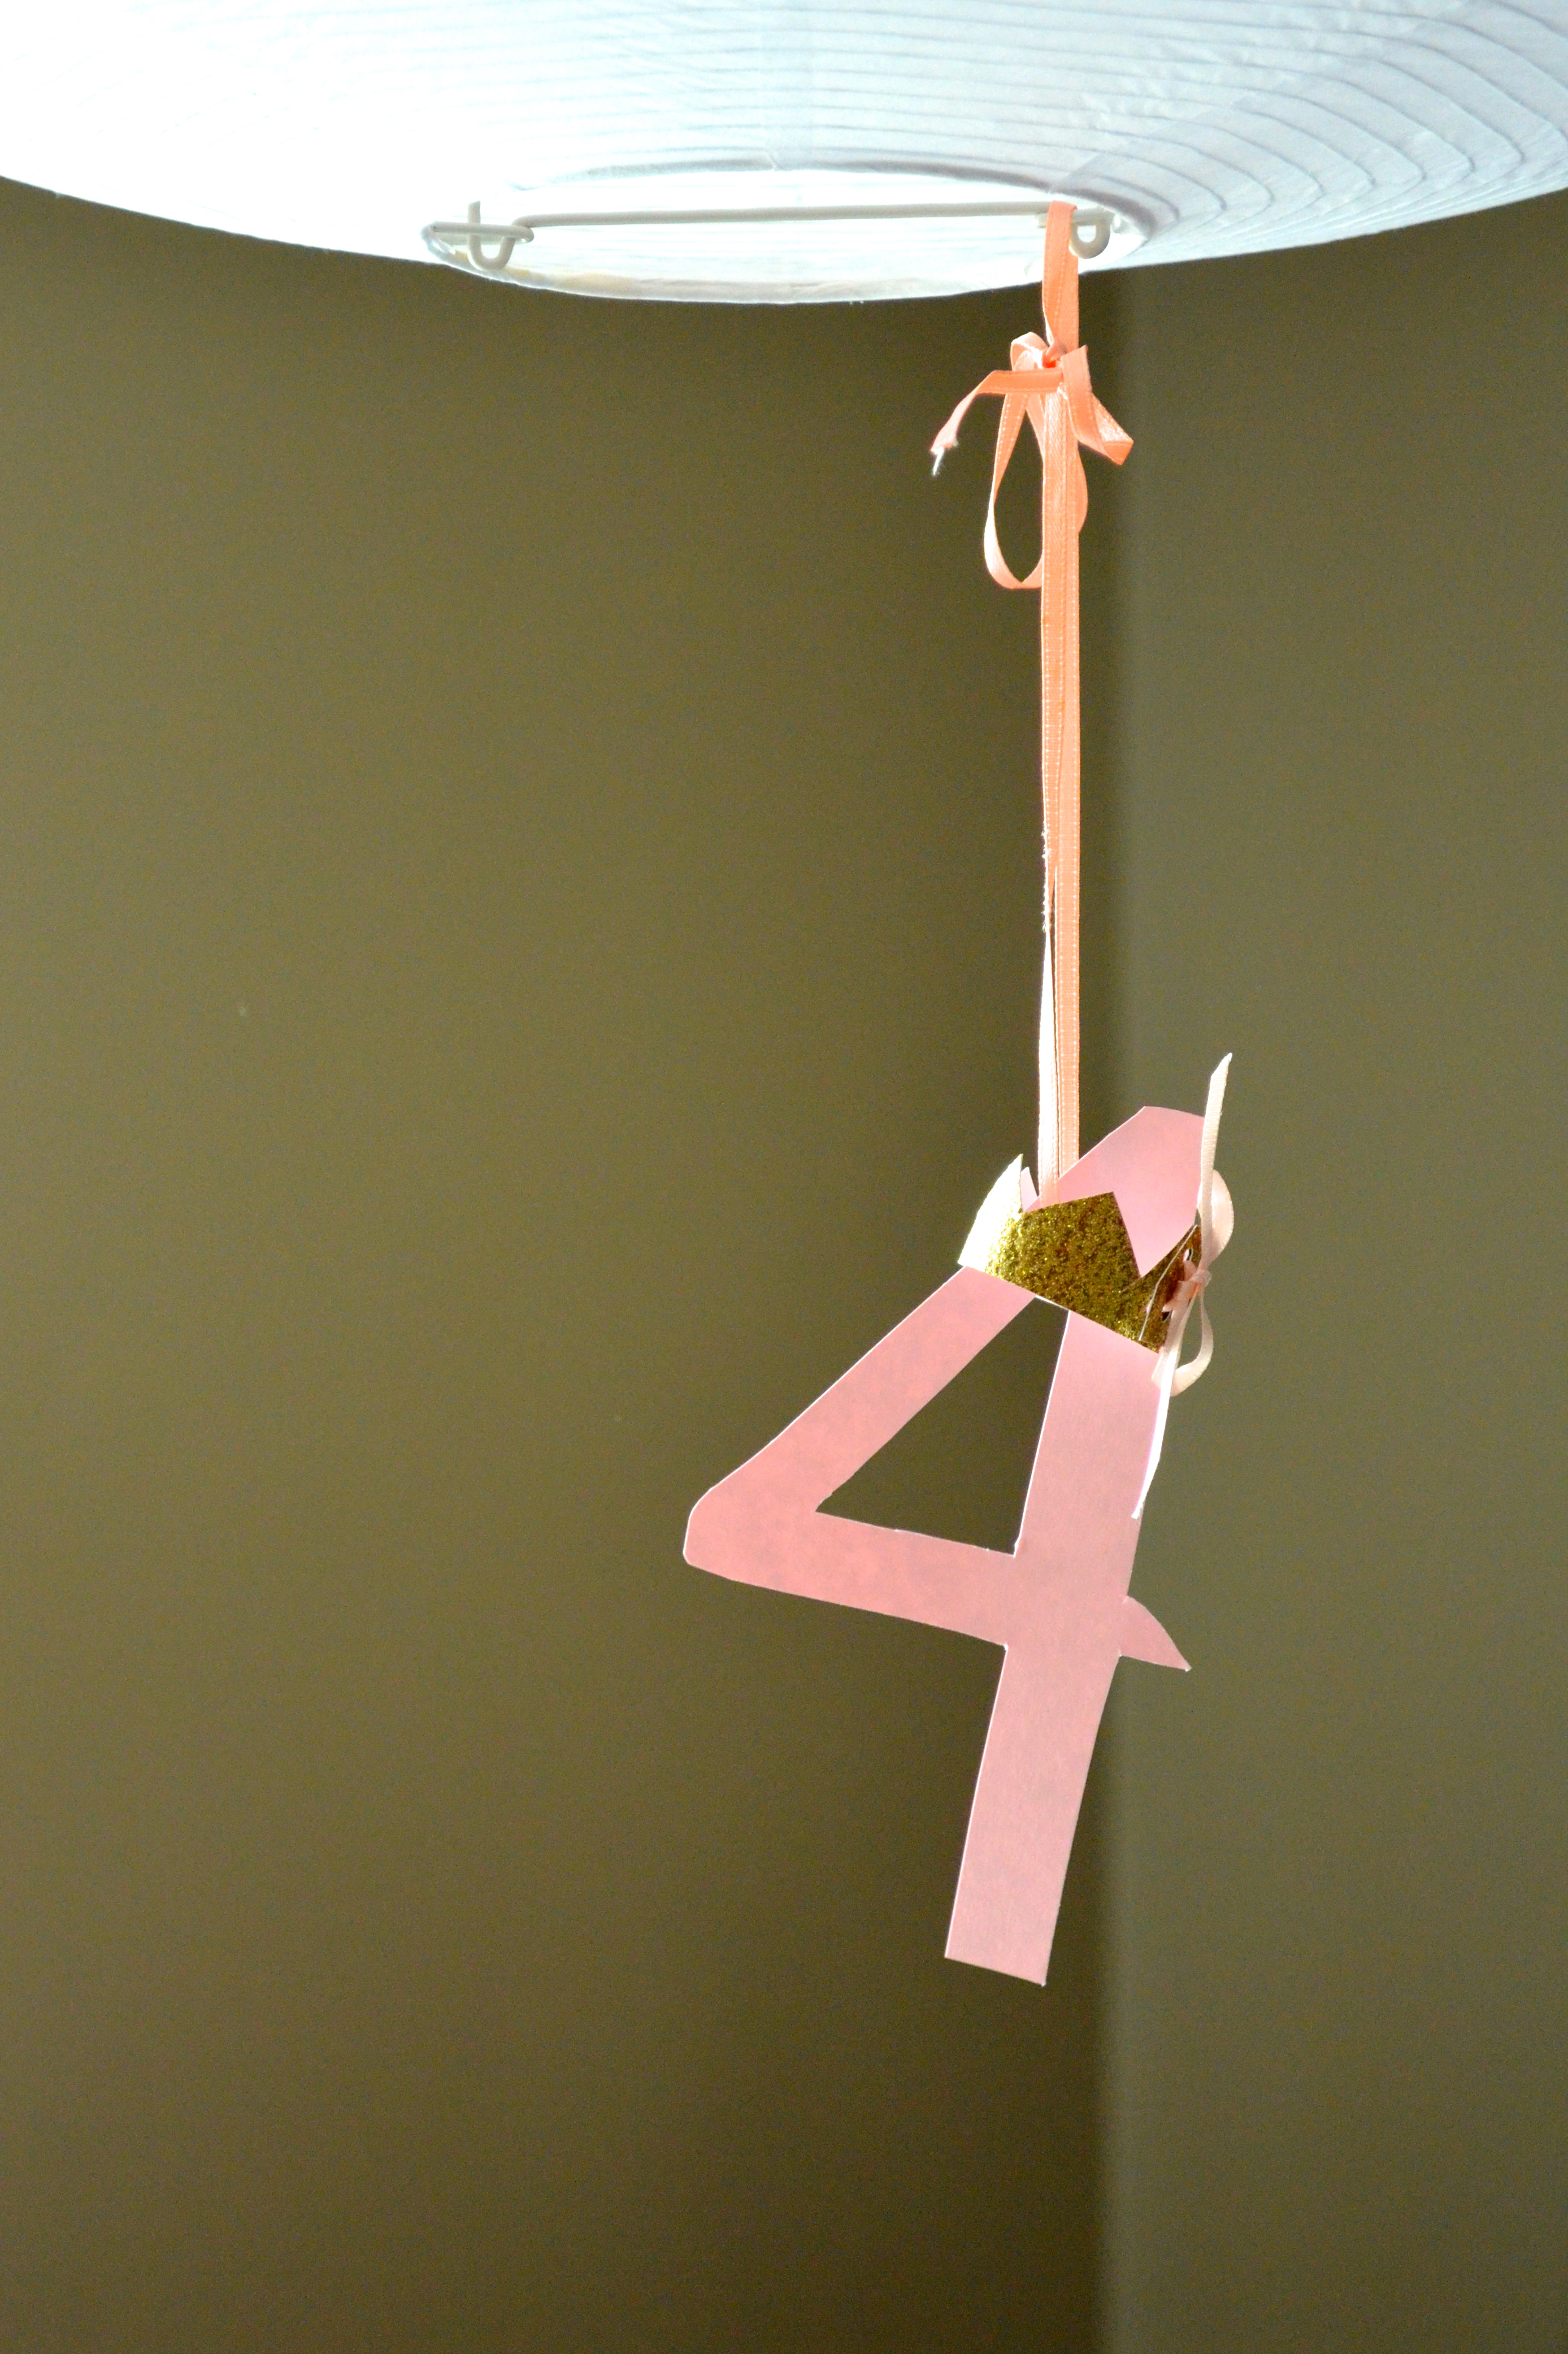
– a tiny gold tiara for our 4 year-old princess –
I made up a Pinterest board with party ideas, and the ones she liked best were {can you guess?} PINK and had princesses in the photos. I’m not a huge fan of licensed characters, so we picked out lots of things that were more “princess-ey” than Disney-ish to try. Out of her favorites, we picked a bunch of ideas, and a few of them actually got done :)

-a tiny gold crown adorning one of her baby photos and the crown I made for her to wear-

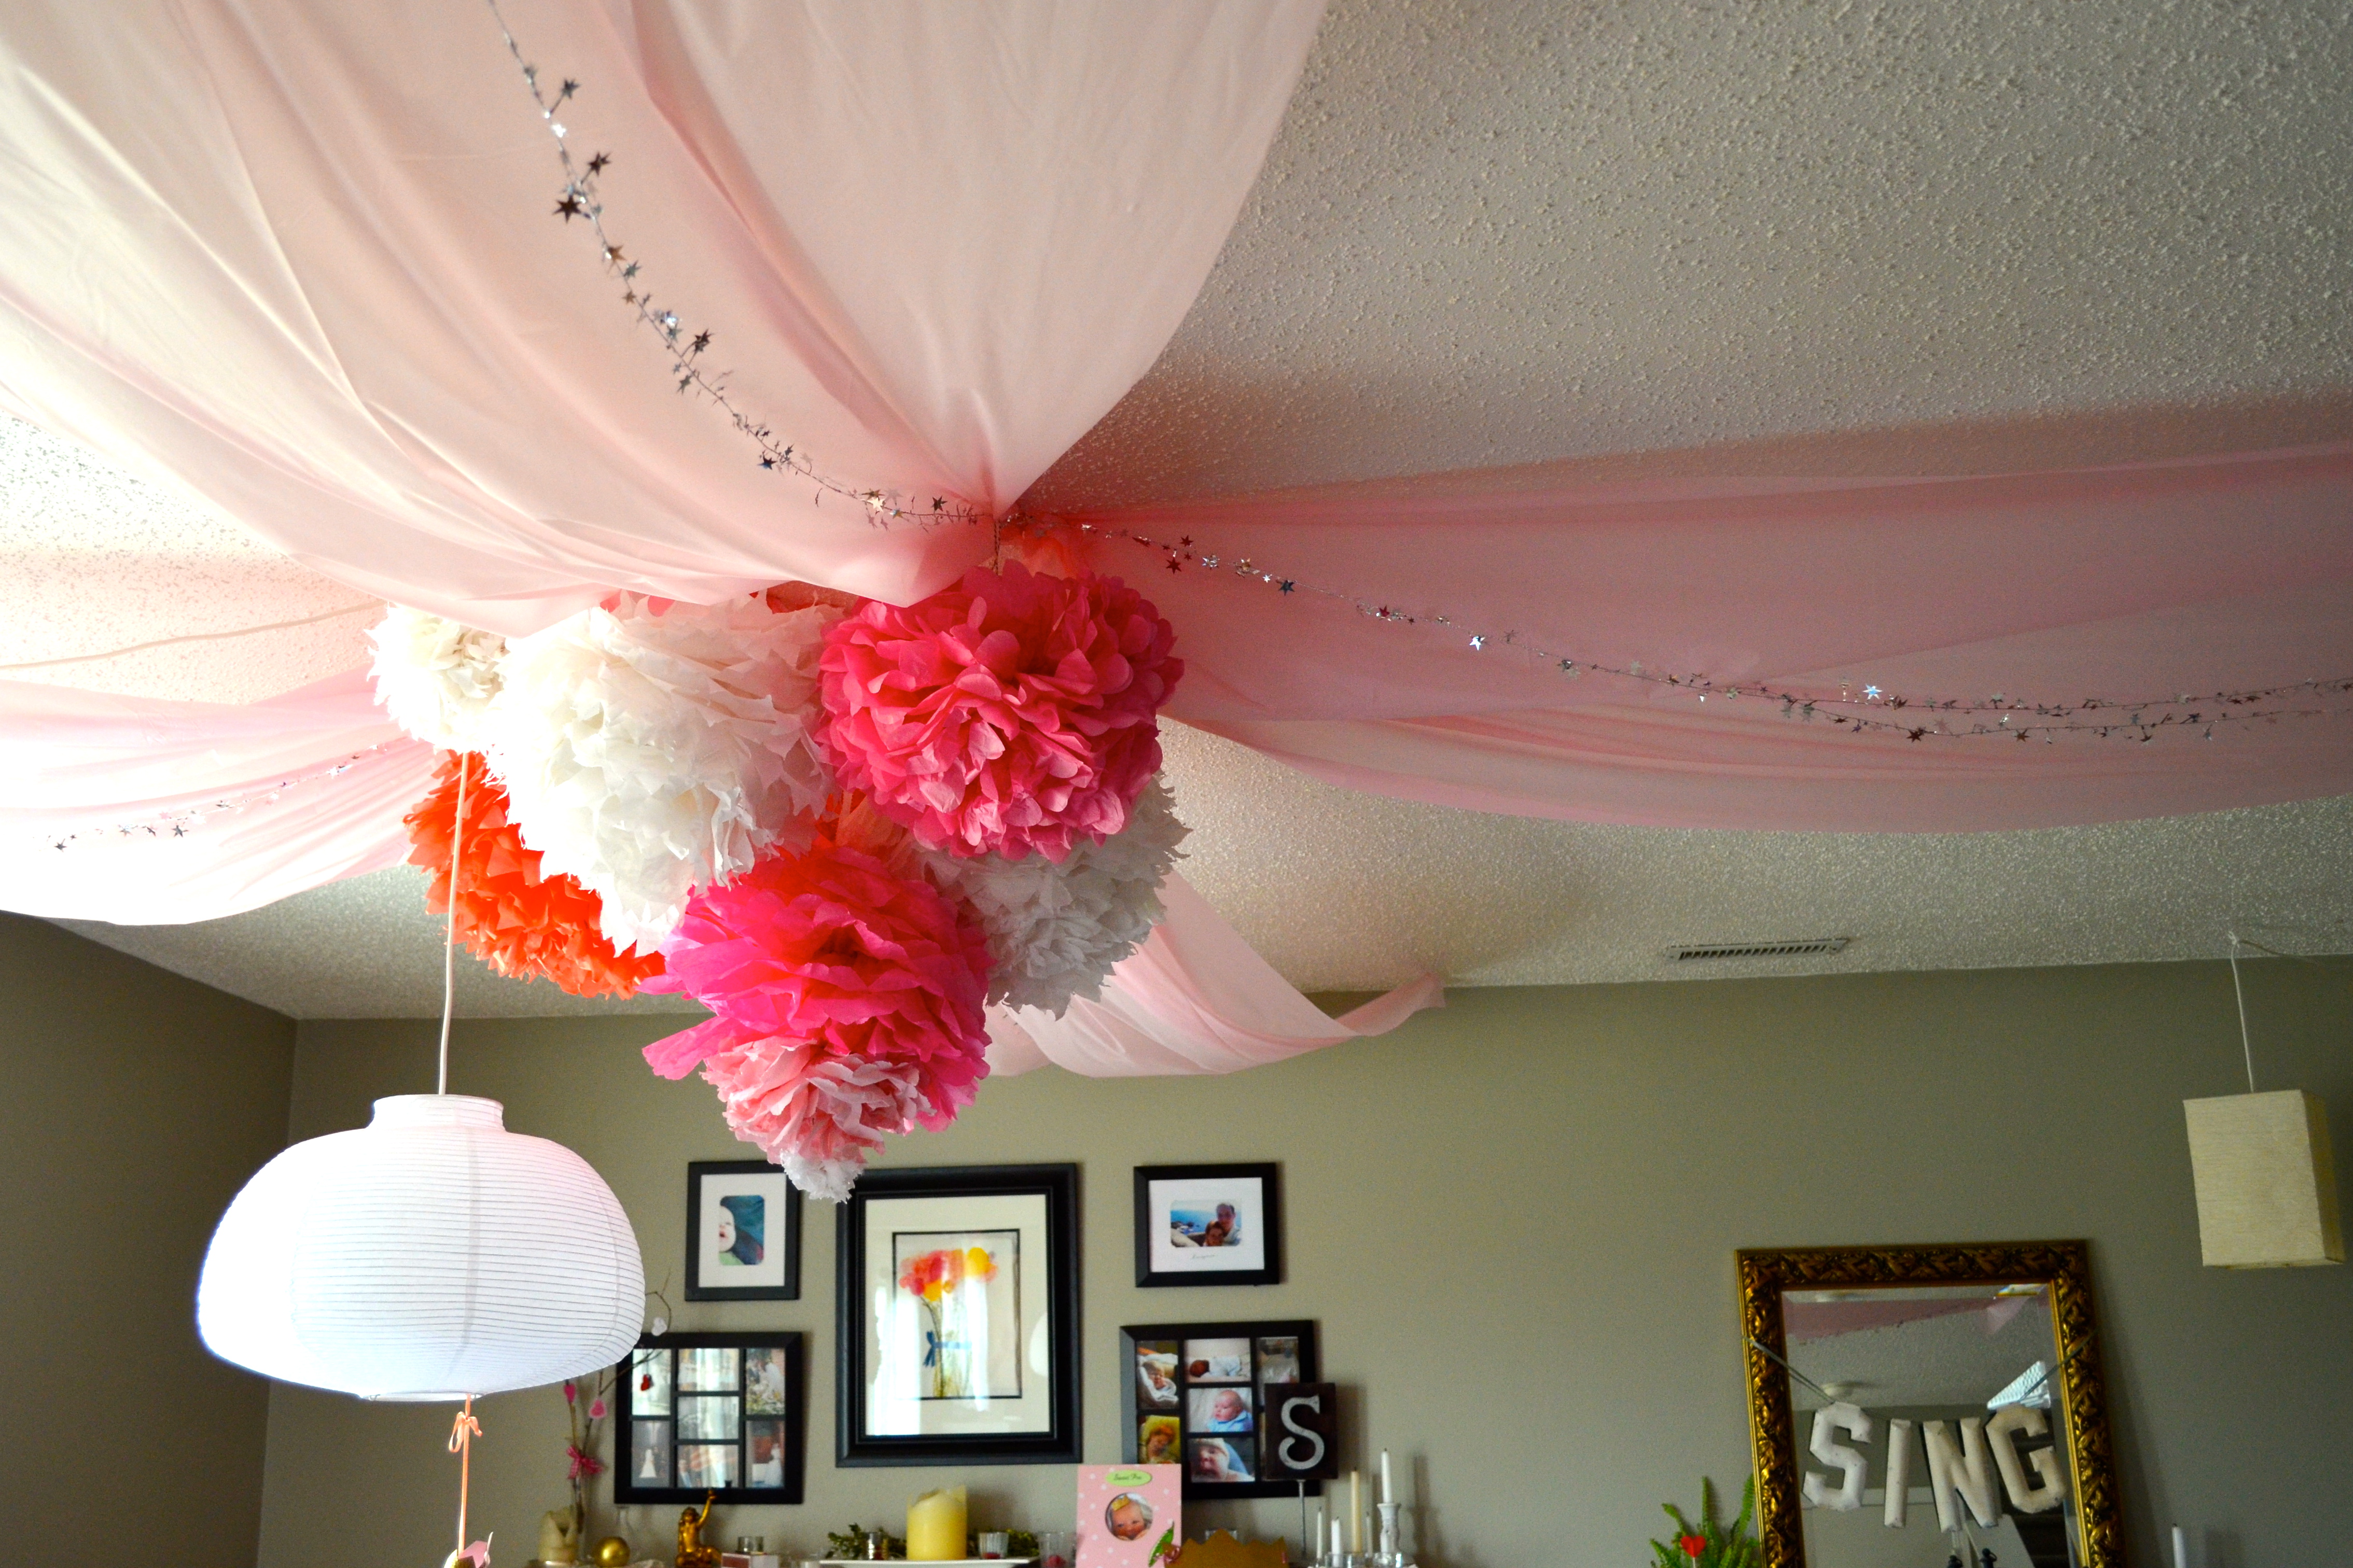
– lots of pink! the ceiling pouf idea {tutorial here} came from {this} pin, the materials from Dollar Tree and the tissue poms from the kids’ room –

– ribbon and bell wands {our Emma Grace loves these} with lots of soft colors, and enough pink to make her very, very happy –

– the dessert table –
pink lemonade, punch, {these cookies} and {these rice crispy treats}, the princess poster is from Dollar Tree
We decided to celebrate her day with family and as we were scheduling, realized that the best thing for everyone would be to gather on the evening of her birthday, a Tuesday, for desserts and cake. I did my best to make things ahead and then set aside her birthday to love on her and get the party ready, but ah, the best laid plans :)
We did lots of loving on her {each time I would snuggle her and say “happy birthday! you’re 4 now!” she’d say, “awe, thanks mommy” with the sweetest little smile :)}, but by afternoon nap time I was running a bit behind! My sweet sister-in-law came over to help me pull the loose ends together {thank you again, Sarah!}, but one of the things I forgot was to charge the camera battery – hence some of the detail photos {like of the desserts, the piñata before it got smashed …} didn’t get taken. You’ll have to use your imaginations. :)

All in all, it was a very sweet party to celebrate the sweetest four year old princess ever – and she was delighted. Which was the entire point of the party!
She had soooo much fun “helping” to set it up {we are still enjoying some of the decorations – I’m kind of loving the extra pink in our house :)} and I enjoyed making the things and “shopping the house” to find the decor {I actually only spent about $9 on the decorations – can you believe that?! the rest we already had around the house – score!}.

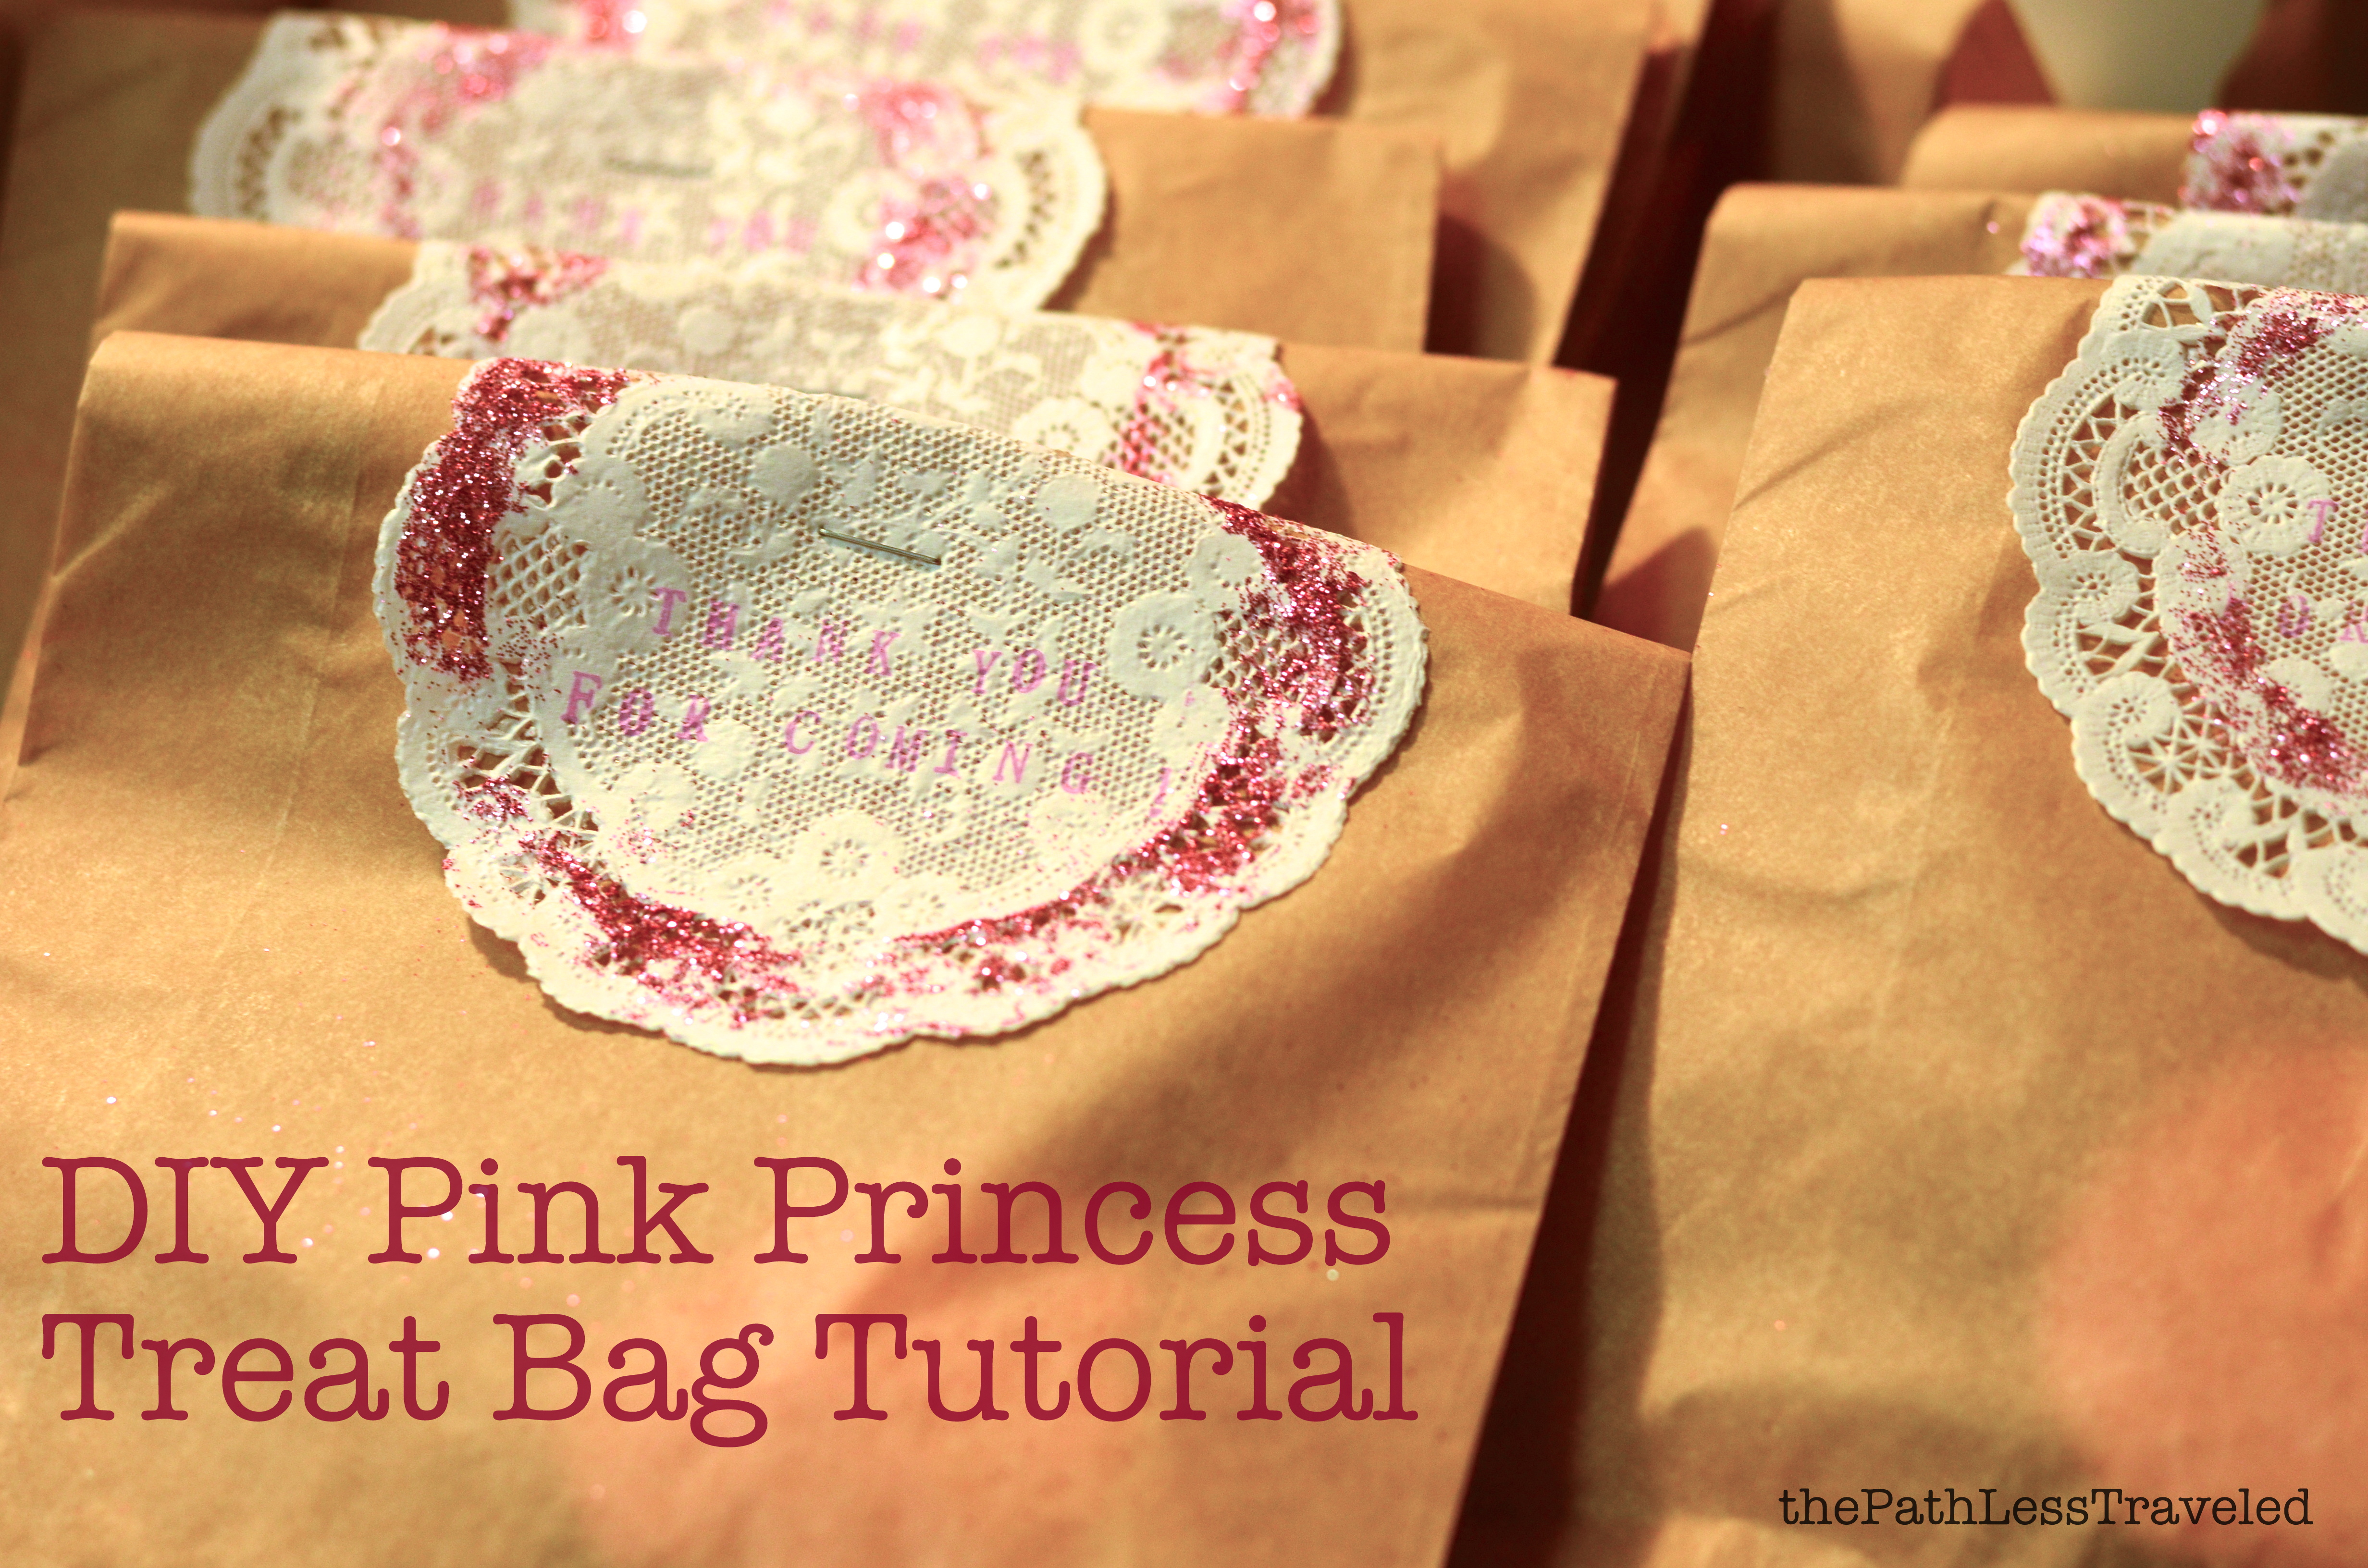
– favor bag tutorial {here} –
I have a few how-to posts planned for some of the decorations, so stay tuned! And I’d love to hear how you and your families do birthdays – do you go all out on themes? or sweet and simple with just a cake {or birthday person’s choice of dessert}?
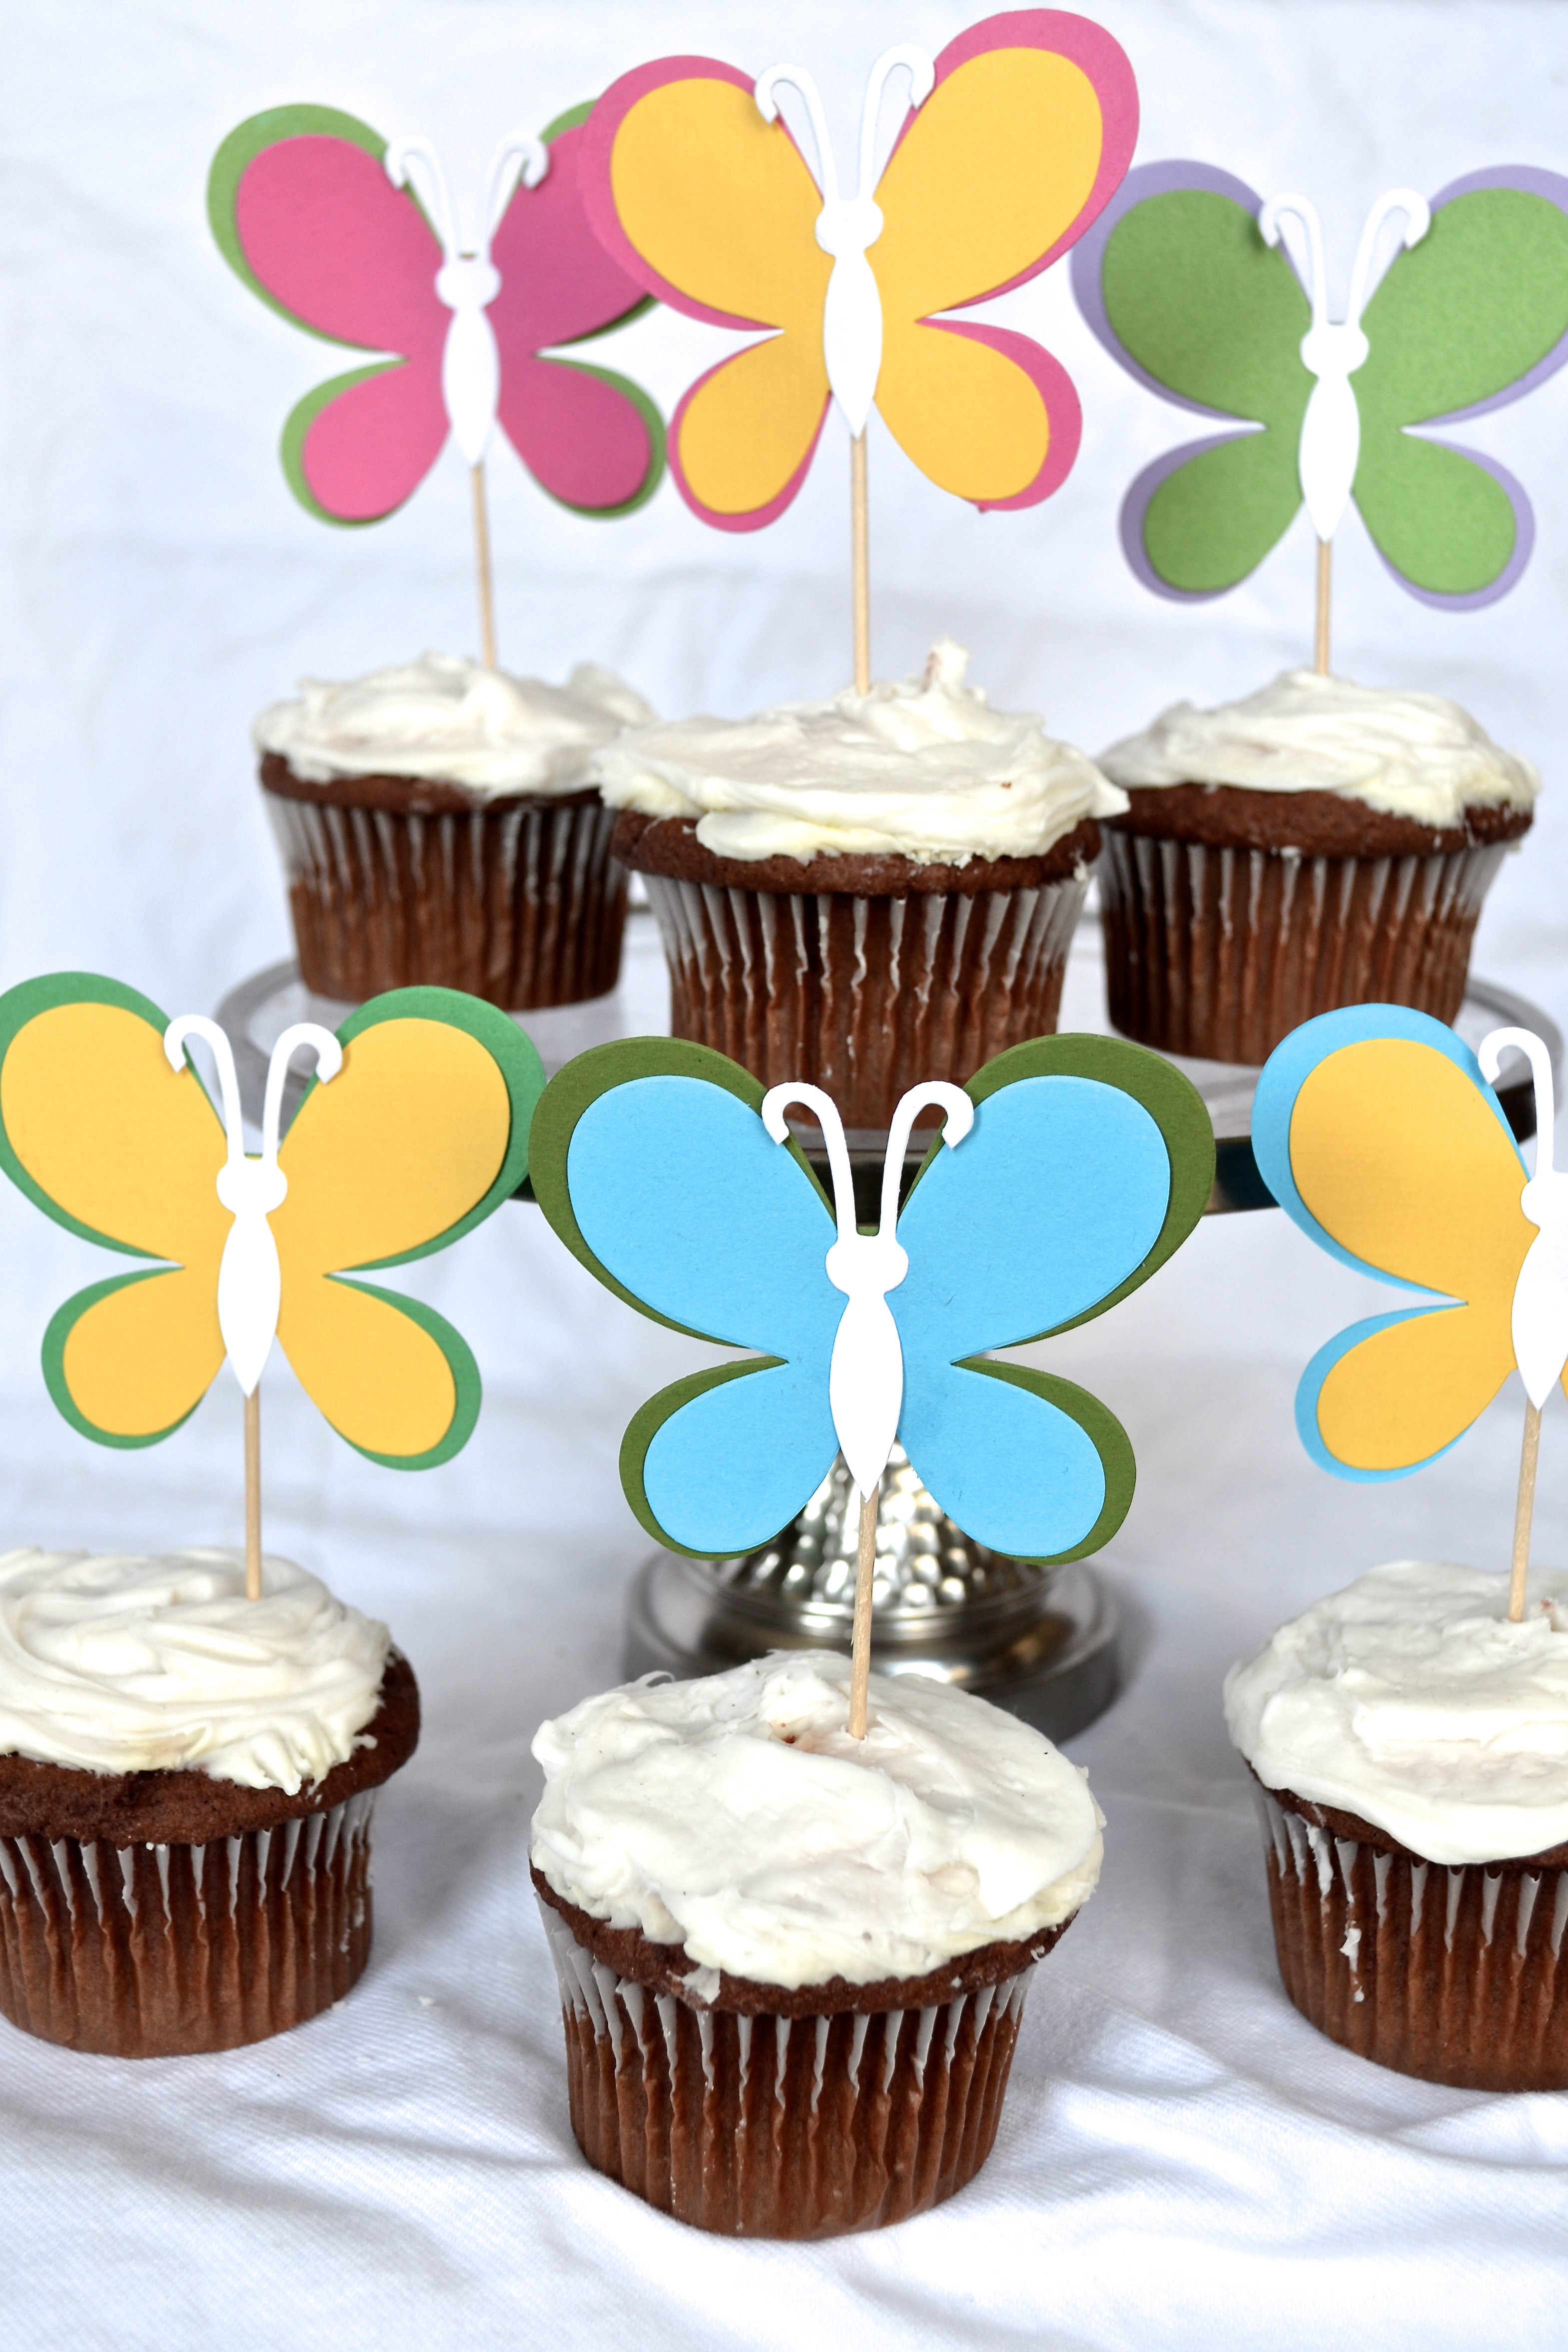
 new cupcake toppers in the Etsy shop! {inspired by the toppers for the barn wedding}
 new First Birthday High Chair Garlands in the Etsy shop {and now I’m wondering why I didn’t think to make these for our own little ones’ first birthdays!}
 a custom version of the New York Subway toppers – too cute with the “All Aboard!” flags
  a personalized cake garland – such a sweet hybrid of the Name Bunting and the Confetti Garland!
 Hopefully I’ll be able to get you caught up to speed soon {with lots of photos!}, but in the meantime,how are you? I’ve missed chatting here with you. Did you have a lovely holiday season? Make New Year’s resolutions? Are you snowed in {or experiencing 80 degree weather?}?
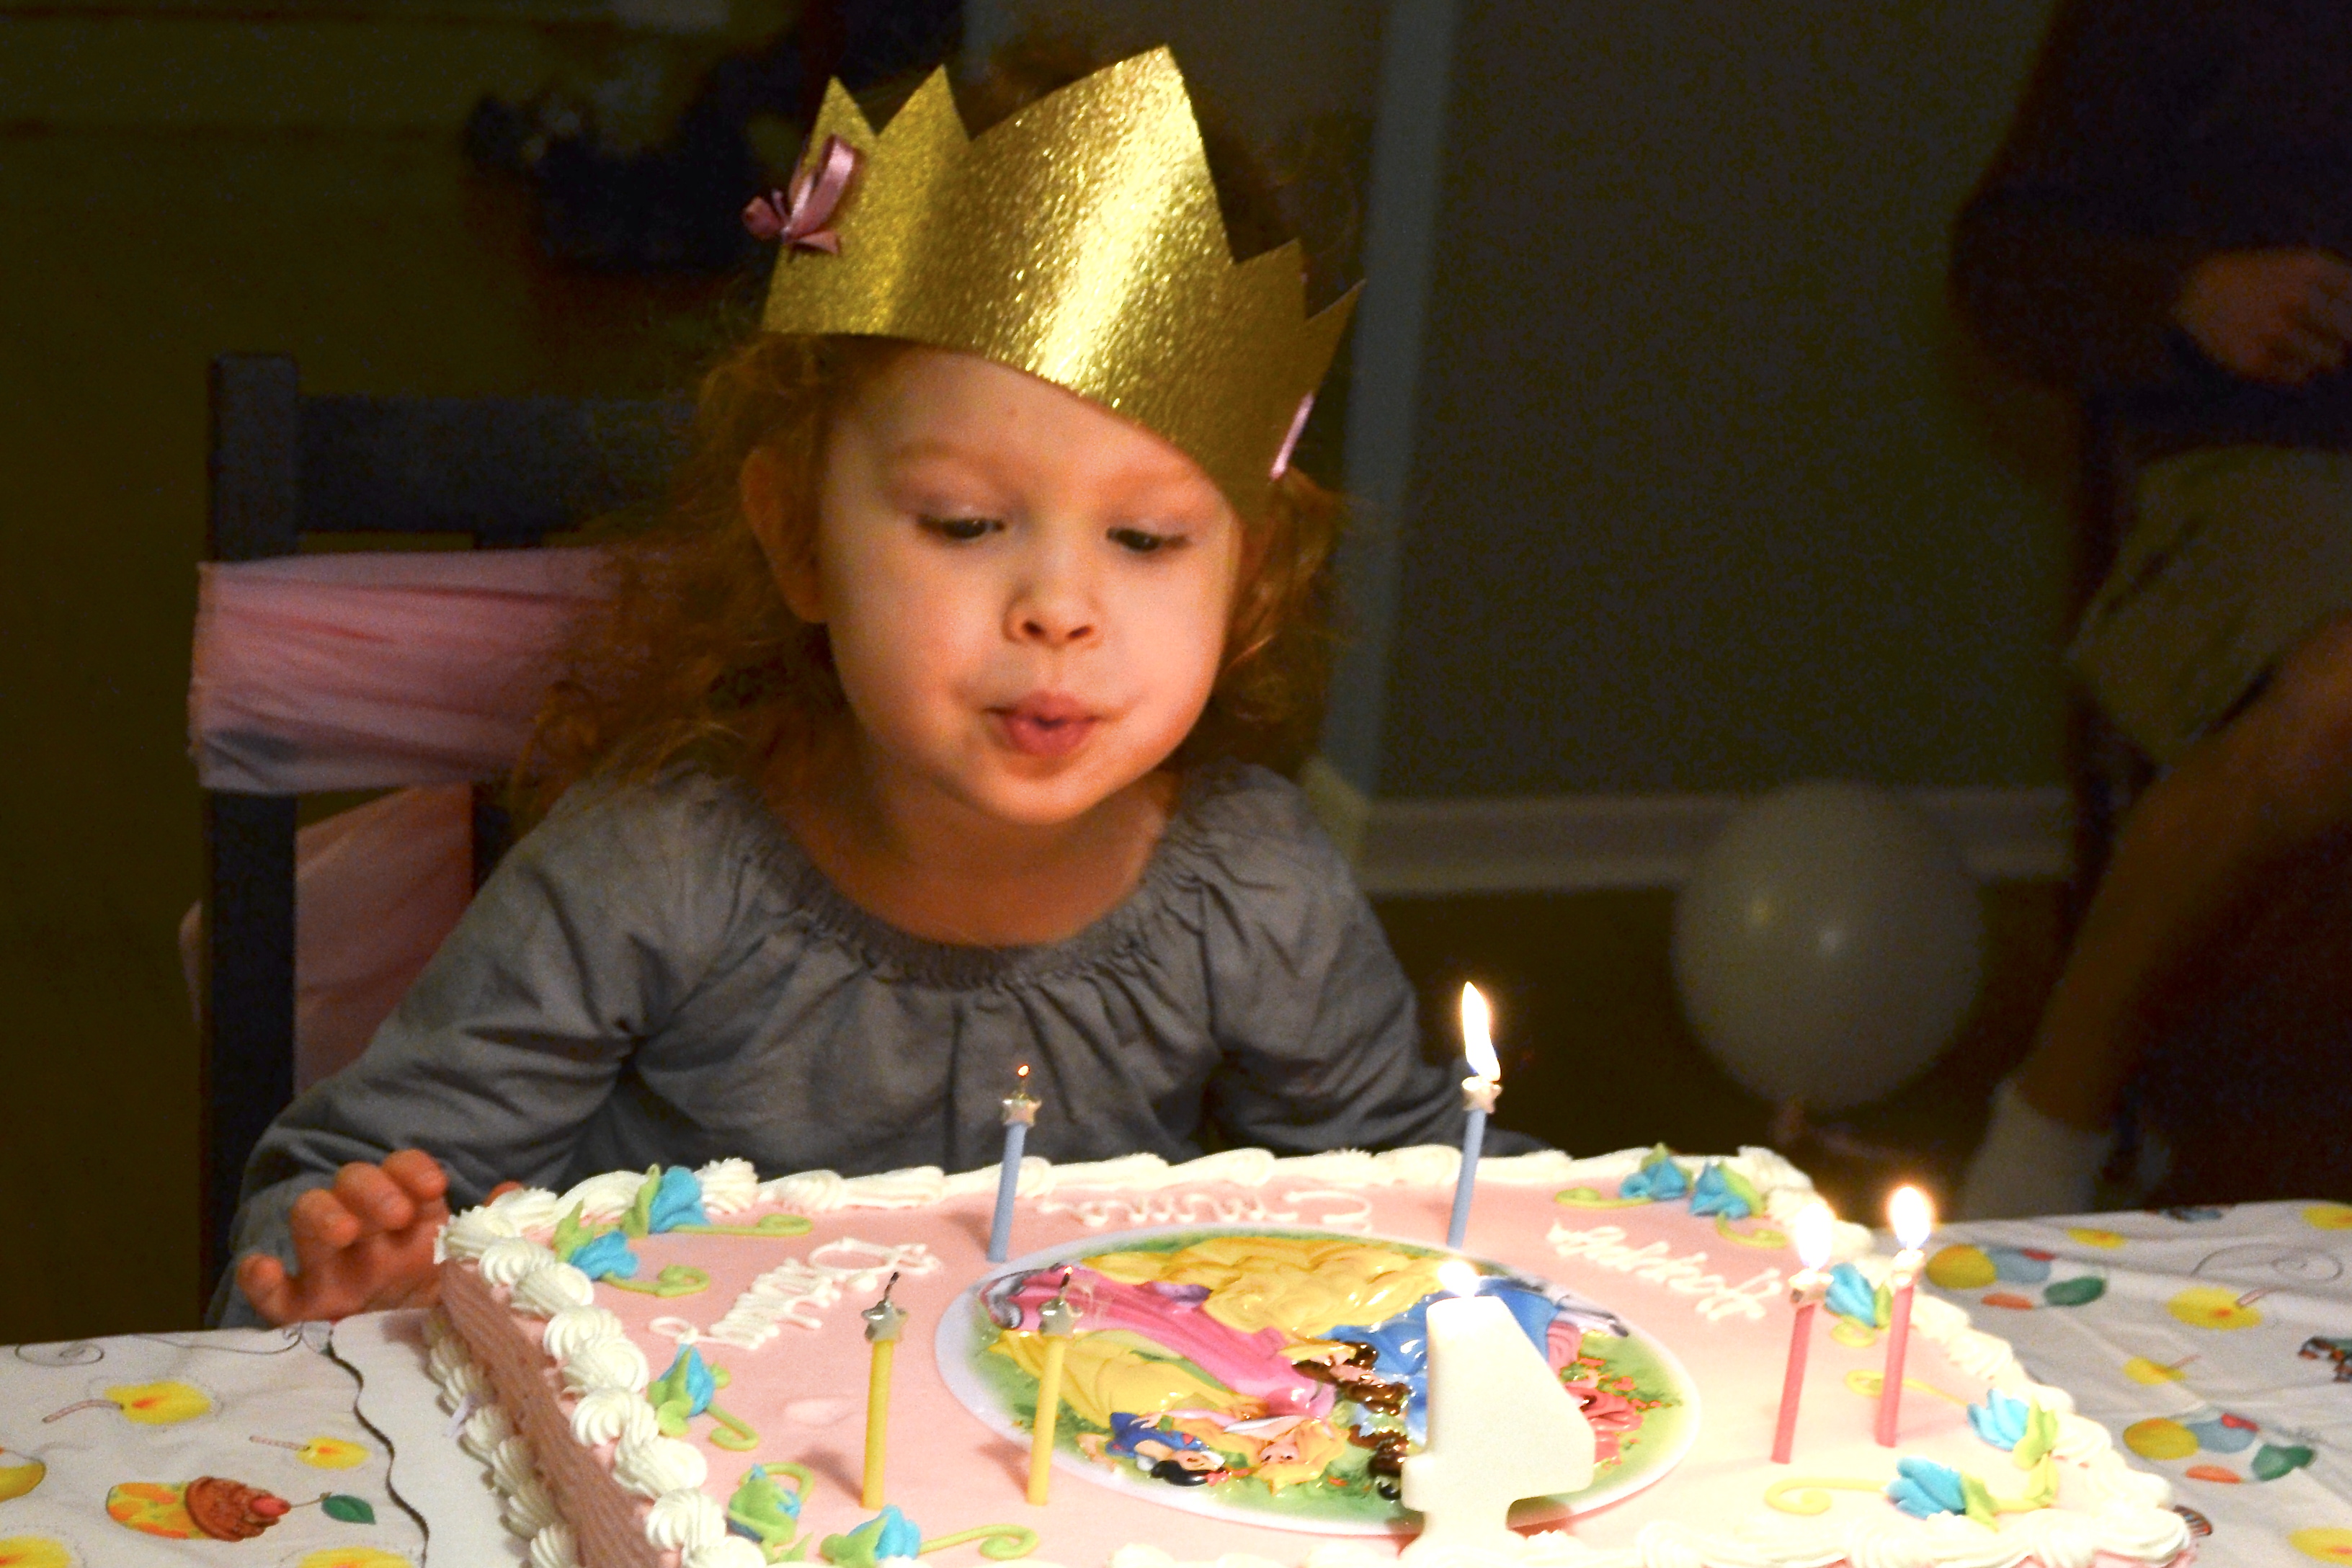

 Too cute, isn’t it?! Now, let’s get started:


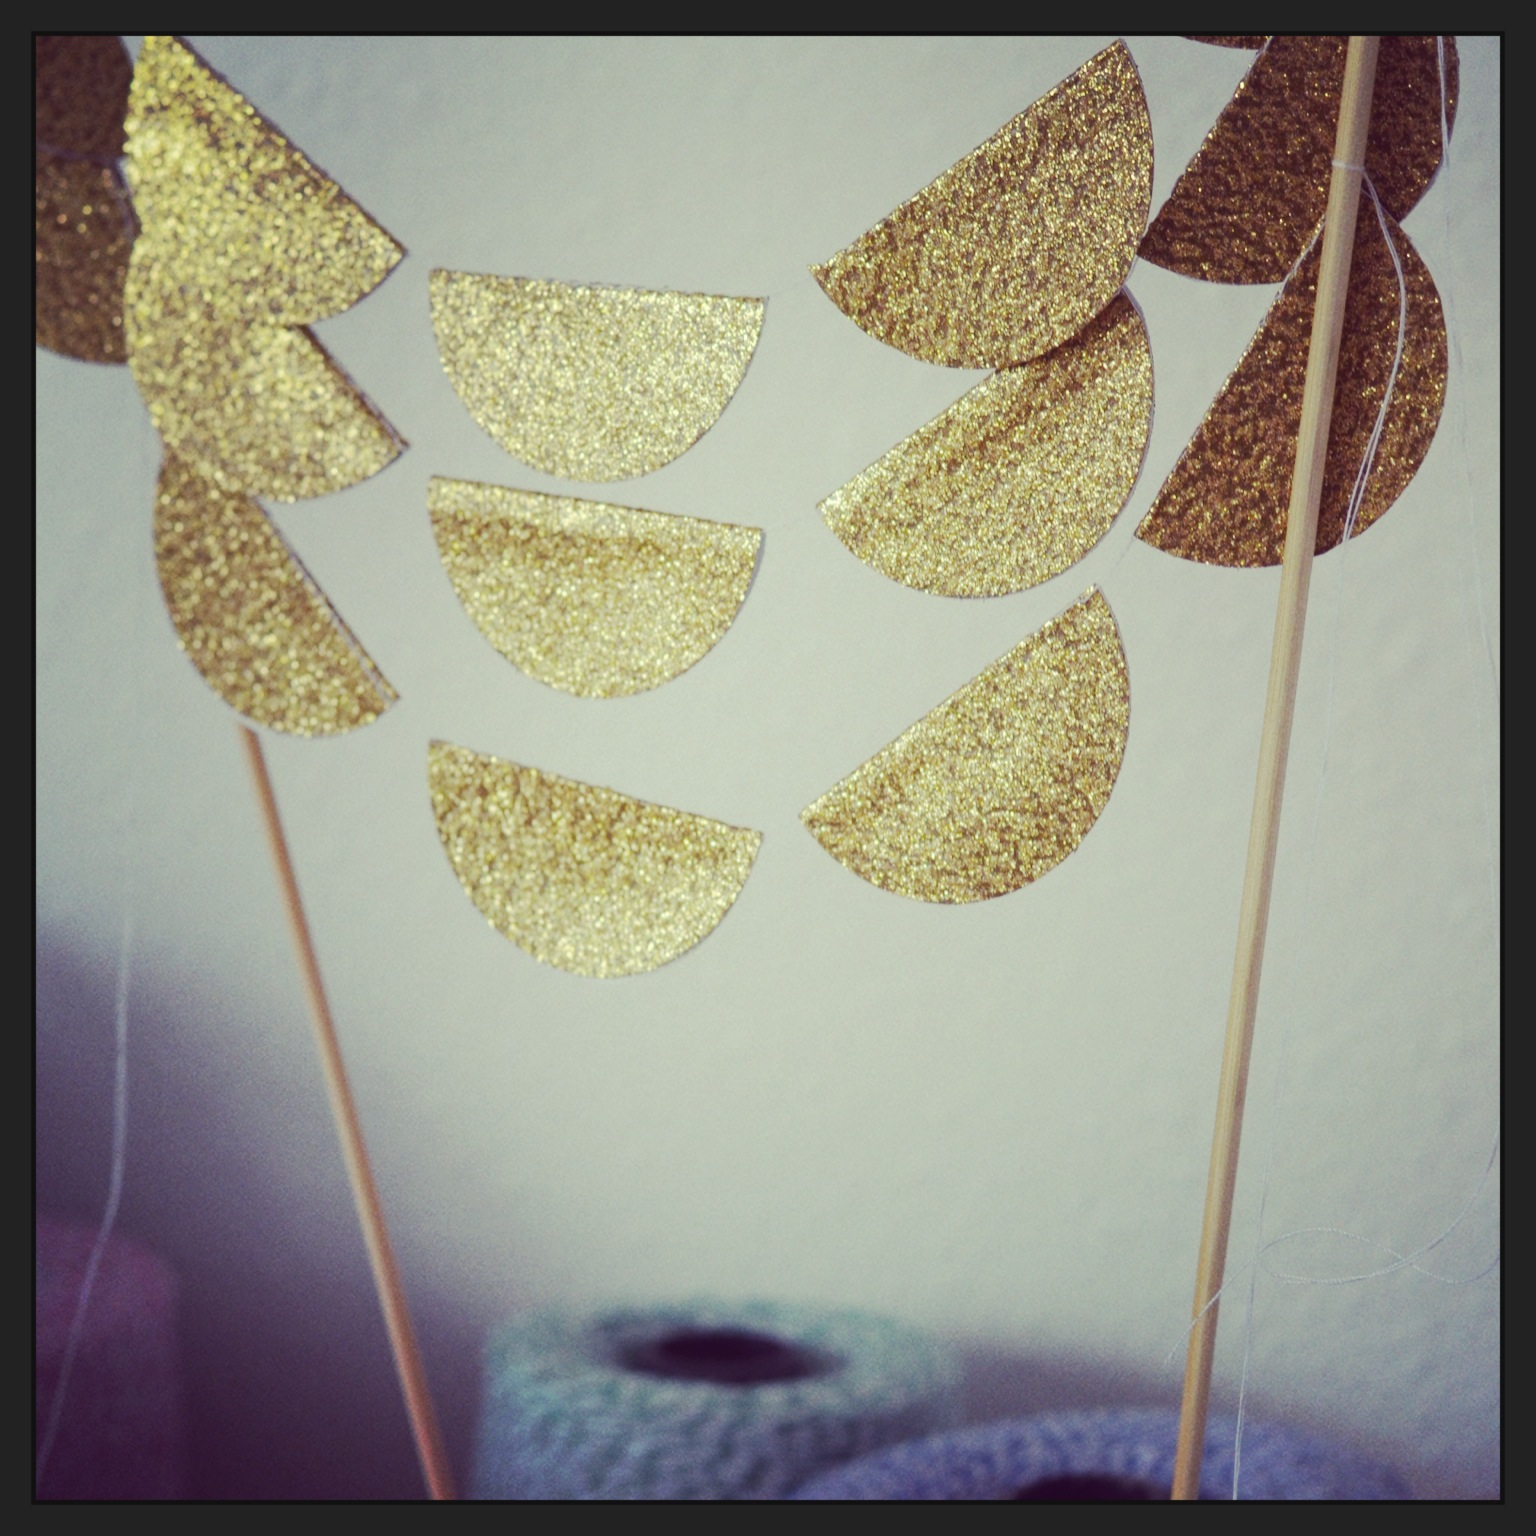


 A custom cake garland order – triple layered