Browsed by
Author: Elizabeth Smillie

Hello there! I'm Elizabeth. Welcome to my website and blog space. All the products in my little shop are hand crafted and stem from my desire to provide creative and high quality products that make people feel lovely. I believe the little moments of life matter, every day should be celebrated, and that the beauty all around us is a gift from the Creator to be enjoyed. I'm married to a wonderful guy who happens to be my greatest cheerleader and best friend, mama to three little ones and currently reside in the heartland of America.
customer love – a winter wedding

customer love – a winter wedding

This Customer Love post is especially fun for me – it features the wedding of an old friend! A while back I had the privilege of attending the winter wedding of a girl I have known forever, and she even let me help by contributing some of the decor. She was coming home from China to have her wedding in Colorado, and welcomed the snowflake items we were able to make for her!

guest book table at a winter wedding on the Path Less Traveled 
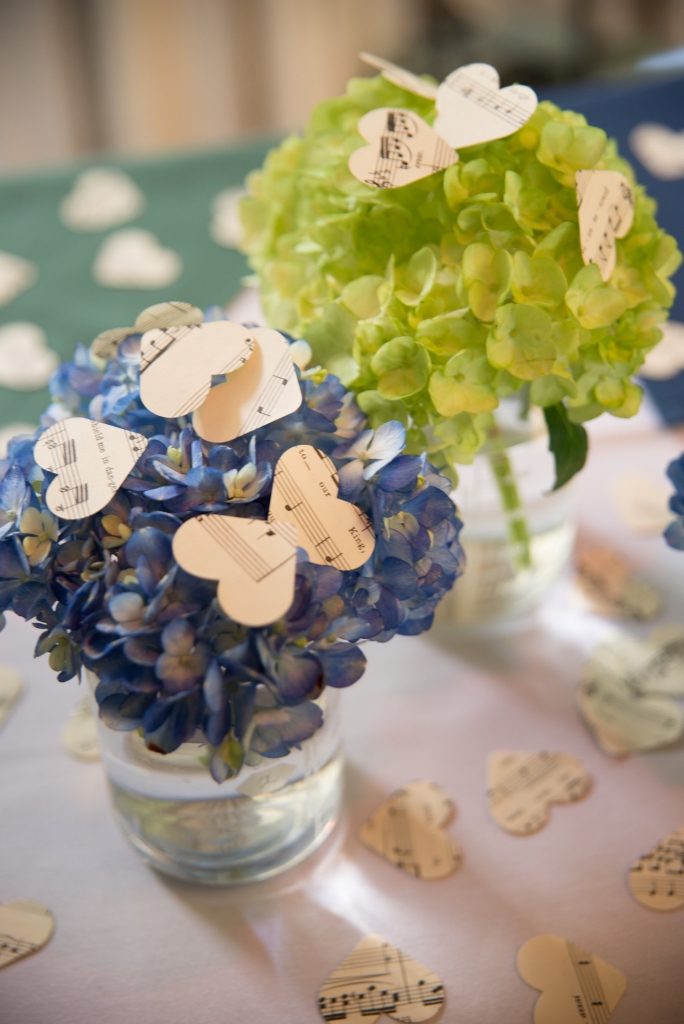
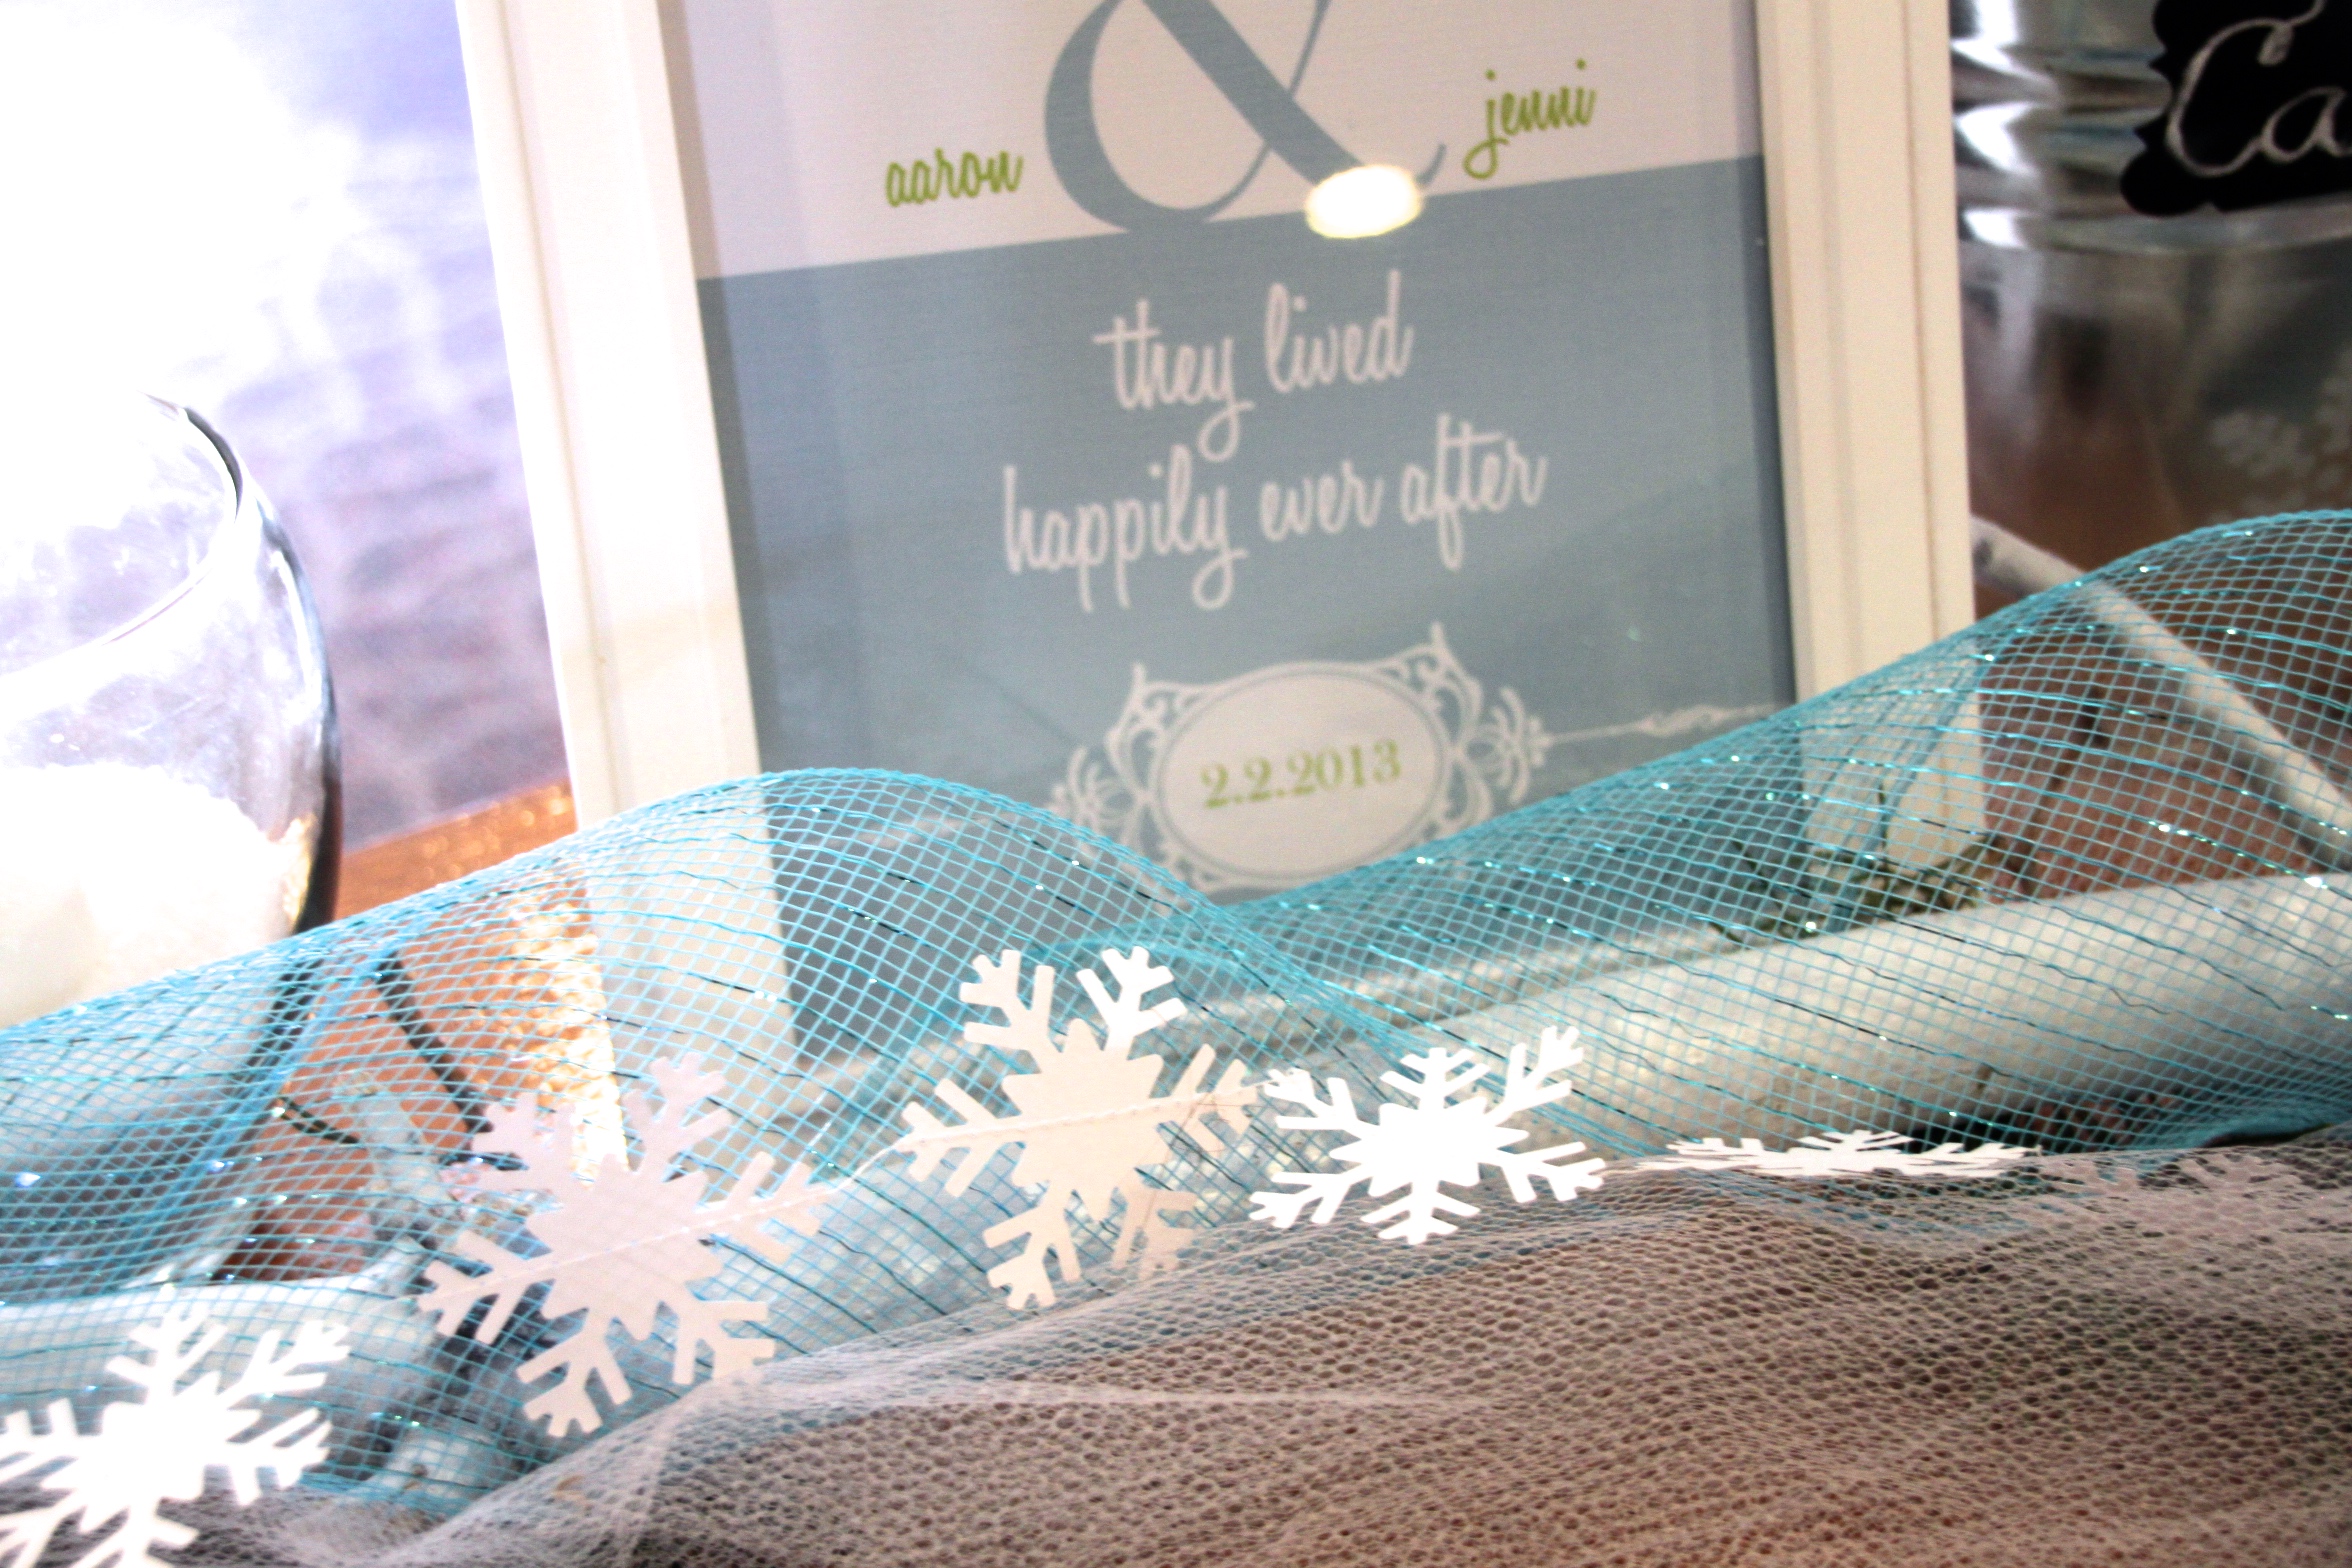
The guest book table was decorated with our Snowflake Garland entwined through some white and ice blue decorators mesh, framed photos of the happy couple, white flowers and candles nestled into jars of “snow” {epsom salt!}.a winter wedding on the Path Less Traveledthe guest book table at a winter wedding | the Path Less TraveledIMG_0520 The draped more of the garlands around a pair of chalkboards that they used for the bridal party “program”, which was done in some sweet chalk art and lettering.gorgeous chalk art and lettering over the dessert display | the Path Less Traveleda dessert display for a winter wedding on the Path Less Traveled a winter wedding on the Path Less Traveled Snowflake topped cupcakes at a winter wedding | the Path Less Traveled 
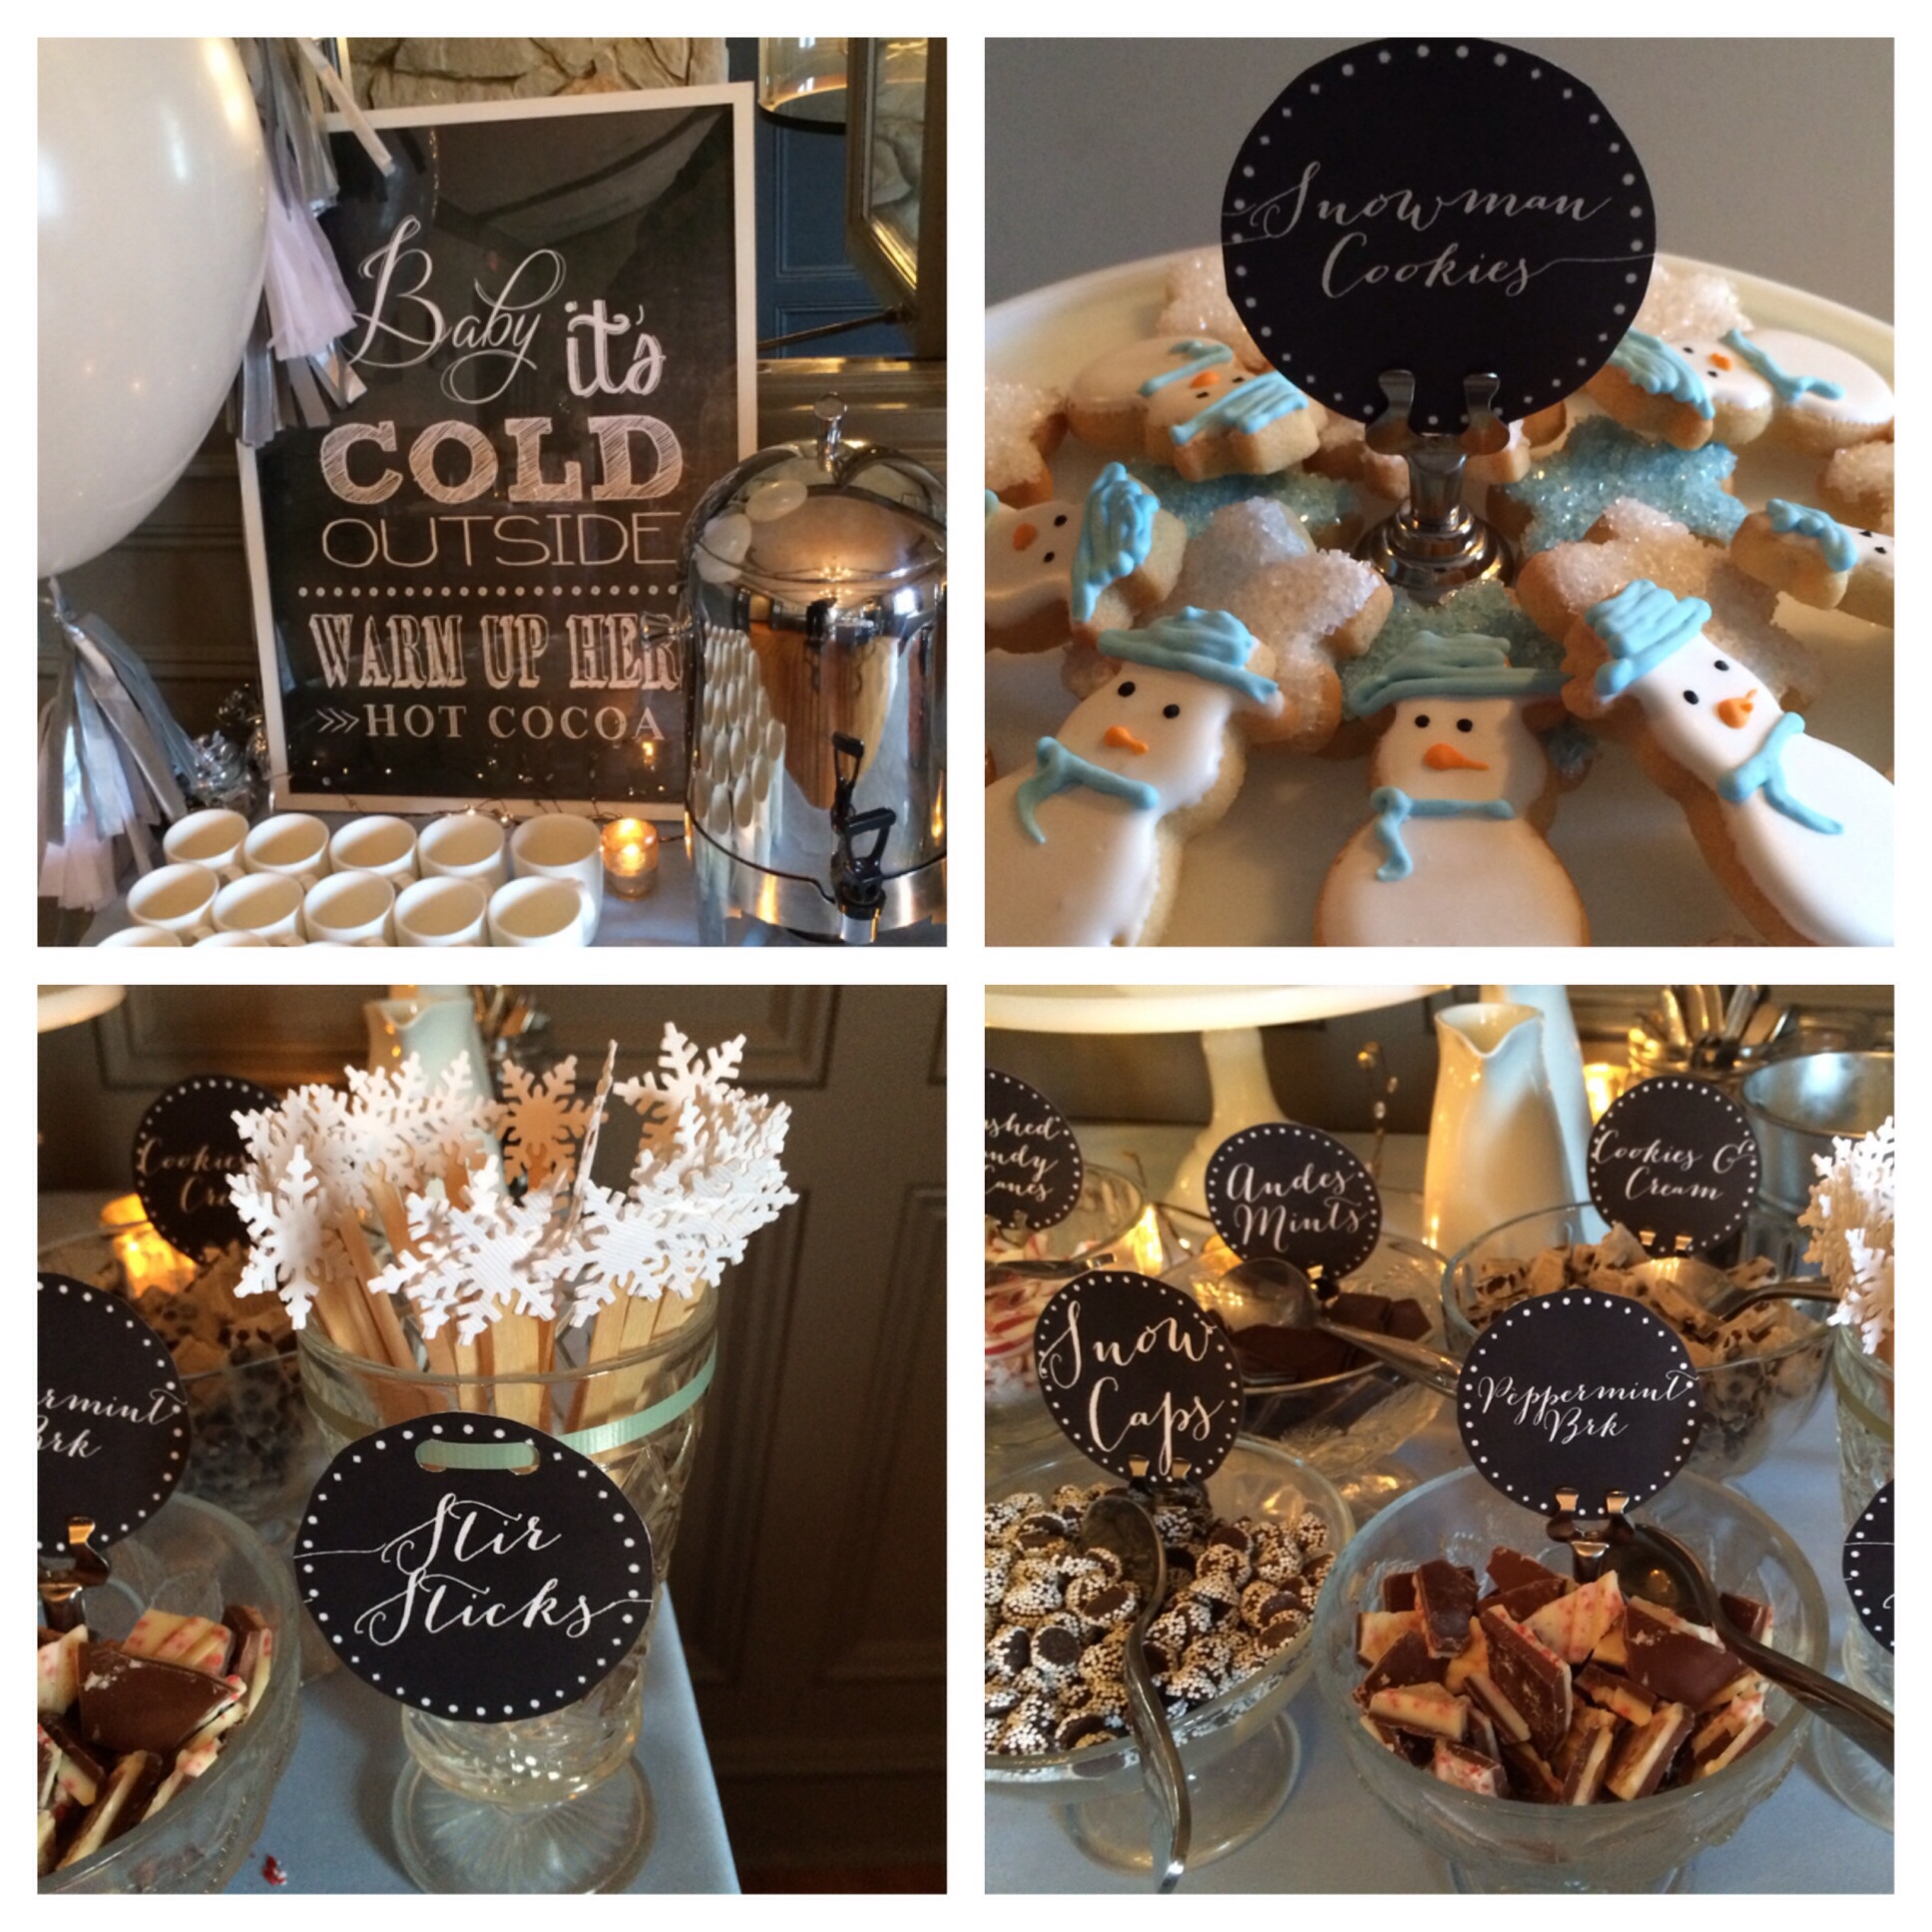
We made up dozens of our little snowflake cupcake toppers, and Jenni used them as toppers for their wedding “cake”. The cupcakes had fluffy, light blue icing sprinkled with sparkly white sugar, and the snowflakes stood out gorgeously against the blue.a frosty dessert display at a winter wedding | the Path Less Traveled The twinkle lights that were woven with tulle through the silver candle holders and flowers really made the table shine!a winter wedding | the Path Less Traveleda winter wedding | the Path Less TraveledThank you so much for letting me be a part of your special day, Aaron and Jenni! I love you both, and am delighted to see what is in store for you next. <3


Do you have photos that you’d like to share? If so, you can either email them to me at elizabeth@pltmarket.com or tag them with #thepathlesstraveledmarket on Instagram {as long as you have a public profile :)} – we’d all love to see your ideas! Also, I often send “thank you” coupons to the lovelies who let me share their photos with you – so if you’re looking for a coupon for your next order, sharing photos is a great way to get a discount!


<3


customer love – a bit of vintage music

customer love – a bit of vintage music

What better way to start off a Monday than with a few lovely photos {and a large cup of coffee!}? This morning I have a few gorgeous pictures from a customer’s watercolor and vintage music themed wedding – they’re so pretty!waterclor wedding She used our Vintage Music Confetti Hearts to scatter around the guest book table, adding a layer of texture and interest to the decor.watercolor and vintage music themed wedding on  the Path Less TraveledAnd then her niece scattered the hearts on the guest tables – and even on TOP of the flowers! I love this idea –  and brought the look together with style and charm.

Thank you so much for sharing these lovely images, Simone! Your wedding was lovely, and I hope you and your new husband are enjoying a wonderful season as newlyweds, and that you will be blessed with a lifetime of joy.

Do you have photos that you’d like to share? If so, you can either email them to me at elizabeth@pltmarket.com or tag them with #thepathlesstraveledmarket on Instagram {as long as you have a public profile :)} – we’d all love to see your ideas! Also, I often send “thank you” coupons to the lovelies who let me share their photos with you – so if you’re looking for a coupon for your next order, sharing photos is a great way to get a discount!


<3


*Pictures by Rogue Heart Media, used by permission


winter

winter

You know how Boston has gotten a hundred feet of snow this year {or at least, it seems like it}? Central Indiana has only gotten about a inch at a time {which is not enough to play in if you’re a preschooler who has their heart set on making snow angels and snowmen}, and even that was pretty icy and not very fun to play in.snow time!

But last weekend we got SNOW. I know many of you are already going without jackets and sweaters {it is March 5th, after all}, but last night we got another round of ice and snow, and I’ve decided to try to really enjoy these last few weeks of winter { and yes, I know spring is almost here – our tulips keep trying to poke through the snow and St. Patrick’s Day is just around the corner :)}.DSC_0149 DSC_0150 DSC_0152 DSC_0153 DSC_0154 DSC_0155 DSC_0156


<3

customer love: winter baby shower

customer love: winter baby shower

Customer love time again! I love seeing all these fun ideas, don’t you? For today’s customer love edition, I have some photos that a customer{who happens to be an event planner} sent to share with you! Paula chose a variety of our snowflake items, and used them as part of this gorgeous winter- themed “Baby It’s Cold Outside” baby shower:Baby It's Cold Outside themed baby shower | the Path Less Traveled Advice for the new parents pinboard at a Baby It's Cold Outside themed baby shower | the Path Less TraveledAdvice for the new parents pinboard at a Baby It's Cold Outside themed baby shower | the Path Less Traveled Snowflake topped stir sticks at a Baby It's Cold Outside themed baby shower | the Path Less Traveled

The snowflake stir sticks were a custom order for Paula, and they turned out so amazingly that we are planning to add them to our shop soon!

Paula shared more photos of this amazing shower here on Facebook – I love it!

Do you have photos that you’d like to share? If so, you can either email them to me at elizabeth@pltmarket.com or tag them with #thepathlesstraveledmarket on Instagram {as long as you have a public profile :)} – we’d all love to see your ideas! Also, I often send “thank you” coupons to the lovelies who let me share their photos with you – so if you’re looking for a coupon for your next order, sharing photos is a great way to get a discount!


Snowflake Stir Sticks from The Path Less Traveled

edit: we have added the stir sticks to our shop! You can now find them here.

our Nordstrom adventure

our Nordstrom adventure

I’ve had a bit of a love affair with Nordstrom ever since I was a small girl. My grandma used to take me there for lunch every summer when I visited her, and I have wonderful memories of the man playing the piano on the first floor, the gorgeous displays, and the amazing floor to ceiling mirrors in the ladies room {seriously, I would LOVE to have a dressing room/closet that looks just like it someday!}. These days I limit my love to mostly window shopping, and about once a year hitting Nordstrom Rack for a pair of shoes …. but I still love that store.

So, last summer I received an email from a guy who was setting up a photo shoot, and he needed 40+ of our large Origami Hanging Stars in shades of pink, and he wanted to make sure we’d be able to get them to the shoot location on the specified date, etc. Yep, that was no problem at all, and I went through all the steps of getting his custom listing prepared for him. Then he ordered, and I found out from the address that the stars were for a Nordstrom photo shoot! *squeals*Screen Shot 2015-02-21 at 7.12.03 PM

November catalog, page 24

Once I stopped squealing we got the stars ready, boxed up {18 huge boxes – they filled our family room} and dropped off with FedEx. We heard the stars arrived safely and that they were enjoyed, and then waited. And waited. Months later, we found out our stars were for their winter catalogs and ad campaign{!}, and they were gorgeous and perfect.

unnamed

November, page 17 (and also in an email!)_9927348November, page 9

Now we can add “featured in Nordstrom” to our list of media features – definitely a dream come true for me!

<3


Photos of our stars in this post were taken by Missy Reno and associates for Nordstrom

add a little LOVE

add a little LOVE

Are you looking for the perfect finish to your Valentine meal, a way to set your wedding dessert table apart from the rest, or remind your spouse of your love?

DSC_0002 Just add a little LOVE to the top!DSC_0004Our Monogram Syle Dessert Toppers can be ordered in any configuration of letters to spell whatever word your heart desires (perhaps “WE DO”? or “MARRY ME”?), and we were smitten with the idea of a customer to spell out LOVE – just so perfect!
DSC_0006 DSC_0007What would you use them to spell? A special name? A word? We’d “love” to hear!


<3


how Tuesday – DIY shelf paper

how Tuesday – DIY shelf paper

Pretty DIY Shelf Liner{how Tuesday is back! Well, sort of :) I meant to post this on Tuesday, but better late than never!}

It’s that time of year – taking down and putting away all the loveliness of Christmas, cleaning, purging of clutter …. what better time than now to get your cupboards prettied up!

Brace yourselves:

DIY Shelf Paper via the Path Less Traveled

Well, let’s just say our pots and pans cupboard has looked worse. But it also has the potential to look so much better! Seeing a splash of pretty pattern and a tidy and organized stack of pans always soothes me just a bit, so one afternoon I decided to give the inside of our cabinets a little make-over.DIY Shelf Paper via the Path Less Traveled

materials needed: patterned paper {I used some giftwrap from World Market}

clear contact paper

ruler/yardstick/straight edge

pen or pencil

scissors

Step one: take everything out of your cabinet and wipe them out. You may need to use a bit of soap if they’re greasy – this is the perfect time to get all the little gross bits you’ve been ignoring since their hiding in the shadows taken care of!

DIY Shelf Paper via the Path Less TraveledStep two: measure the bottom of the cabinet. Once you have the dimensions, roll out your paper {wrong side up} and mark the size you will need.DIY Shelf Paper via the Path Less Traveled Step three: cut it out!DIY Shelf Paper via the Path Less Traveled Step four: unroll the contact paper, and cut off a section about an inch longer on each side than your pretty paper {so, if the base of your cabinet is 14″x20″, your contact paper needs to be 16″x22″}. DIY Shelf Paper via the Path Less Traveled step five: peel the backing off of the contact paper and carefully center the art paper in the middle. Notch the corners like this:DIY Shelf Paper via the Path Less Traveled and fold the edges over the back of the pretty paper, sealing the edges.DIY Shelf Paper via the Path Less Traveled This makes your pretty paper into a semi rigid shelf liner!DIY Shelf Paper via the Path Less Traveled Step six: slip the new shelf liner into your cupboard and …DIY Shelf Paper via the Path Less Traveled have fun arranging and organizing your kitchen ware!
Organizing a cabinet on the Path Less TraveledPretty DIY Shelf LinerOne of the lovely things about this is that if your cabinet gets really gross {not that it would, but you know, if}, you can just take the liner out, carry it over the sink and wipe it of – so much easier than kneeling with your head in the cupboard as you scrub out the sticky spots!


<3


we’re growing!

we’re growing!

As you might have gathered, our business has been tremendously blessed this last year! God has been incredibly generous to us, and we are humbled every day as we see Him pour out blessing after blessing. We are {of course} seeking to be the best stewards of these blessings as best as we can, and right now that looks like hiring another person to help us grow further! {we already have a part time helper who is wonderful (thank you all who prayed for her to come!) and who I still need to introduce to you!}

Some of you who follow us on Facebook might have seen my post from this afternoon {if you didn’t, I’m so glad you’re reading now! And if you did – enjoy the photos :D}. DSC_0006 And no, we’re not employing child labor ;), just encouraging young industry. No, really, we DO have a new part time employee! DSC_0007 DSC_0008 DSC_0009 DSC_0010

We’re in need of another, though, and here’s the ad that I shared with our Facebook followers this afternoon:

We are looking for help!
The Path Less Traveled Market is looking for someone who can help us continue to grow. We are looking for someone with an enthusiastic personality, who communicates well and enjoys social media. Helping to make our customer’s dreams become a reality will be at the center of the position’s responsibilities. This will include: customer interaction using email, the use of social media, some product manufacturing/packaging, and shipping.

– Need to be able to work 5 days a week (Mon. – Fri. = 30-40 hrs.) out of our home studio.

Are you interested? Contact us for more information and details! Do you know someone who would be a great fit? Please feel free to share!

Christmas deadline!

Christmas deadline!

Hello, dear ones! Just a quick pop-in to let you know {if you haven’t already seen on Facebook or our shop notices} that tomorrow, December 18th is the deadline to select standard USPS shipping and still get your order by Christmas {and the 20th is the deadline for Christmas delivery for orders with Priority shipping}. After that, of course we’ll still be making and mailing orders, but we just can’t guarantee a Christmas delivery :) Christmas banner from the Path Less Traveled


I soooooo want to share a few photos of our house decorated for Christmas, and I might actually be able to before Christmas this year. In the meantime, if you want to link photos of your decor, I’d love to see them!


<3

the kids’ room – a tour

the kids’ room – a tour

If you’ve been following along with me on Facebook, you might have heard that we have a new office space! Before I show it to you though, I thought you might like to see where we moved from {and what was the “new” office in January :)}. But of course, before I can show what was the office, I have to show what was in the old office before it was the office {so that next I can show the old office, of course}. :)

DSC_0007 Emma Grace and Ian have been sharing a room since Ian was 6 months old, and they love it. They’re 15 months apart in age, and best friends {the 15 months apart bit is crazy, but I love that they’re best friends. I hope it never ends.}. So of course, the room has to be a boy/girl combo. It was a work in progress, always getting tweaked {but isn’t that the way with all the best things?}the girl corner Emma Grace’s bed corner, all girlied upDSC_0009The paintings on her wall are super light weight {I’m a bit skittish about hanging heavy things over beds since I grew up in California (you know, earthquakes and all)}, and were fun thrift store finds.
DSC_0010 the boy corner Ian’s corner, with their shared dresser.DSC_0027The light switch cover with the retro little boy and girl is from my dad’s childhood home. :)DSC_0012The car mat is an old one from my grandma’s house. We all used to play with it at her house, and now Ian is using it every day {I think she found it at World Market about 20 years ago and they of course don’t sell it anymore, but this one is similar}.DSC_0028The prints are from here.DSC_0029The stars are from some of our parties {mostly Ian’s cowboy and car themed parties} and I made a few in light green and polka dots to round out the group. I wanted to have something to add color to the corner, but thought that the poufs I used for Emma Grace’s corner were a bit too girly for his side. :) Ian is crazy about cars, animals, airplanes and cowboys, so I kept his corner a bit neutral on theme and it goes with everything his imagination cooks up.neutral stars and garlandsThe triangle bunting is something I made for Emma Grace’s second birthday party {she was super into Winnie the Pooh :)}, and has held up really well over the years. So many people have loved it through the years that I’ve added a few versions of it to the shop!
DSC_0013The play corner – John installed the shelf at a toddler height {about 2 feet} and it worked well for their little stuffies, baskets of play food, dolls, etc. The middle paper doll art is by me {vintage paper dolls in a shadow box}, and the prints on either side are from here.
DSC_0014 They all love the play kitchen, and spend hours in imaginary play with it. John’s parents gave it to them for Christmas, and it has been fabulous. Really, I can hardly say enough about this little kitchen! The prints are a combination of thrift store find {Winnie the Pooh}, note cards that I framed and a magazine snippet.

DSC_0030DSC_0017 DSC_0018 DSC_0019 DSC_0021 Olivia didn’t sleep in their room, but it might as well have been hers too for the time she spent playing in it.DSC_0022 DSC_0023 DSC_0025 DSC_0026

And that was their room! The photos were taken on the same day that we started to repaint the room and then the next day it was the office {which I’ll be showing you super soon :)}.