Browsed by
Tag: birthday

hello {again}

hello {again}

It’s been …. awhile. Life just keeps moving, doesn’t it?

We’ve been quite busy around here since the last post {Christmas!} – adding new things, figuring out new direction to take with the shop {and if we are taking a new direction – the answer? “Sort of”}. The littles are growing {Olivia is talking!} like crazy, and I’m trying not to blink and miss this precious time.

Here are some photos of the newest additions to the shop {and some fun custom projects, too!} that I thought you might enjoy :)

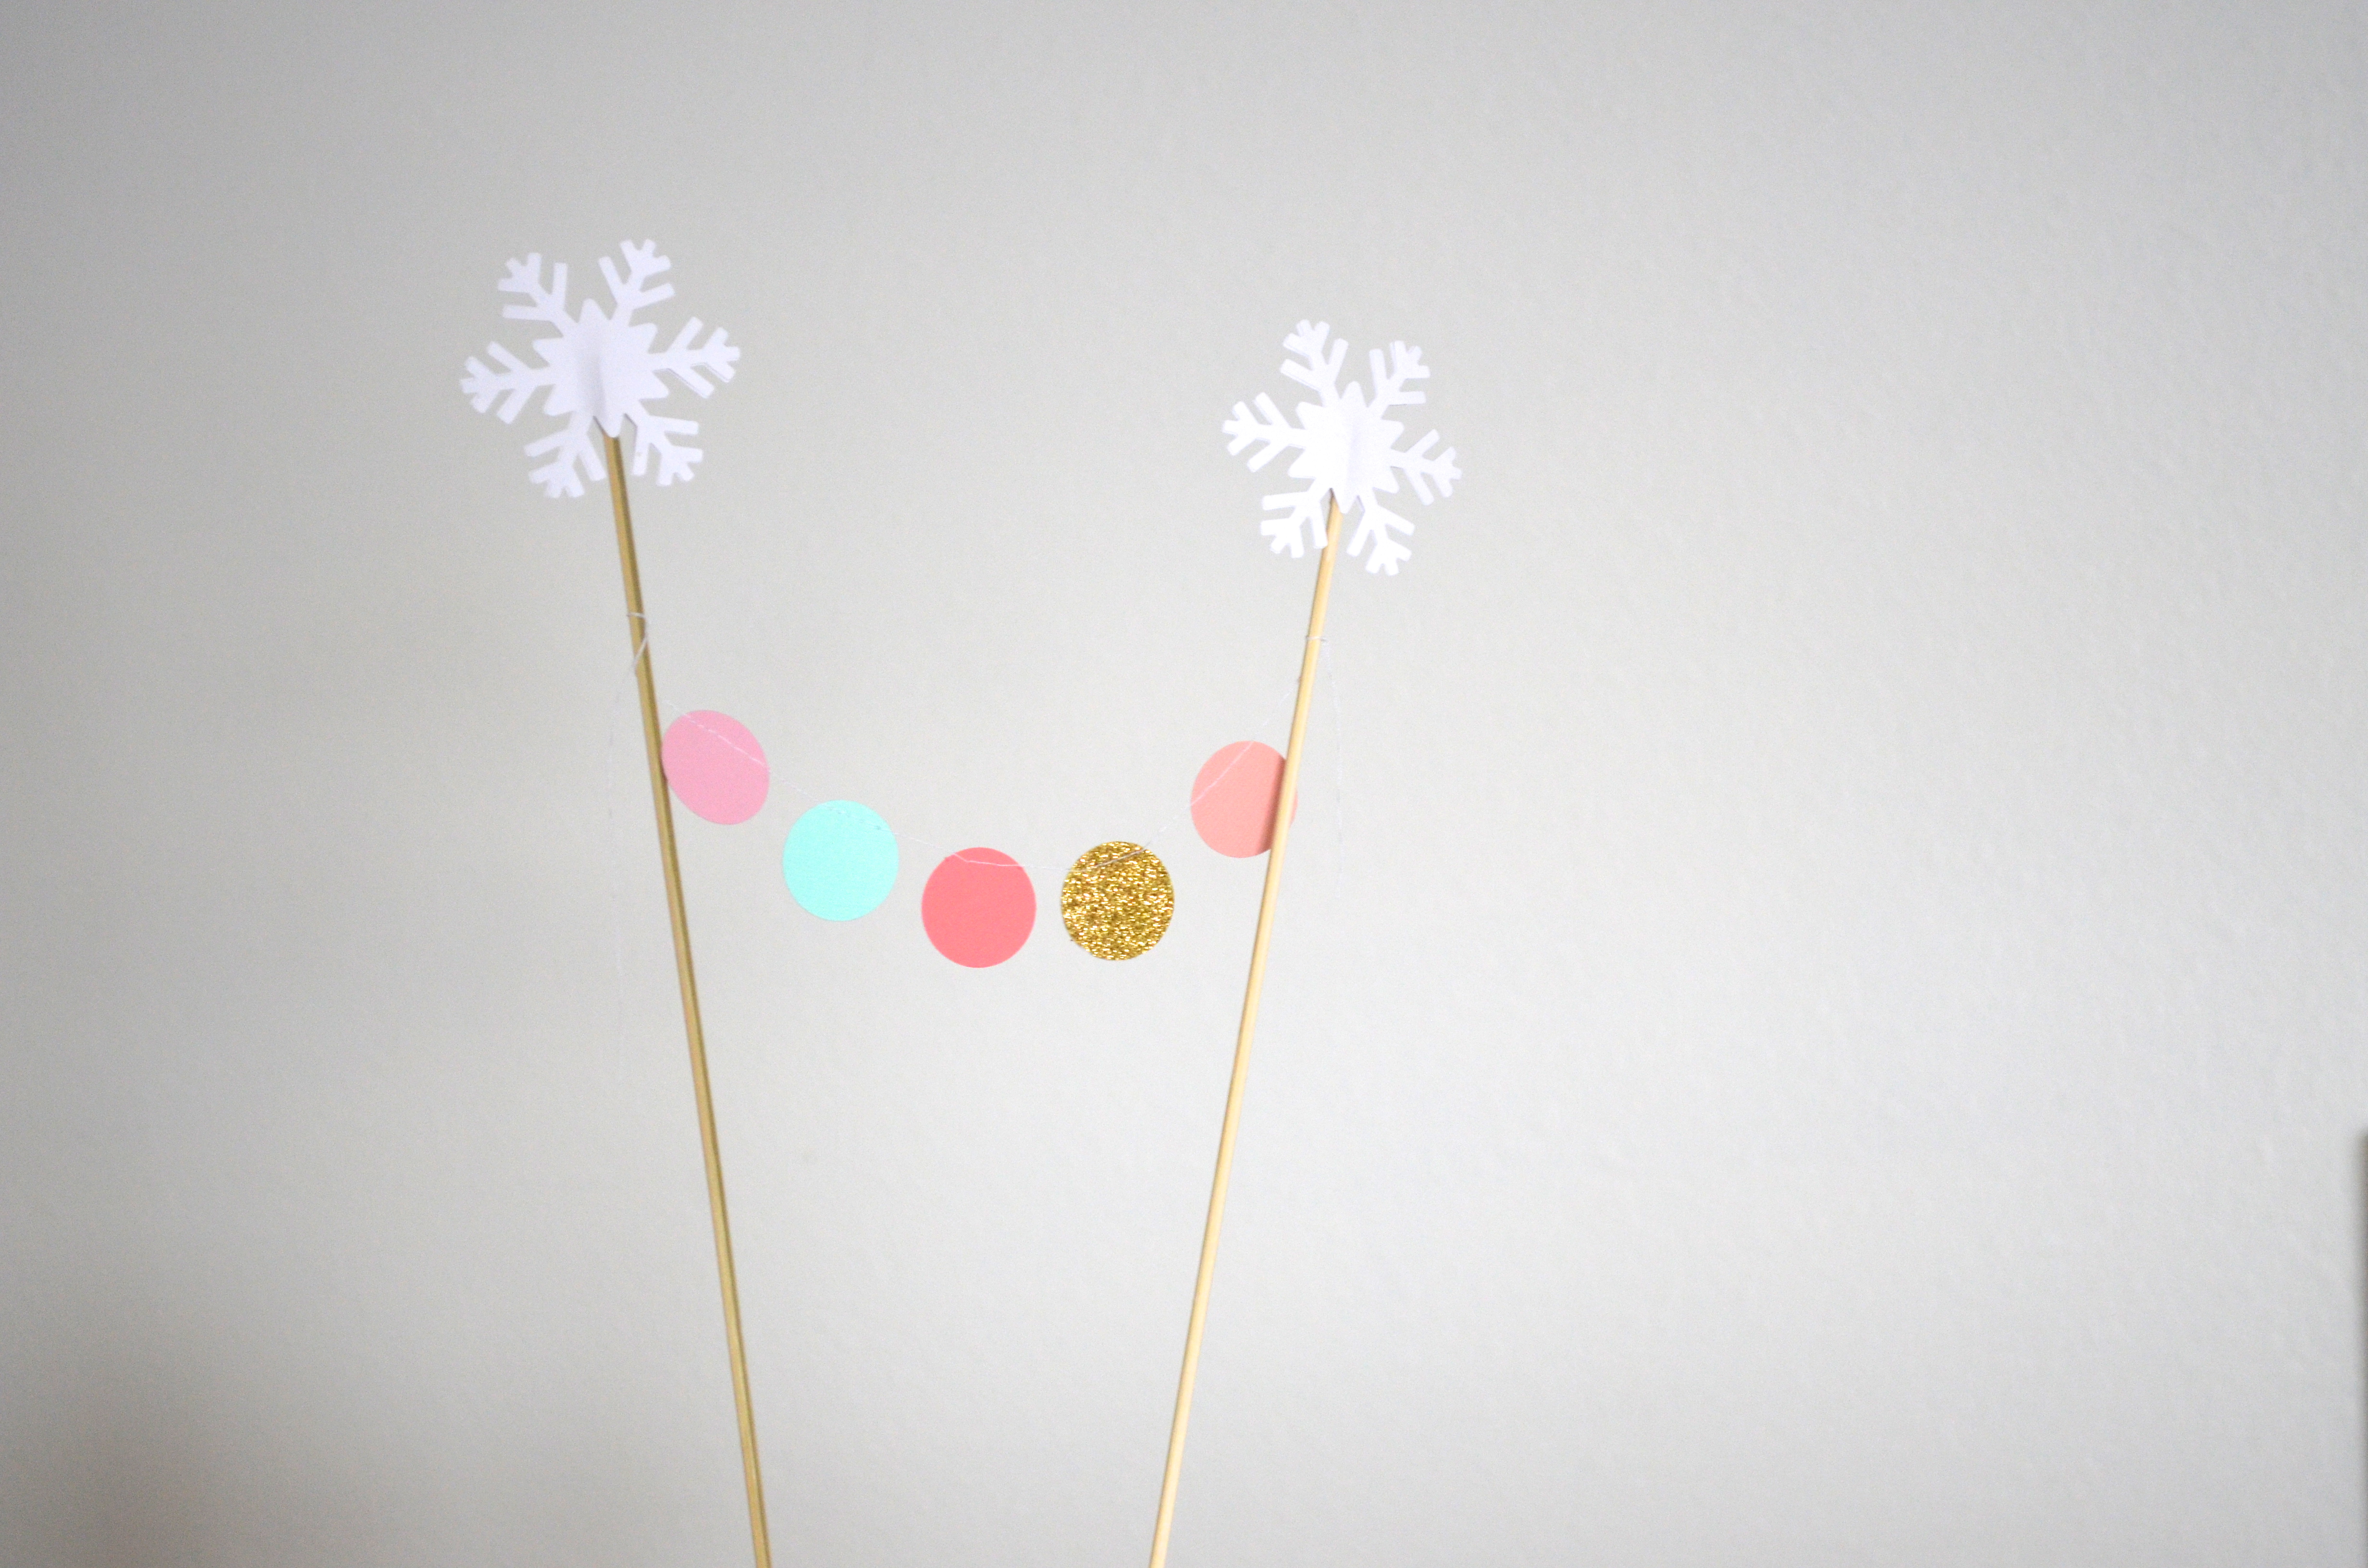
"Hitched" cupcake toppers from the Path Less Traveled new cupcake toppers in the Etsy shop! {inspired by the toppers for the barn wedding}High Chair Birthday Banner from the Path Less Traveled new First Birthday High Chair Garlands in the Etsy shop {and now I’m wondering why I didn’t think to make these for our own little ones’ first birthdays!}DSC_0014 a custom version of the New York Subway toppers – too cute with the “All Aboard!” flags personalized cake topper | the Path Less Traveleda personalized cake garland – such a sweet hybrid of the Name Bunting and the Confetti Garland!

DSC_0243Hopefully I’ll be able to get you caught up to speed soon {with lots of photos!}, but in the meantime,how are you? I’ve missed chatting here with you. Did you have a lovely holiday season? Make New Year’s resolutions? Are you snowed in {or experiencing 80 degree weather?}?

making mini crowns

making mini crowns

Yesterday I showed you how I made the pretty little crown for Emma Grace’s birthday {and she still keeps it in her dress-up box. After over 6 months of wear, I’m kind of impressed by how sturdy card stock can be!} and then mentioned that I had another darling little DIY tutorial up my sleeve :)

making mini crowns

One of the “crowning” touches to E. G.’s party was the little tiny tiara that I made to grace the number “4” I had made from pink paper to hang over the table. It was so cute, I couldn’t bring myself to throw it away when I took down the rest of the princess things, and now it’s sitting on top of a Winnie the Pooh figurine in the kids’ room. {It’s the little touches that make a room (and a party), you know :)}

After walking by it, day after day for months, it occurred to me that the tiny crown would be perfect for a baby shower, too. Or a first birthday, a Quinceanera, a Sweet Sixteen, gracing the top of your jewelry stand or a birthday package, um, the list goes on and on :) And these little things are so easy to make, too! Ready to see how?

materials for making mini crowns materials: scissors, ruler {optional – you can also just eyeball it}, glittery paper, hole punch, narrow ribbon {I used about 7″, but the length is up to you}making mini crowns starting with a 4″ by  3/4″ {or so} piece of paper, bring the ends together to form a circle.making mini crownsPunch two small holes where the ends overlap, thread the ribbon through these holes and tie a pretty little bow.making mini crowns Next, make the little triangles on the top of the crown with your scissors – because the crown is so small I just freehanded these, but you could measure if you want :)making mini crowns And there you have it! A darling little tiara for …. whatever you’d like!making mini crowns

I think Winnie the Pooh is enjoying wearing it, don’t you?

Tell me, what would you use this tiny darling for?

Follow on Bloglovin


I’m sharing this at the Vintage Farmhouse <3

how-Tuesday: DIY Birthday Crowns

how-Tuesday: DIY Birthday Crowns

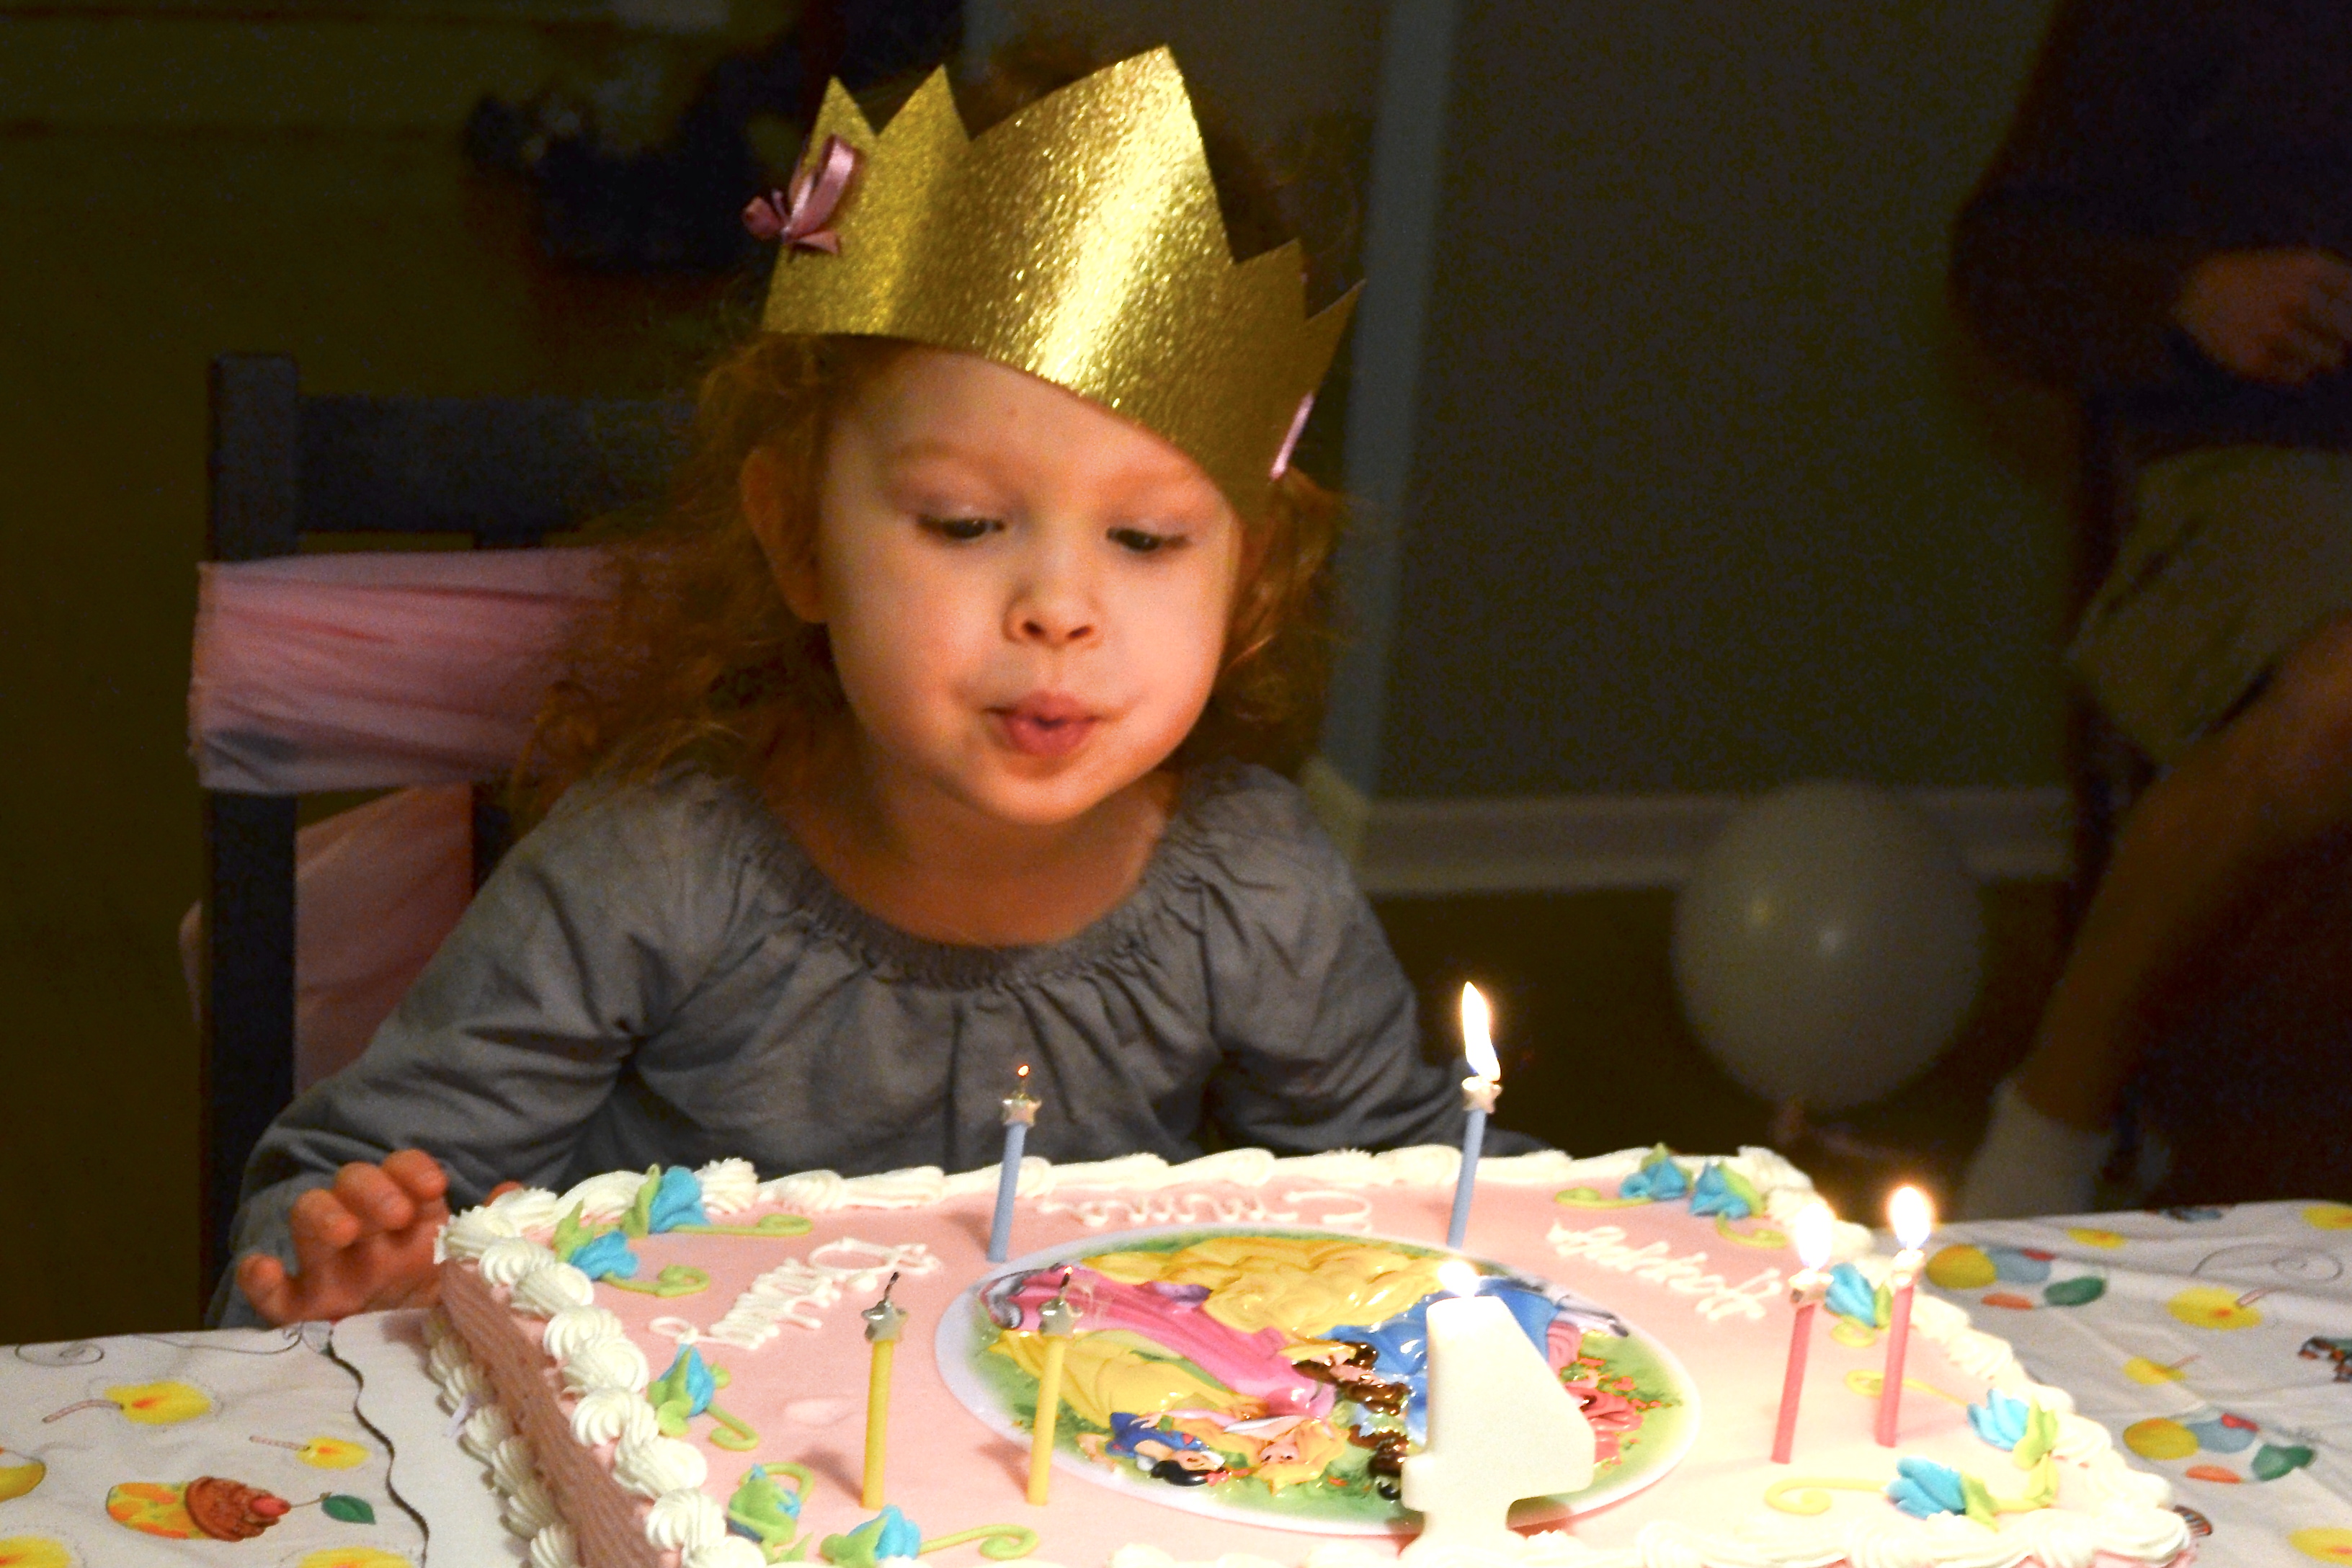
Today’s promised how-Tuesday: DIY Birthday Crowns! Do you remember the princess party that Emma Grace requested? Well, I realized that I had never shown you how I made her darling Birthday Crown {and, since I’m kind of on a birthday theme at the moment, now is the perfect time to change that, right?}!

DIY Party CrownDIY Party CrownToo cute, isn’t it?! Now, let’s get started:DIY Prince or Princess Crown materials: mid to heavy weight card stock in size 8 1/2″x11″ or larger {I used white for these so my kiddos could color them, but you can use any color you wish! For E.G.’s birthday I used a gold glittered paper}, ruler, pencil, scissors, hole punch, ribbonDIY Prince or Princess Crown step one: with your paper in the “portrait” position {so that it’s facing the “tall” way}, draw a line down the middle {4 1/4″ from the edge} and then cut along this line. You will now have two 4 1/4″x11″ pieces.DIY Prince or Princess Crown step two: find your middle point on one long edge of the paper {at 5 1/2″} and make a small dot. Then, measuring from this same edge, measure 2″ toward the middle and lay your ruler along this 2″ line. Make a dot on this line at the 2″, 4″, 7″ and 9″ marks.

Now it gets just a bit more fun … you get to play connect the dots! Draw lines connecting the corners on the long edge with the dots you’ve just made, forming a series of …DIY Prince or Princess Crown …triangles along what is now the top edge of your crown.DIY Prince or Princess Crown Step three: cut along this line. It’s beginning to take shape!DIY Prince or Princess Birthday Party Crown step four: punch two holes on each end of the crown, about an inch apart.DIY Prince or Princess Birthday Party Crown step five: cut 2 lengths of ribbon, each about 18″ long and thread a piece through the holes of one end {like in the photo} and it to itself so that one side has a knot and the other …DIY Prince or Princess Birthday Party Crown …looks like this. Repeat for the opposite end. Now, at this point you can either be finished or you can pass it on to a child and allow them to decorate it to their heart’s content :)DIY Prince or Princess Birthday Party Crown DIY Prince or Princess Birthday Party Crown DIY Prince or Princess Birthday Party CrownDIY Prince or Princess Birthday Party CrownsThis cutie modeled her party crown again as she colored her new, custom decorated by her tiara.DIY Prince or Princess Birthday Party CrownsSo intent on her work!DIY Prince or Princess Birthday Party CrownsTada! Wouldn’t it be a sweet party activity to decorate your own crown? Maybe with feathers, glitter and sequins, too? I think a little one {or several} would be just over the moon with these!DIY Prince or Princess Birthday Party CrownsDIY Prince or Princess Birthday Party CrownsDIY Prince or Princess Birthday Party Crowns

Gah, those eyes! So, there’s your promised adorable tutorial for the day :) And I’ve got another one up my sleeve! Maybe for tomorrow? Maybe …

Until then, I’d love to hear if you try this! How would you customize them for your littles? Do you have a favorite party hat tradition?


XOXO

Follow on Bloglovin


I’m sharing this at the Vintage Farmhouse <3

the Cars party

the Cars party

Ah, the last installment of the Cars party – and the last one of {what turned into being} the series!

Cars themed birthday party on the Path Less TraveledCars themed birthday party on the Path Less TraveledCars themed birthday party on the Path Less TraveledCars themed birthday party on the Path Less TraveledCars themed birthday party on the Path Less TraveledCars themed birthday party on the Path Less TraveledCars themed birthday party on the Path Less TraveledCars themed birthday party on the Path Less TraveledCars themed birthday party on the Path Less Traveled

It was such a fun, relaxed type of party. We kept it pretty low key {as far as three-year-old’s parties go} and kept the guests to just family. Ian loved showing his cousin how to use the car track that John made and “do racin’!” We listened to the Beach Boys channel on Pandora, and the younger guests played “pass the Parcel” and had a small water fight {it happened to be raining during part of the party, so why not get wetter, right?}. Ian absolutely adored the Cars cake, and it was the sweetest thing ever to see how excited he was to stand in the middle of us all, soaking up the love and attention as we sang “Happy Birthday” to him! :)

He received some of the sweetest things – and even got his very first tool bag {with real tools!}. Isn’t it amazing how much delight kids can get out of a simple gift?

Here’s the sneak peek, part one and part two of the party {since I have apparently made it into a mini series :)} The balloon garland tutorial is here, and the party supplies that I didn’t already have, make or use from my shop are from the Dollar Tree.

And that wraps up Ian’s Cars themed birthday! There are so many other things that I could add, but I think I might have said enough :) Do you have any tips for throwing a kid’s birthday party? What are some of your favorite games?

I’m hoping to have a sweet party-themed How Tuesday for you tomorrow. In other news … the Facebook fan page is getting close to 200 fans!  As soon as we reach 200 I’ll have a giveaway {hint: the prize is going to be sparkly!} for a brand new, yet to be released shop item. Share the fun with your friends to get us there even faster :D


Follow on Bloglovin

customer love – first birthday edition!

customer love – first birthday edition!

Each time a customer leaves a comment saying how much they love their purchase, it makes my day. I especially love it when they tell their friends and send me photos of how they have used the things that they have bought!

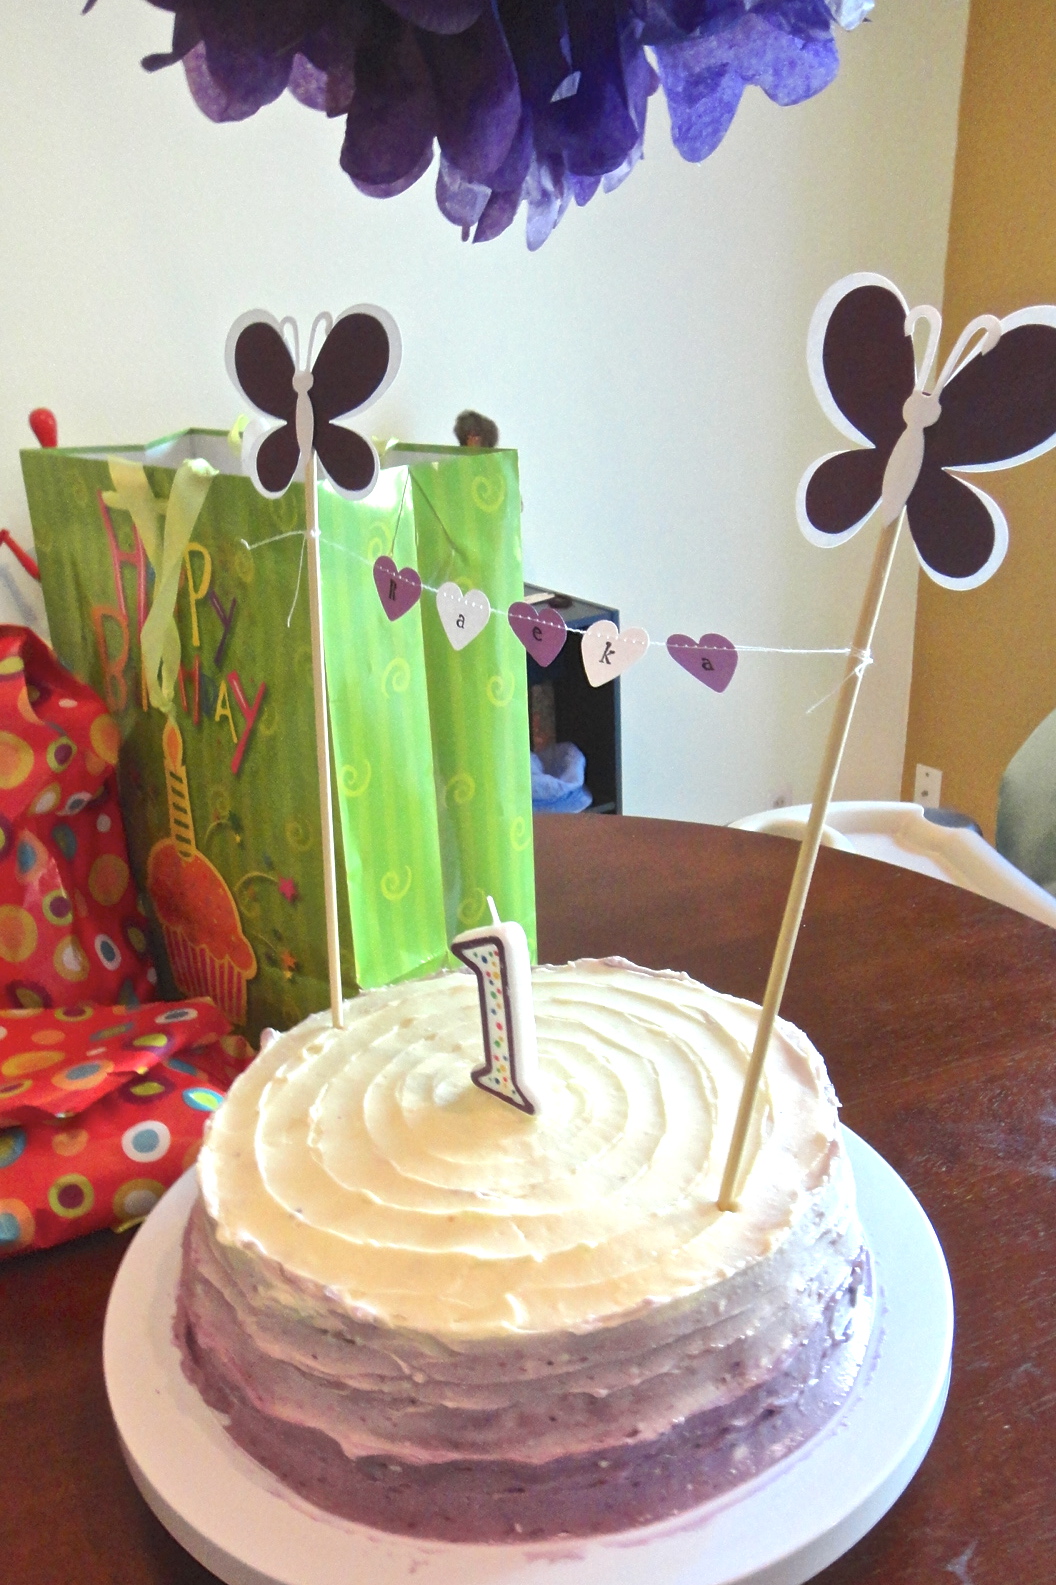
This darling photo is from a baby girl’s first birthday – her mama planned a sweet purple and white butterfly themed party and asked me to make a custom cake topper for her. Isn’t it just too sweet?!

butterfly themed first birthday cake on the Path Less Traveled

The customer ordered a customized version of the butterfly toppers with a personalized garland between the butterflies {isn’t that a darling idea?!} and she said: “They looked absolutely perfect with the cake. Thank you so much for helping me create the perfect cake topper for {my daughter’s} first birthday!” She even made her own blueberry ombre colored frosting for the cake – it looks delicious!

Thank you so much for sharing! Now I just wish I could have a piece of that cake …. :)

Do you have photos that you’d like to share? If so, you can either email them to me at elizabeth@pltmarket.com or tag them with #thepathlesstraveledmarket on Instagram – we’d all love to see your ideas!

XO


p.s. I often send “thank you” coupons to the lovelies who let me share their photos with you – so if you’re looking for a coupon for your next order, sharing photos is a great way to get a discount!

Follow on Bloglovin

the Cars party! {part two}

the Cars party! {part two}

Ah, the best laid plans! I started out the week planning to share all sorts of birthday ideas with you lovelies, and then … a {most precious and adorable} teething baby {who wanted to be held all night}, kids with colds who needed their mama and somehow my {sleep deprived, foggy and semi incoherent} thoughts just didn’t make onto the blog. But now, the little are better, I’m more rested and ready to share!

Anyone ready for part two of the Cars party? {looking for part one? or the sneak peek? You can find them here and here}

Cars themed party on the Path Less Traveled I had seen a super fun pool-noodle turned car race track on Pinterest, and picked up a noodle at the Dollar store when I was getting the a few other things for the party {side note – the Dollar Tree is an excellent source for streamers, cake plates, napkins, mylar balloons and plastic tables cloths!}, and it turned out to be a bit too small for the cars {but perfect for marbles}. John improvised and made a track using a large piece of cardboard, and it turned out even better for Ian, since most of cars are bigger than Matchbox size :) The kiddos loved hurling the cars down the “track”, racing to catch them at the bottom and then running back to the top to do it again.Cars themed party on the Path Less Traveled Ian was soooo tickled with his Cars cake from Sam’s Club! And with the stickers and temporary tattoos that we used as party favors :)Cars themed party on the Path Less Traveledthe indoor eating area – at lunch time {the birthday boy requested corn dogs for lunch}

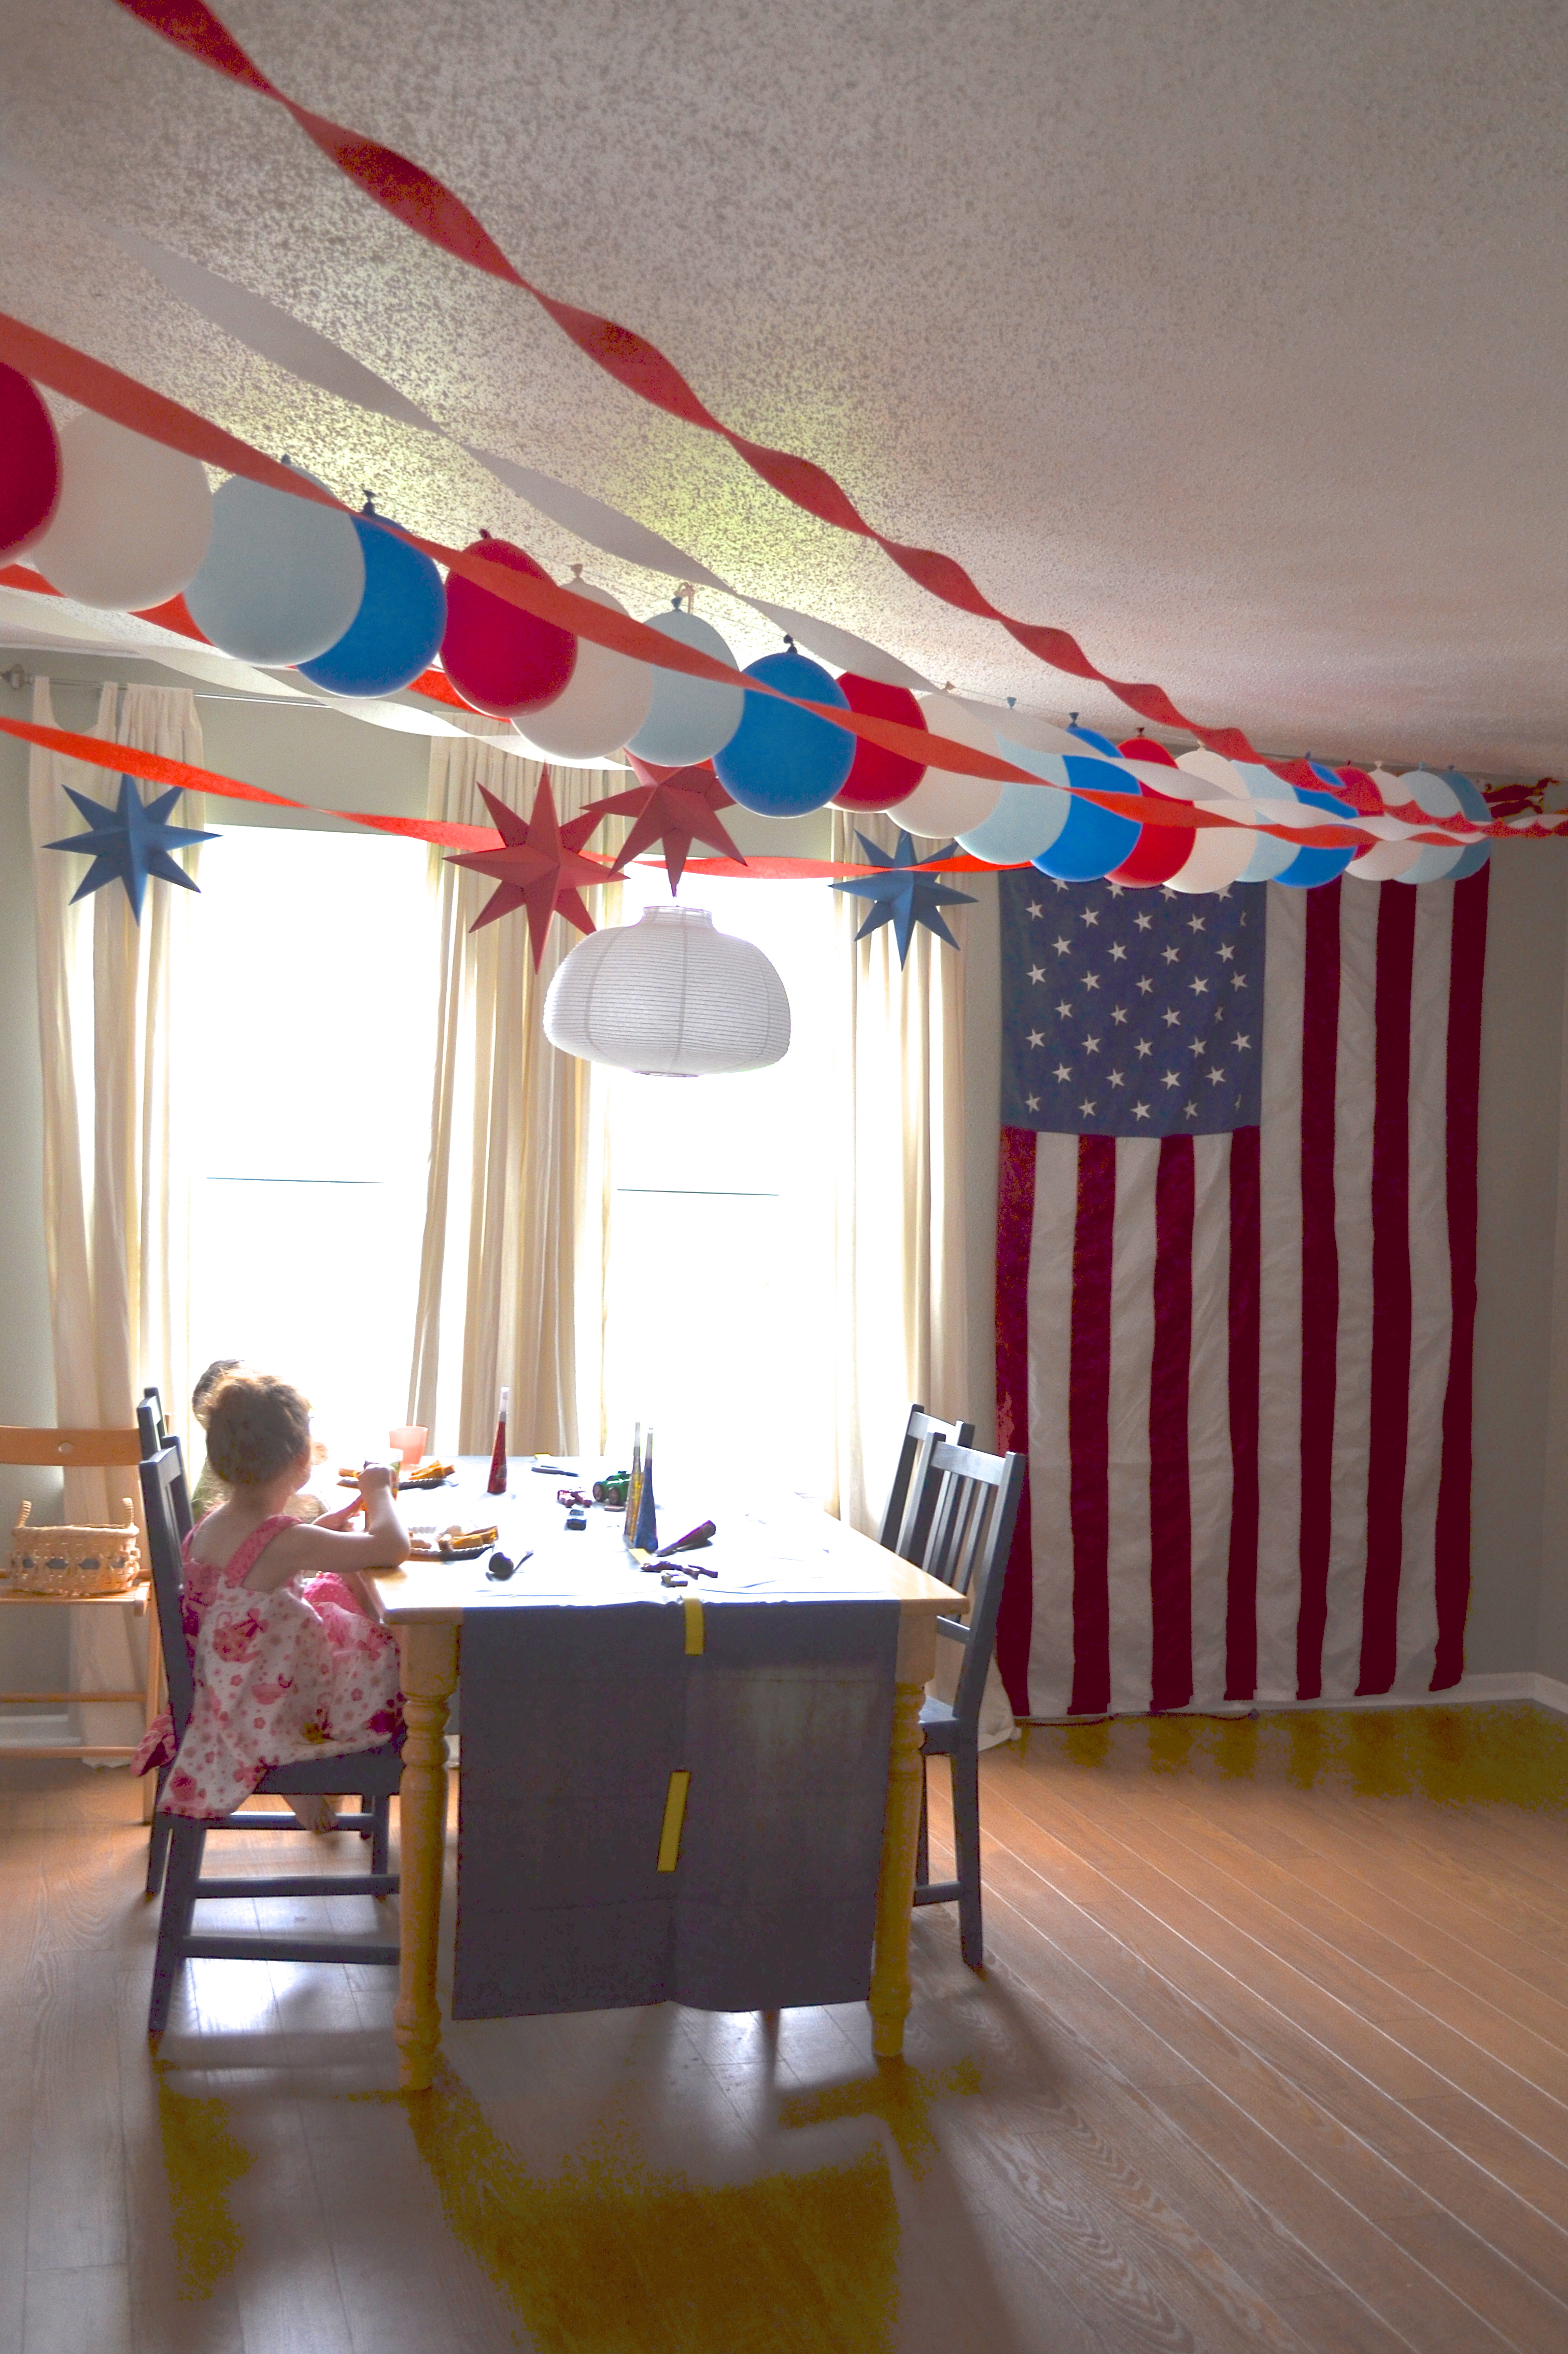
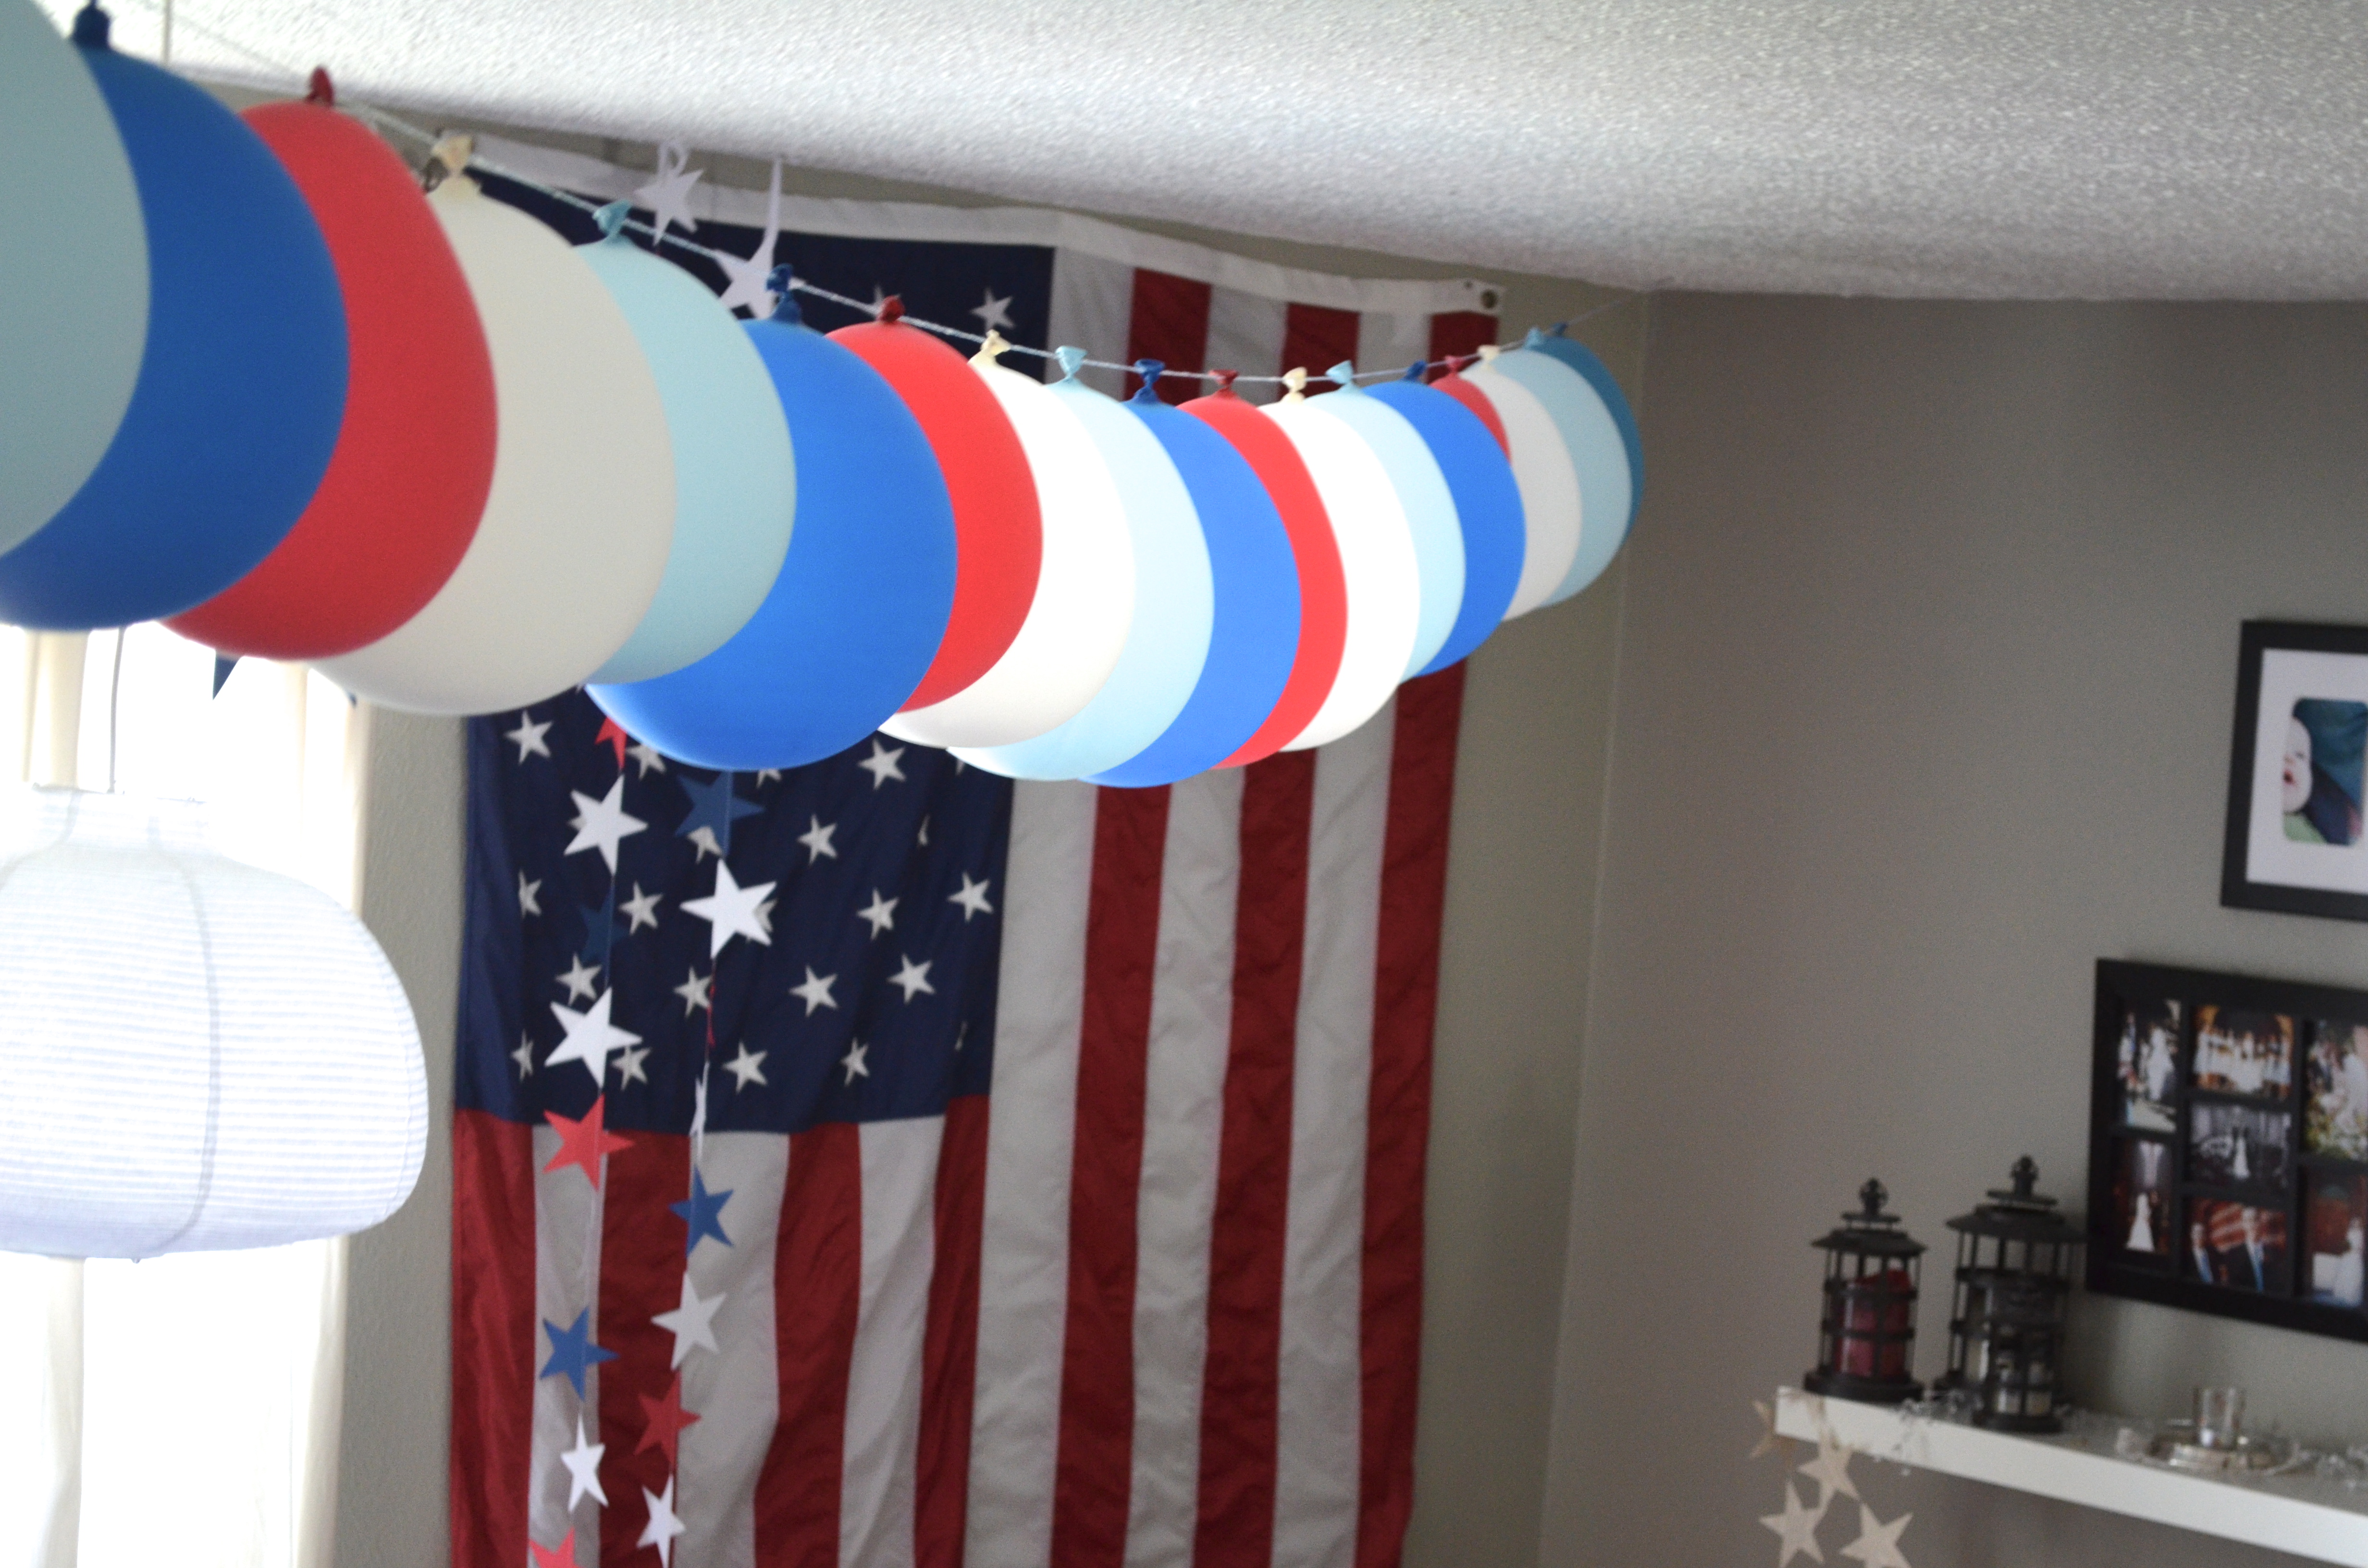
The balloon garland was so fun – and easy! – to make! You can find the tutorial that I made for it here. And do you see the “road” style table cloth? It was another thing that I had found on Pinterest, and super simple to make happen. Just cut a black plastic cloth in half the long way and then attach 1″ x 6″ strips of yellow construction paper down the middle using double sided tape.Cars themed party on the Path Less Traveledview of our dining room from the front of our house – I love the added dimension and pop of color that the red and blue paper stars added!Cars themed party on the Path Less TraveledCars themed party on the Path Less Traveledfrom the kitchen toward the dining room – there were fire engines on the shelf under the photo wall and presents on the piano
Cars themed party on the Path Less Traveledanother one of the Lightning McQueen printouts Cars themed party on the Path Less Traveled

The outdoor eating area, with another “road” style table cloth. I used a bunch of red and white streamers and red and white paper stars to bring a party feel to the tent, and they were so lovely as they swayed in the evening breeze :)

So there you have part two – I’ll be sharing the rest of the party soon!

xoxo

Follow on Bloglovin

the Cars party!

the Cars party!

Part one of the Cars party, here we come! Do you remember the sneak peak of Ian’s party that I shared? Here’s the {beginning of} the rest of it :)

If you remember, here’s the Pinterest board that I used to brainstorm party ideas for the Cars/fire engine/mechanic/Americana birthday that Ian asked for. There were sooo many amazing ideas that would have been fun to make happen, and John and I managed to pull off a few … and Ian was more than thrilled with the result!

the Cars party on the Path Less Traveleda pre-party shot of the snack/dessert table that was one of the focal points of our indoor decor {note the absence of the drinks and other cold items :)}
the Cars party on the Path Less TraveledI used a piece of burlap from my fabric stash {stashes of goodies like this come in super handy when pulling together parties on a budget!} to cover the table and rounded up all the galvanized bins that I could find to hold snacks and add some height to the spread.the Cars party on the Path Less TraveledThe wall signs were inspired by this Radiator Springs party and this “Route 3” party – all done free hand by moi while the birthday boy was taking his pre-party nap :)the Cars party on the Path Less TraveledThe Red, White and Blue Stars Garland added the perfect bit of color and texture to the front of the table, don’t you think?the Cars party on the Path Less Traveledthe snacks and goodies included watermelon, nuts, chips and salsa, pretzels, carrot sticks and dip, Chex mix, S’mores {the vintage blue Ball jars are perfect for serving and displaying goodies like this!}, and a variety of cold drinks {including this punch which is delicious and really easy!}.the Cars party on the Path Less TraveledDo you see the little cars and tools scattered across the table? Ian got quite a kick when he realized that I had used some of his favorite toys for his party decorations {he’s such a sweetheart!!!}
the Cars party on the Path Less Traveledthe Tow Mater sign – Ian is still holding onto this! He has it in his room now next to his bed. From a distance you can hardly tell that I whipped it out using a sheet of cardboard, a foam brush and some white acrylic paint. ;)the Cars party on the Path Less TraveledI made the Lightning McQueen sign using a free printable that I found here and some red construction paper – it turned out so cute that I ended up making several to scatter around the party!

So, there you have it – part one of the Cars party!


This is going to be a birthday themed week here on the blog! Today the world is welcoming a new royal baby {congratulations, William and Kate! And blessings upon the newest successor the British throne! <3 } and later this week my husband and three of his brothers will be having birthdays. Imagine the amount of cake that we’ll be eating! {not that I’m complaining at all!} How do you and your family celebrate birthdays? Do you have any special traditions?

<3

Follow on Bloglovin

little Instagram bits

little Instagram bits

the photos that I capture on Instagram are just little bits and pieces of our life, and it’s really interesting to see what moments I capture {and which ones I don’t} – of course, it seems as if {since I instagram from our iPad} I only capture the things that stand still.

Which of course explains why Emma Grace, Ian and John don’t show up very often, but flowers, projects and Olivia do. Of course :)

If you’d like to follow along, I’m @pltmarket on Instagram <3

birthday dinnerI had a birthday a few weeks ago and my husband treated me to a night out – at a local dinner theater! It was such a fun way to celebrate, completely different from our normal routine and definitely made it a birthday to remember :)

kitchen window lovelies flowers on our kitchen windowsill. Some were left over from our booth at the Hobnob Market, some were from my little cuties for my birthday and some from our yard. Love looking at their beauty as I do the dishes!packing labels I posted this pic and asked if any of you could guess what it was of – and Elizabeth was right! I had opened a fresh box of manilla labels and loved how neat and tidy they wereIMG_0012 Our little guy turned three! And I’m just beginning to post the details of the party :)sweet baby!sweet baby girl. She gets sweeter each and every day – hard to imagine that she’ll be even sweeter and more dear as time goes on!

dance!Instagram has video now! And I posted this one of Emma Grace dancing at breakfast :)a boy and a pool ... Finally warm enough to swim! And Ian discovered that our new {to us} pool has a bungehole {drain hole} which means that I have a VERY eager helper when it comes to draining it :)happy girl! Happy girl bright and early – oh, so early on this morning!mmm, lunch ...Sometimes I forget to eat lunch with the kids, and end up with “meals” like this in the mid afternoon – brownie with peanut butter and coffee.
zinnia love
Our flowers have begun to bloom, and I brought a zinnia in to keep me company as I waded through a day’s worth of emails :)

lovin' his baby Ian loves his baby sister sooooo much!baking soda and vinegar another IG video – this time of a rainy day project I’ve posted here before.

Winnie the Pooh + swim goggles

they were so patient as I got things ready to go over to my in-laws’ for the 4th :) Watching Winnie the Pooh {while wearing swim goggles, of course} helped pass the time :)

I hope you have a truly lovely and relaxing weekend!


life rearranged
<3

how Tuesday: DIY Balloon Garland Tutorial!

how Tuesday: DIY Balloon Garland Tutorial!

as promised, today for how Tuesday I have a tutorial for the DIY Balloon Garland!

how Tuesday: DIY Balloon Garland Tutorial from the Path Less TraveledIt makes a big impact for an incredibly small investment, and can be customized in an almost endless array of colors! Want a rainbow? No problem. Monochromatic more your style? Again, no problem. Seriously, you can use this for any of life’s celebrations from baby showers, birthdays, graduations (school colors!}, bridal showers, casual receptions, housewarmings … even retirement parties!

how Tuesday: DIY Balloon Garland Tutorial from the Path Less Traveled materials: balloons in your preferred color{s}, a needle with a large eye {hole for the twine}, twine {or narrow ribbon}, scissors, and thumbtacks {if you’re planning on hanging it outside, you might prefer to tie the garland up and not need the tacks}how Tuesday: DIY Balloon Garland Tutorial from the Path Less Traveled step 1: measure the length you’d like your garland to be and choose your pattern – I decided to use red, white and two shades of blue for Ian’s party – {You might like a monochrome look, a random look, or some other variation!} and inflate your balloons. Having an assistant for this step can be very helpful!how Tuesday: DIY Balloon Garland Tutorial from the Path Less Traveled step 2: thread your needle with the twine – I chose to use twine for this due to it’s strength {thread just wasn’t going to be strong enough!}, but you could also choose to use a narrow ribbon or some other narrow type of cording.how Tuesday: DIY Balloon Garland Tutorial from the Path Less Traveled step 3: begin sewing the garland – poke the needle through the “tag” of the balloon, not too close to the end or it might rip out, just somewhere in the middle …how Tuesday: DIY Balloon Garland Tutorial from the Path Less Traveled…pull the needle and cording through, and continue with the rest of your balloons.

how Tuesday: DIY Balloon Garland Tutorial from the Path Less Traveledstep 4: tie a loop in the end of your cord to prepare for hanging. If you’re hanging the balloon garland outside, you might choose to skip the loop and leave a long tail {to use for tying} instead.how Tuesday: DIY Balloon Garland Tutorial from the Path Less Traveled step 5: put a tack through afore mentioned loop and stick ‘er up there!how Tuesday: DIY Balloon Garland Tutorial from the Path Less Traveled

how Tuesday: DIY Balloon Garland Tutorial from the Path Less Traveled step 6: string out the garland across your desired distance and repeat step 5 …

how Tuesday: DIY Balloon Garland Tutorial from the Path Less Traveled…while taking a moment to admire how pretty it looks hanging across your room. :)

how Tuesday: DIY Balloon Garland Tutorial from the Path Less Traveled how Tuesday: DIY Balloon Garland Tutorial from the Path Less Traveled

And that’s it! You can make several strands and hang them together, leave it to stand alone or, as you can see from the first photo, combine it with crepe streamers! Each option looks great – with a project like this, it’s hard to go wrong :)

If you haven’t taken a moment to enter the giveaway, you might want to click over and do that – it’s super easy to enter, and you might win a set of the newest red, white and blue star garland and matching cupcake toppers!

<3


sharing this on Skip To My Lou Sew Can Do and C.R.A.F.T.

Follow on Bloglovin

a little boy Cars party {sneak peek}

a little boy Cars party {sneak peek}

Well, as you’ve heard, our little boy had a birthday {he’s 3!} which, of course, means that we had a party :)

Emma Grace loves parties, and being the awesome big sister that she is, she took on helping Ian “plan” his party months in advance – “So, Ian, you like cars? Hm, you want a Cars party?!” To which he {of course} replied, “YES!!!” So we’ve been talking about the Cars party for months.

For planning purposes I had been putting the ideas I’d found all over the interwebs onto a Pinterest board, and then {just like for Em’s party} closer to the day I narrowed down what might be feasible. Here is a quick peek at how it turned out!

Cars themed party from the Path Less Traveled some DIY signage over the snack/dessert table – and lots of cars and stars!Cars themed party from the Path Less Traveleda view from the front room to the back of the house: we chose to have an evening party for family, so the kiddos needed to have a light dinner before everyone arrived – they really enjoyed waking up from their nap to a decorated home and eating dinner at the “road” table!Cars themed party from the Path Less Traveled

the back yard – we had a few showers, but all in all in was a beautiful evening for a party. I’ll be showing you a full tutorial tomorrow on how I made the balloon garland over the inside table – be sure to check back!

All in all, not too shabby for a 3rd birthday party! Especially considering that the mama had rolled in late the night before from the Hobnob Summer Market, and most of the prep happened on the morning of the party. :) I love it when a plan comes together!

Have you had a chance to enter the Red, White and Blue Giveaway yet? I hope your Monday has been lovely, and I’ll see you here tomorrow,


<3