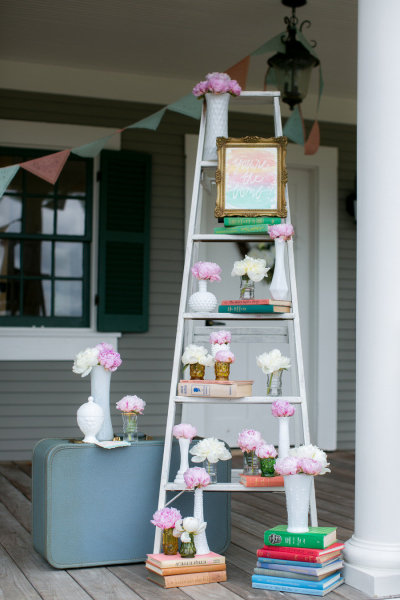
an engagement party for a bride-to-be
{I originally posted this this a few weeks ago, but it got lost in the Great Blog Erase of 2015 – thankfully, most of the blog content was recovered after about a week, but a few of the most recent posts were gone for good. So here it is again!}
One of my husband’s brothers is getting married this fall {yay!}, and several weeks ago his mom, sister and sister’s-in-law and I had the privilege of throwing the bride-to-be a “welcome to the family” brunch. It was so fun! We had lots of ideas of ways to make the engagement party special without breaking the bank, and we kept track of them on a group Pinterest board {have you ever tried using a group board for something like this? It’s so handy!}.
 We used our home as the location on a Saturday morning, and for decorations were able to stick almost entirely to things I already had in my stash, and I made a few banners and personalized cake toppers for a special touch.

 Over the table, I had John {he so graciously offered to help with the decorating as I was pulling together the last minute details!} hang up a few of these pink lanterns, mixed with white lace lanterns and some white honeycomb balls, all of which were in my party decoration box. I’ve had all of them for a while now, and they’ve been used over and over and held up so well!
party planning tip: Having re-usable party decoration items in your hostess arsenal is a great way to keep costs down, allowing you to focus your party budget on other areas! Each place setting had one of these gilded frames on it as a favor for the girls to take home – I found the frames in the dollar bin at Michaels, and then personalized them with little prints {that I made on our computer, and then “dry stamped” a large heart over the text} and some lace trim in a bow.
 One of the things I made up just for the party was this pair of Bride To Be banners – we have a version in our shop, but I wanted them to be even a little bit more special, and in two layers since I had this vision in my head of decorating her chair with them. I used doilies that I dyed a light pink to back the white letters, and the resulting effect was quite romantic!

 I made a #BecomingASmillie {her new last name} banner for over the window in the same style, and everyone loved it! It was quite cute, and the hashtag may even get used as the one for her wedding prep. :)
 For the chair decor, we took my stash of vintage embroidered pillowcases and slipped on over the back of each chair, and then tied each with a pink satin bow.
 It was John’s idea {don’t tell him I told you!}, and was gorgeous!!!
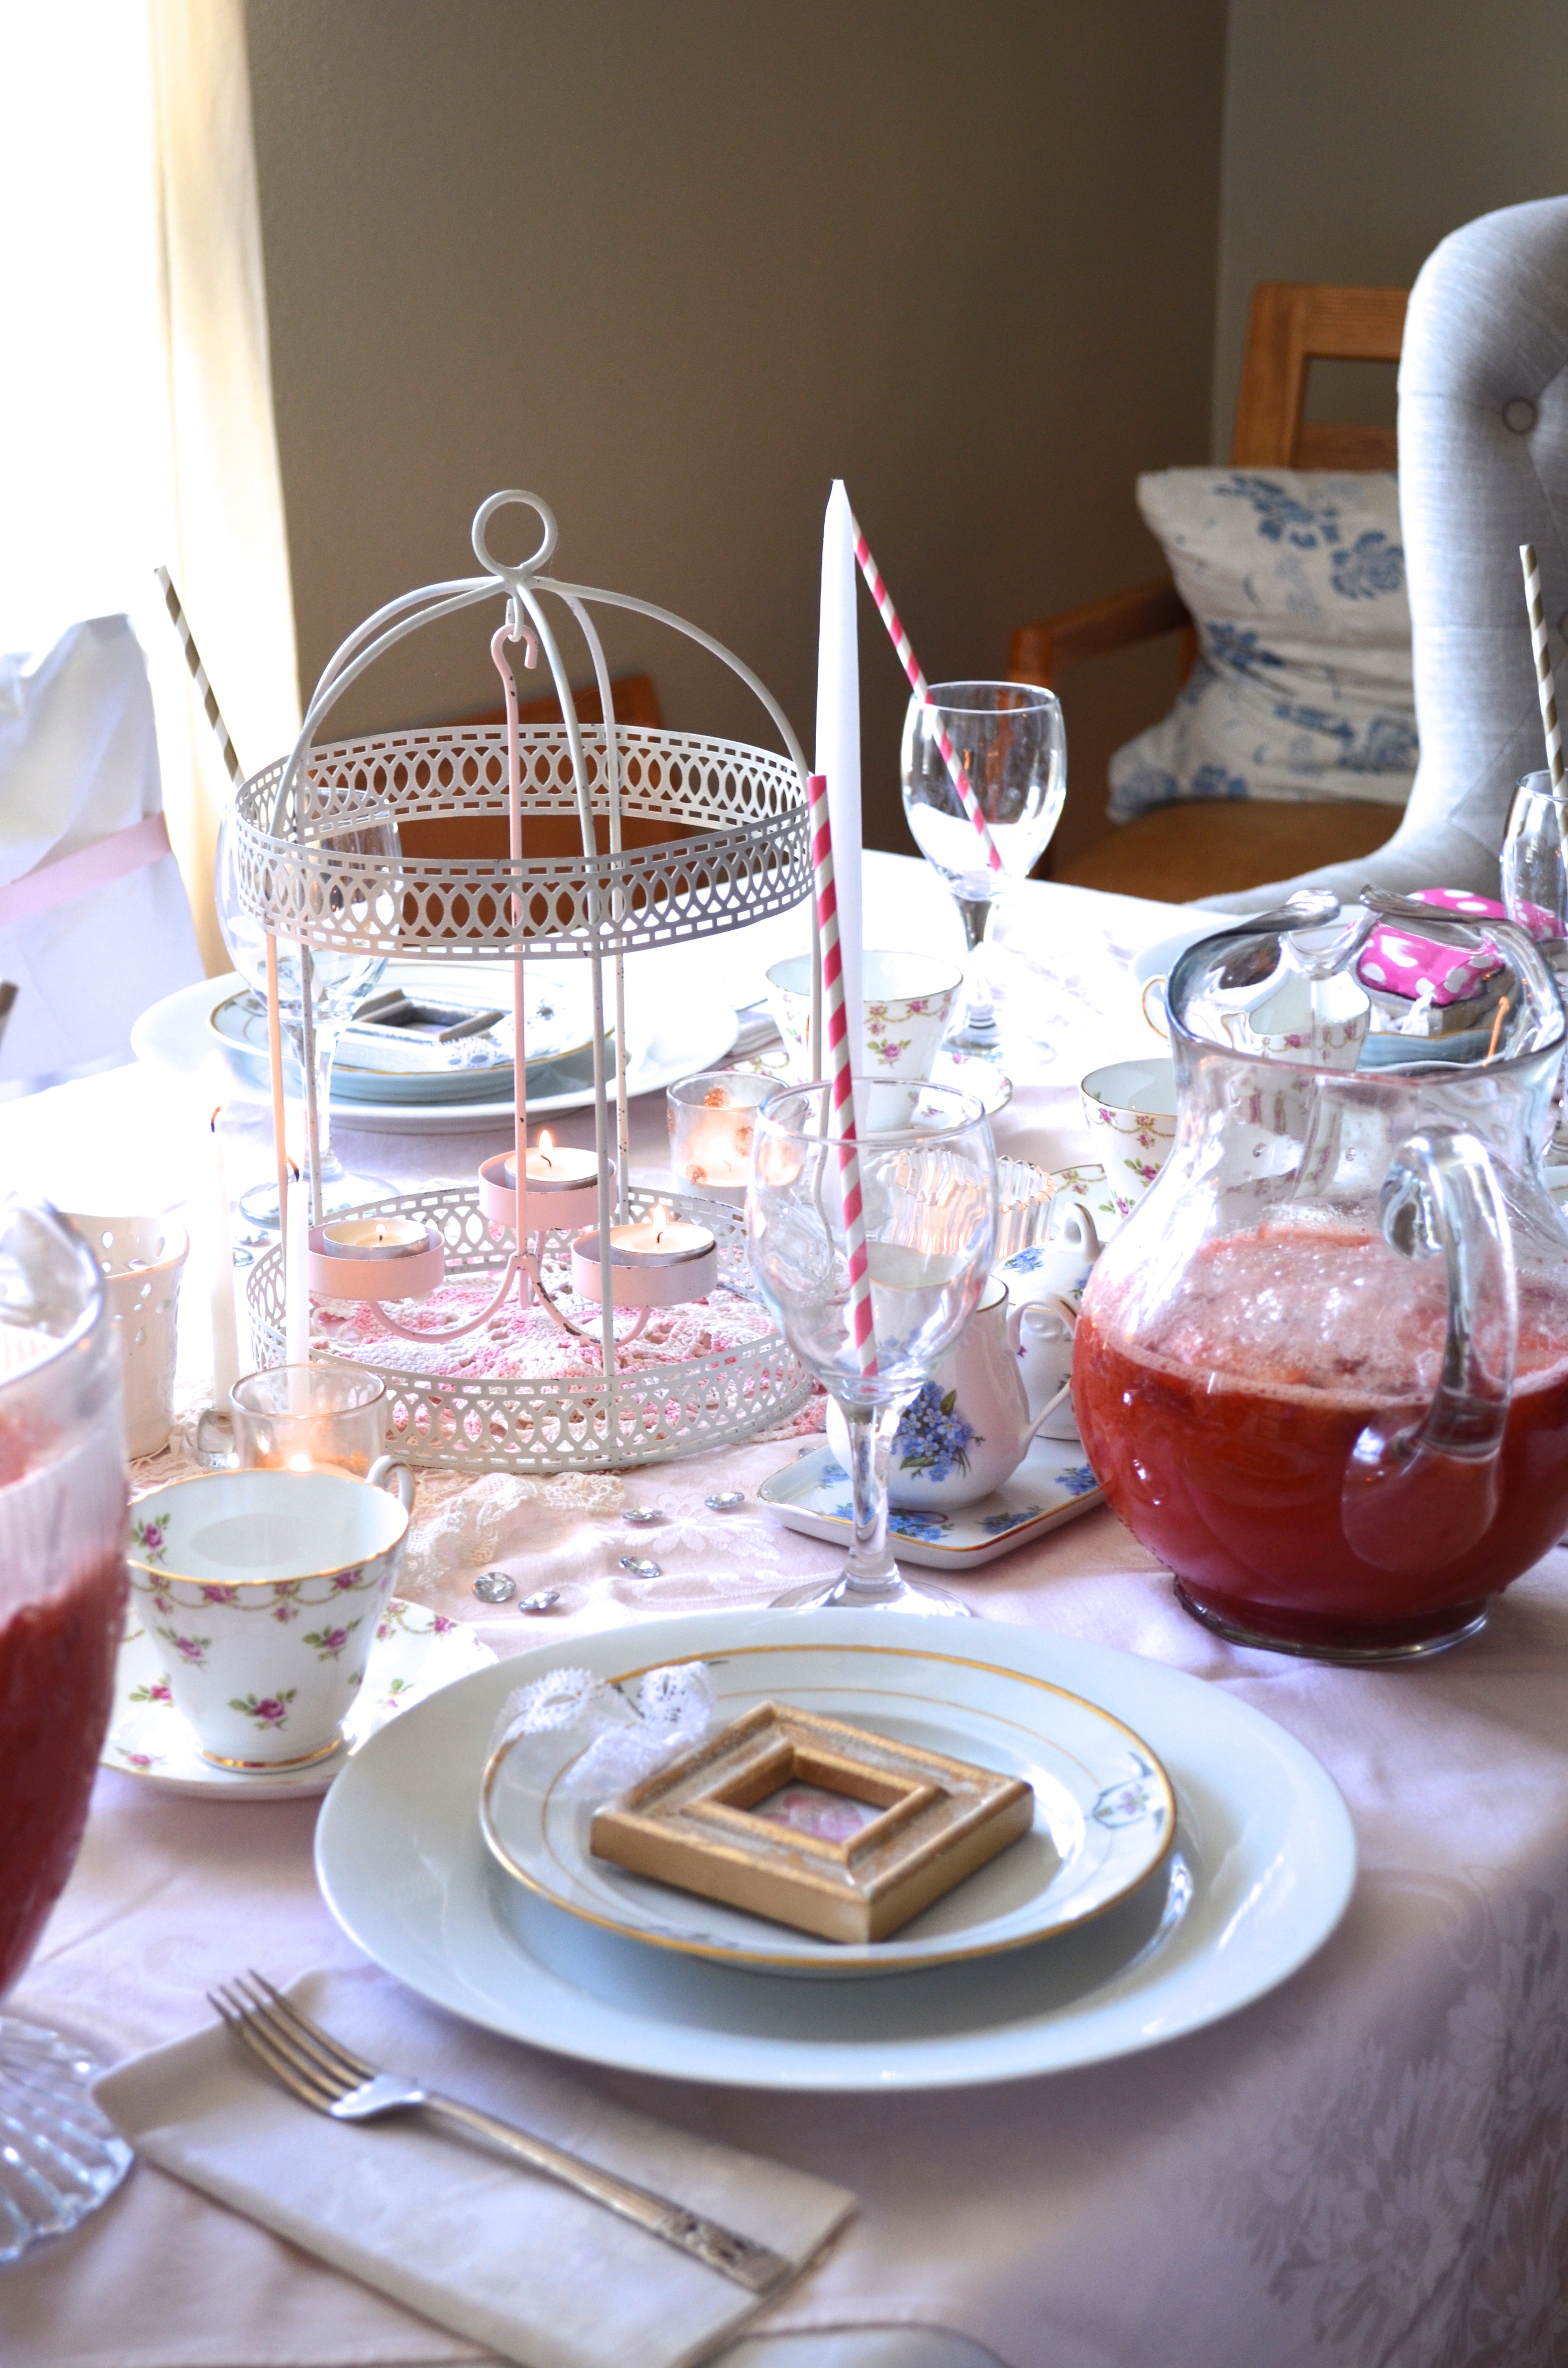
 The table came together beautifully. I used a white, every day table cloth layered with a vintage pink damask table cloth and vintage damask napkins. For the table settings, I layered our white every day plates {these} with some vintage salad plates, and used the vintage silver plated table ware I inherited from a family member. The goblets were find at Marshall’s a while ago, and the tea set was from my grandma. It all came together so beautifully!
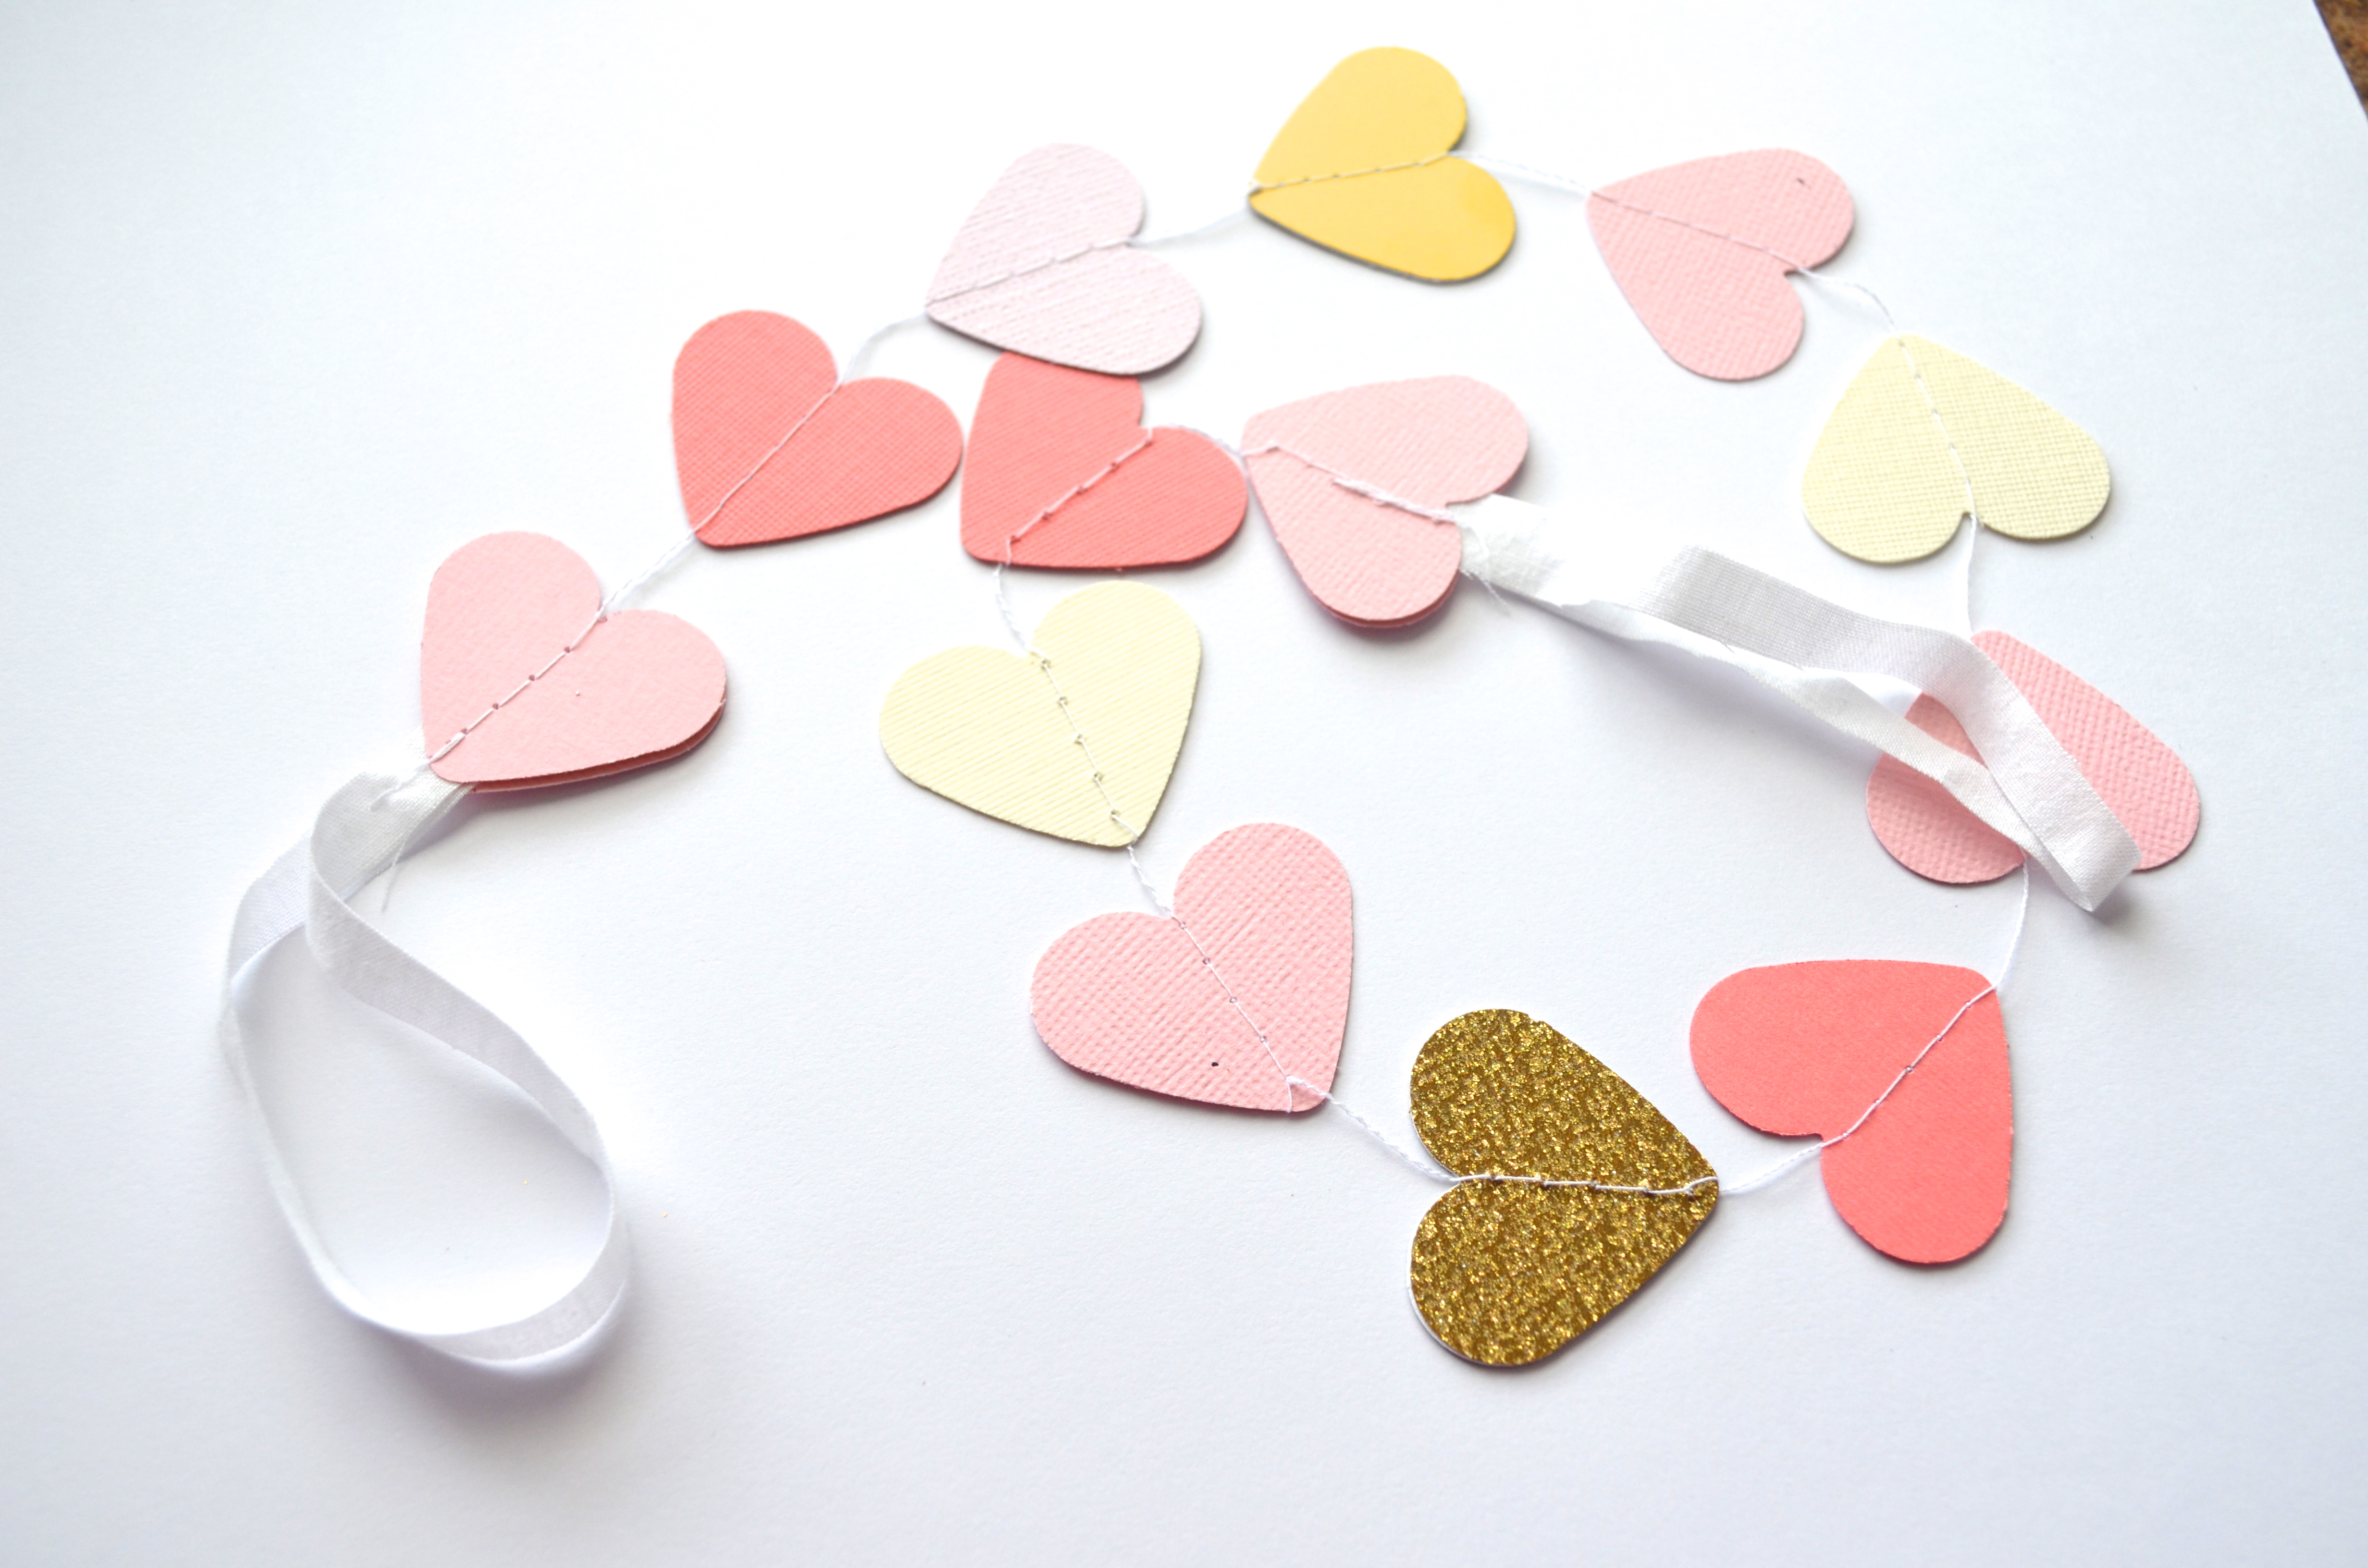
 To accent the rest of the room, I had John hang up a Lace Doily Garland {looping back and forth across the room}, a Glitter Gold Confetti Garland {in the area over the table} and a Large Paper Hearts Garland in pink around the doorway. The garlands added an additional air of romance and festivity, taking the room from feeling like I had just set the table for the party to feeling like this party was an event. Such a difference!
 I loved having a reason to get out my special tea set! My sister-in-law made the Strawberry Iced Tea, and – wow. It was good!
 My mother-in-law, sister-in-law and I each made a few dishes share, and the resulting buffet was delicious!
 The future Mr. and Mrs.’s initials are E and T, so a pair of glittery gold monogram dessert toppers {with a darling ampersand in a vintage style print!} seemed the perfect choice to top off the platter of Mango Scones. To the left there was a platter of {delicious!} Asian Salad Wonton Cups, and to the right a dish of Grapefruit Curd to accompany the scones.
 As we were planning I came across this picture of donut holes on heart-tipped skewers, and quickly added it to the must try list!
 The tea sandwich size BLTs were cute and scrumptious.
 The little girl cousins had their own table :)

It was a special time to welcome Tessa to the family. We all had full, hectic weeks leading up to the day, but taking the time to prepare for a special, out of the ordinary occasion and to visit with each other for a few hours was a blessing to each of the girls. Times like a wedding only come along a few times in a family’s history, and making them with a little fanfare is worth it!
Have you had a chance to celebrate your family recently? I’d love to hear about it!
<3
Items featured:
Large Paper Hearts Garland {in pink}


 Too cute, isn’t it?! Now, let’s get started: